 0 800 750 806
GENERAL EDITOR OPERATION PRINCIPLES
Key terms and concepts.

Online Editor is a free graphic editor for creating photo books from ready-made special templates developed by Gramofon.ua
A page is half a spread
That's two adjacent pages =)
This is 2 pages at the beginning and end of the photo book with a polygraphic printing method and a magazine block. The flyleaves are not edited. A logo is printed on the flyleaf, at the beginning of the photo book. The logo can be removed for an extra fee.
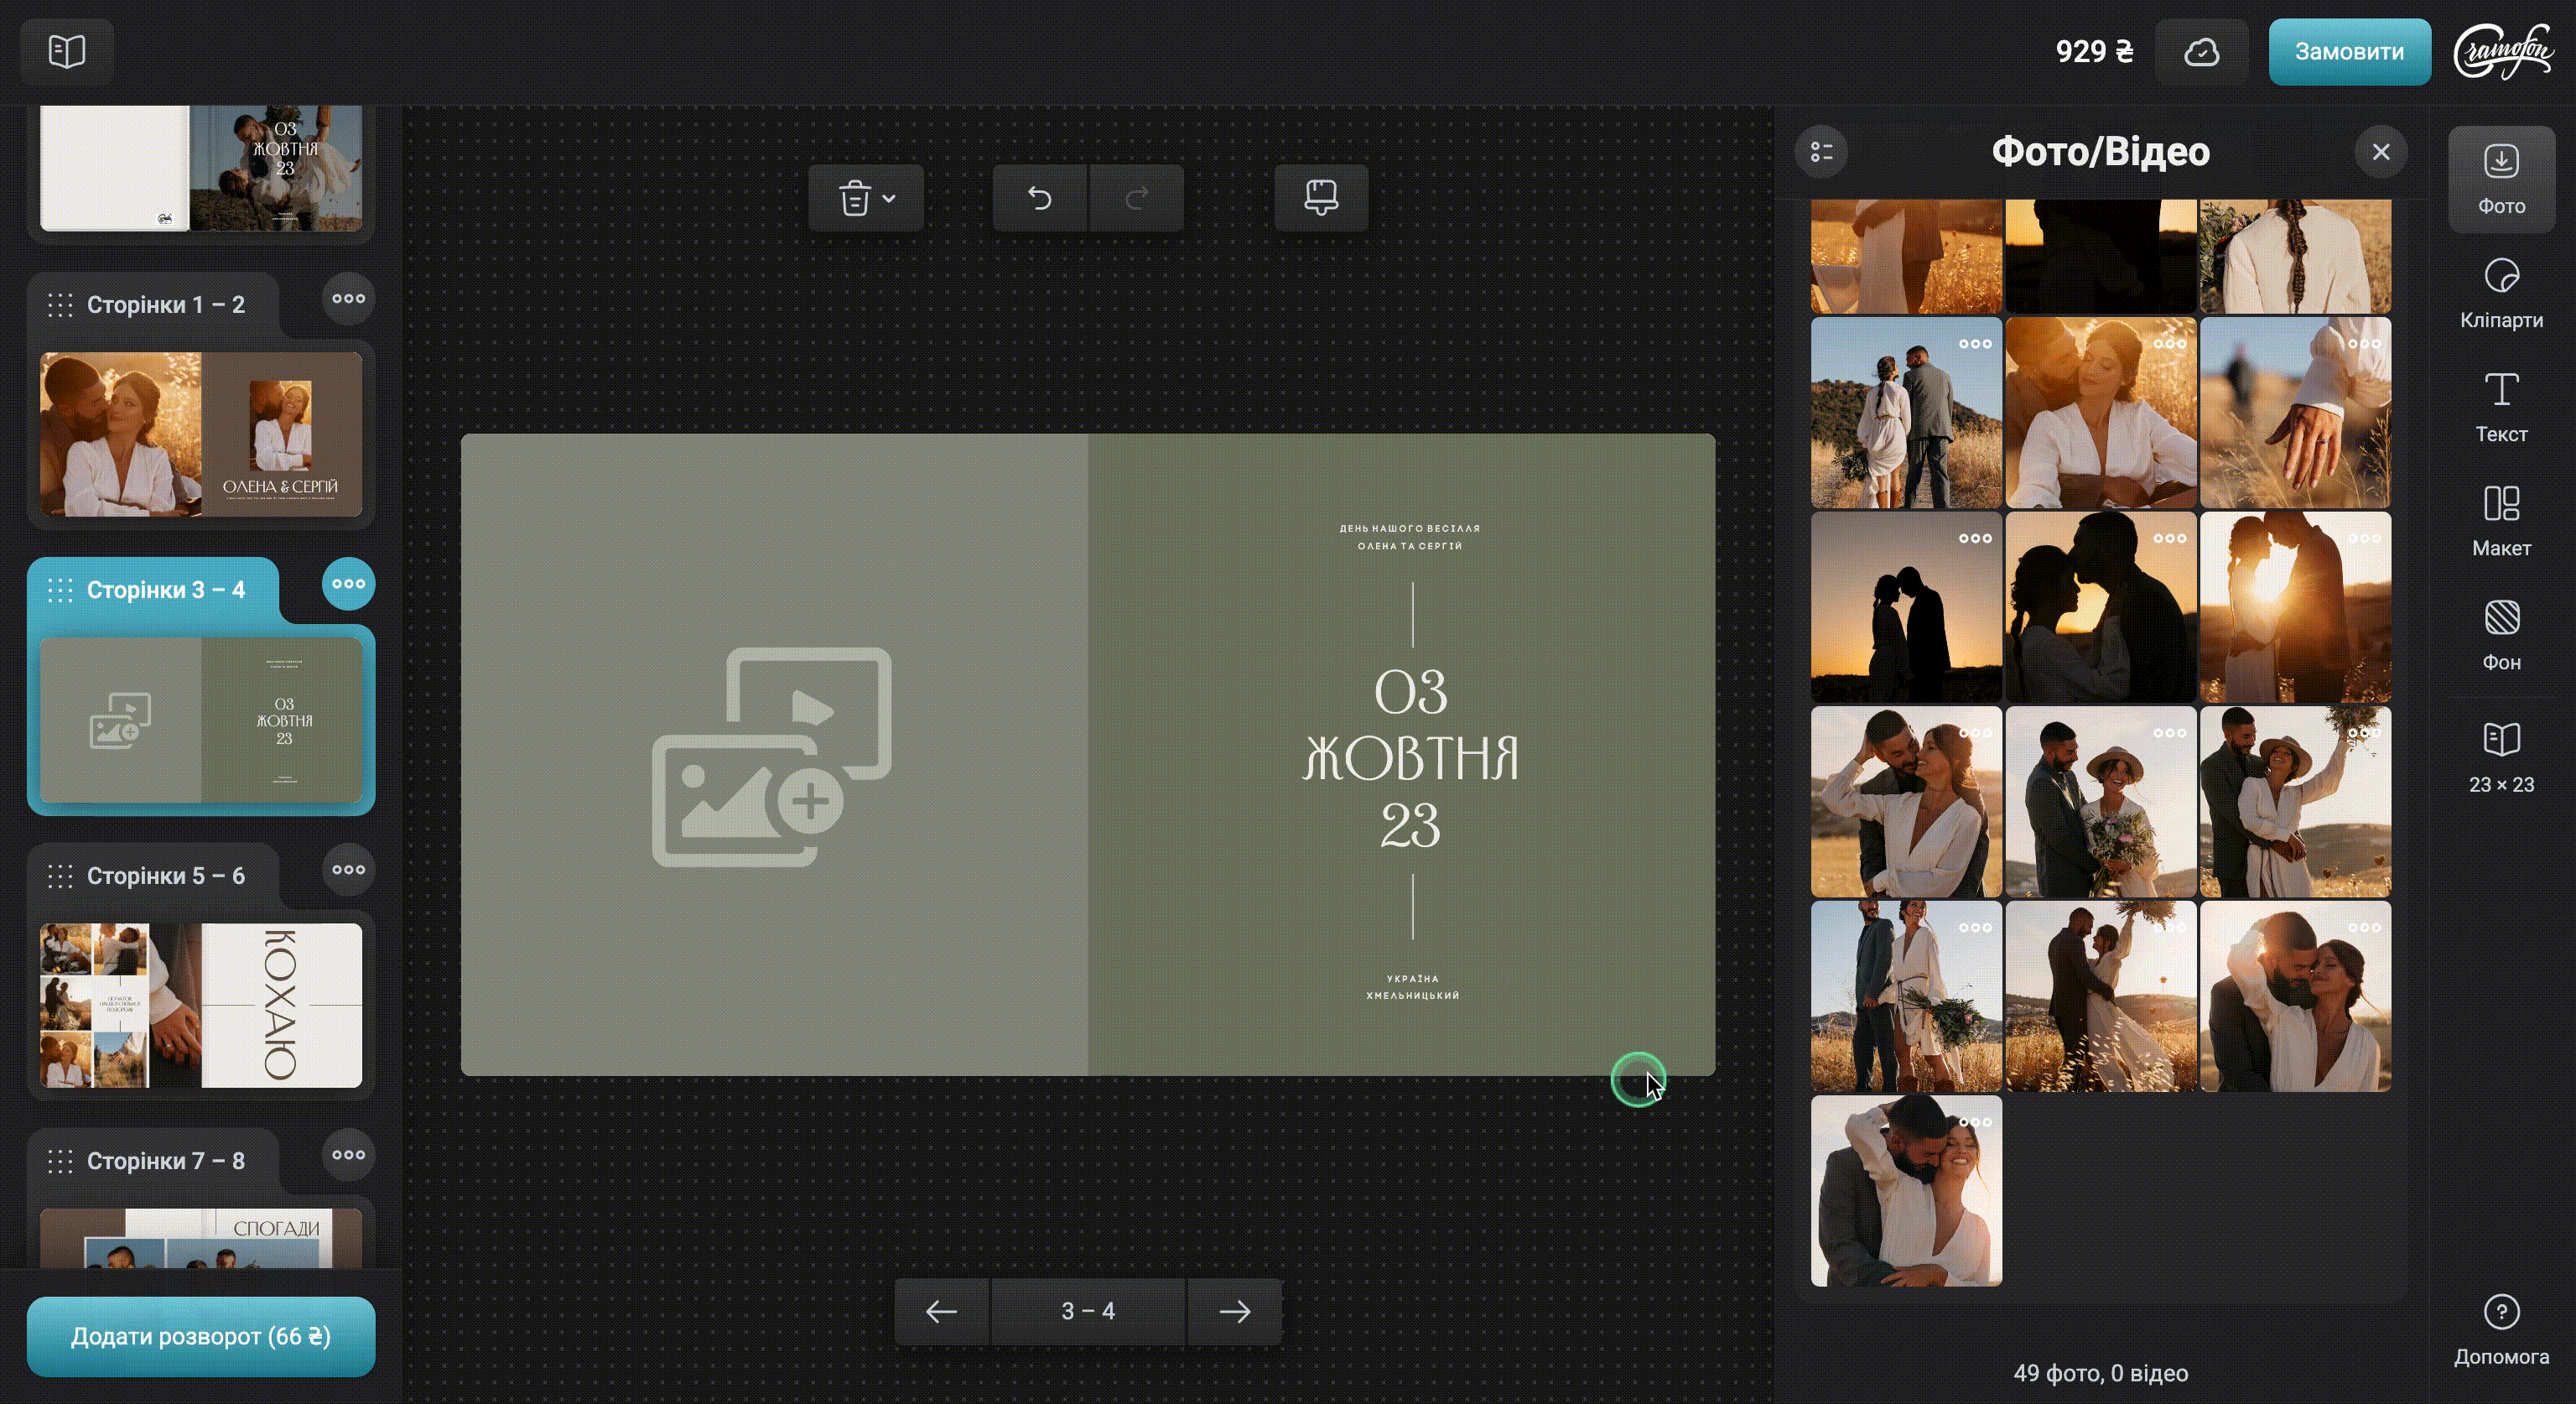
This is the place to insert a photo
This is a photo book cover intended for decorative, protective, and binding purposes.
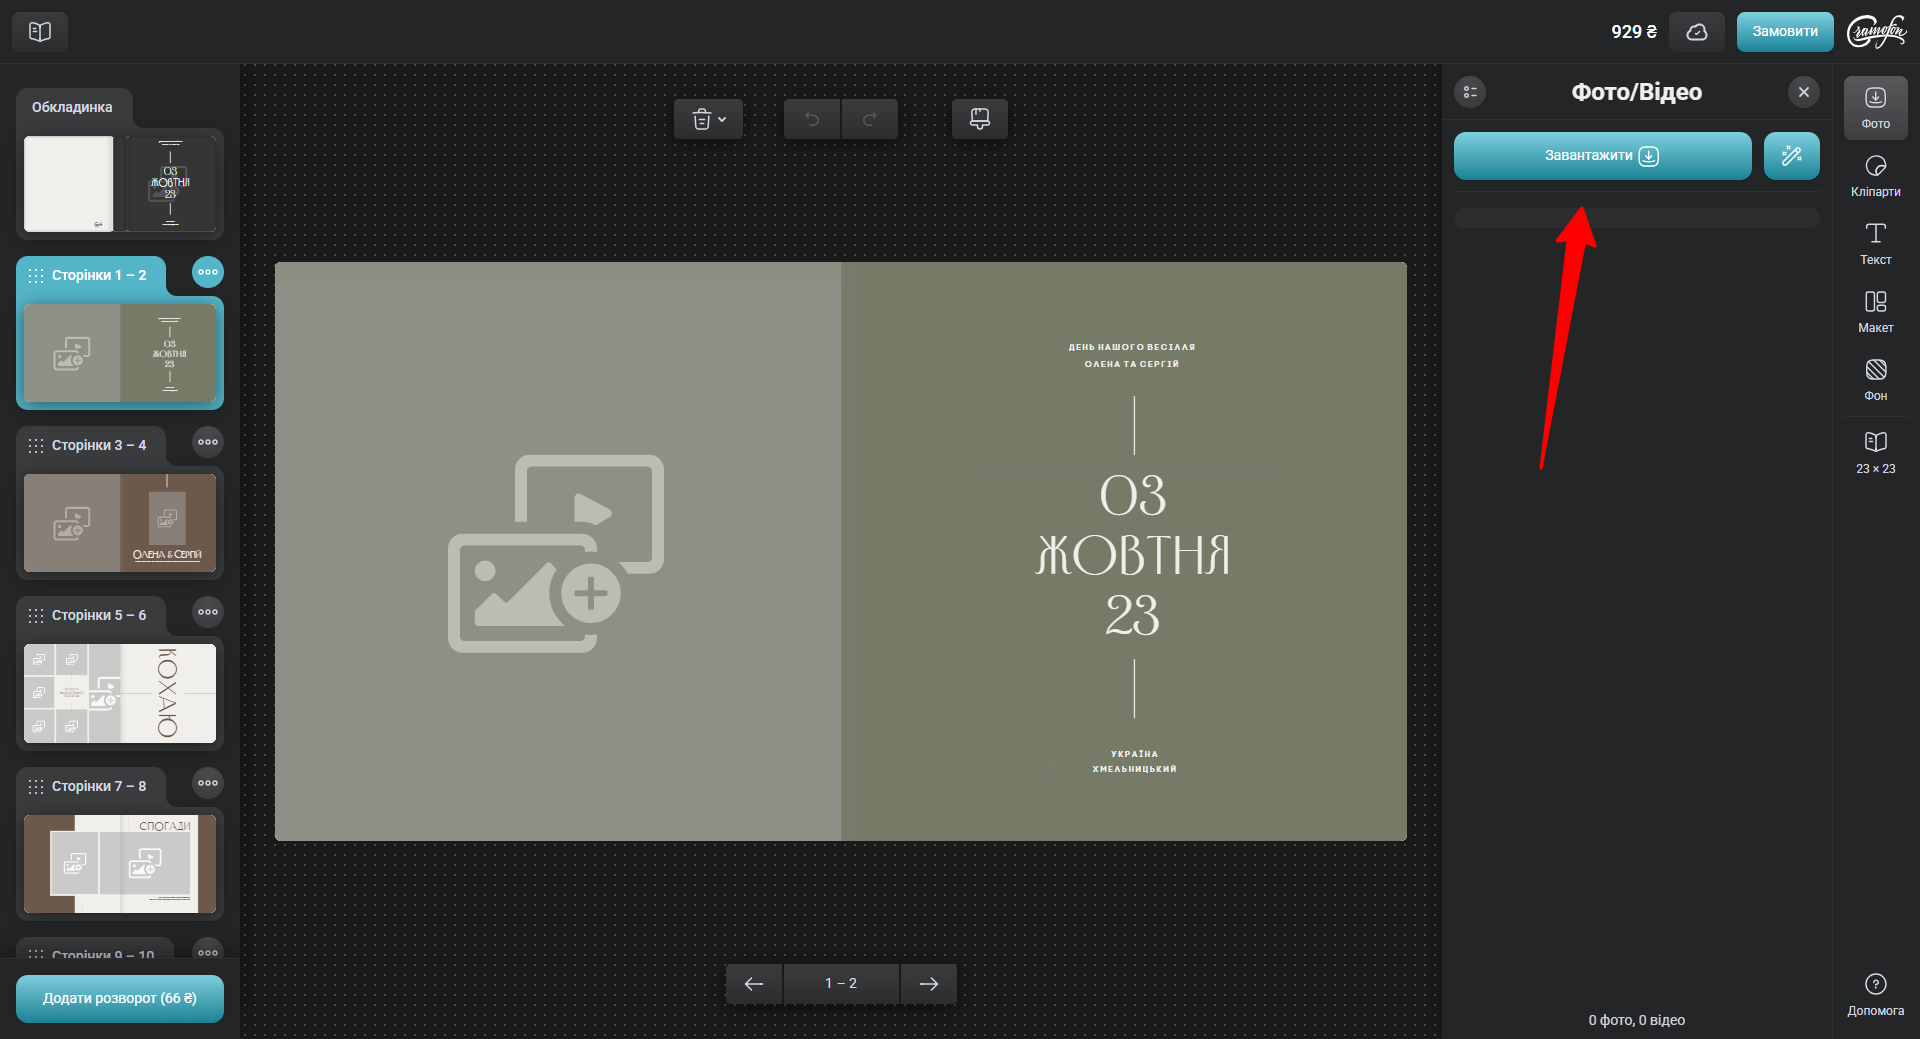
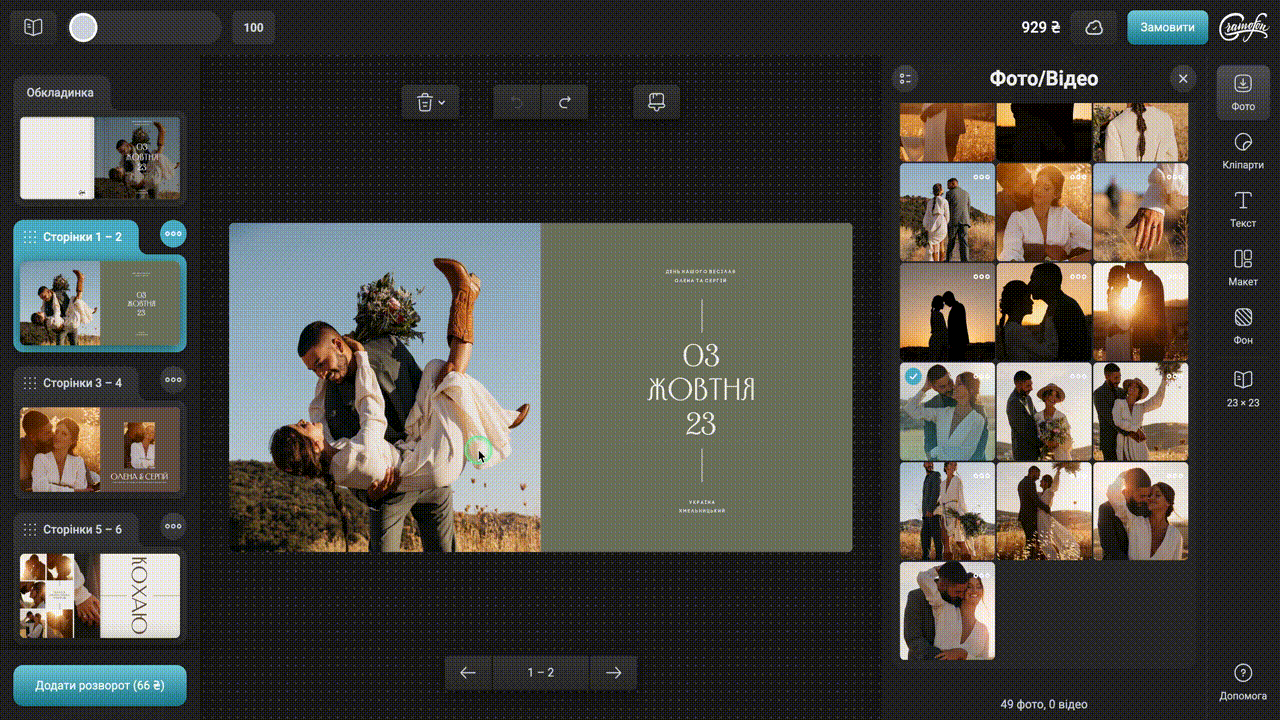
To upload photos from a computer, tap the From Computer icon
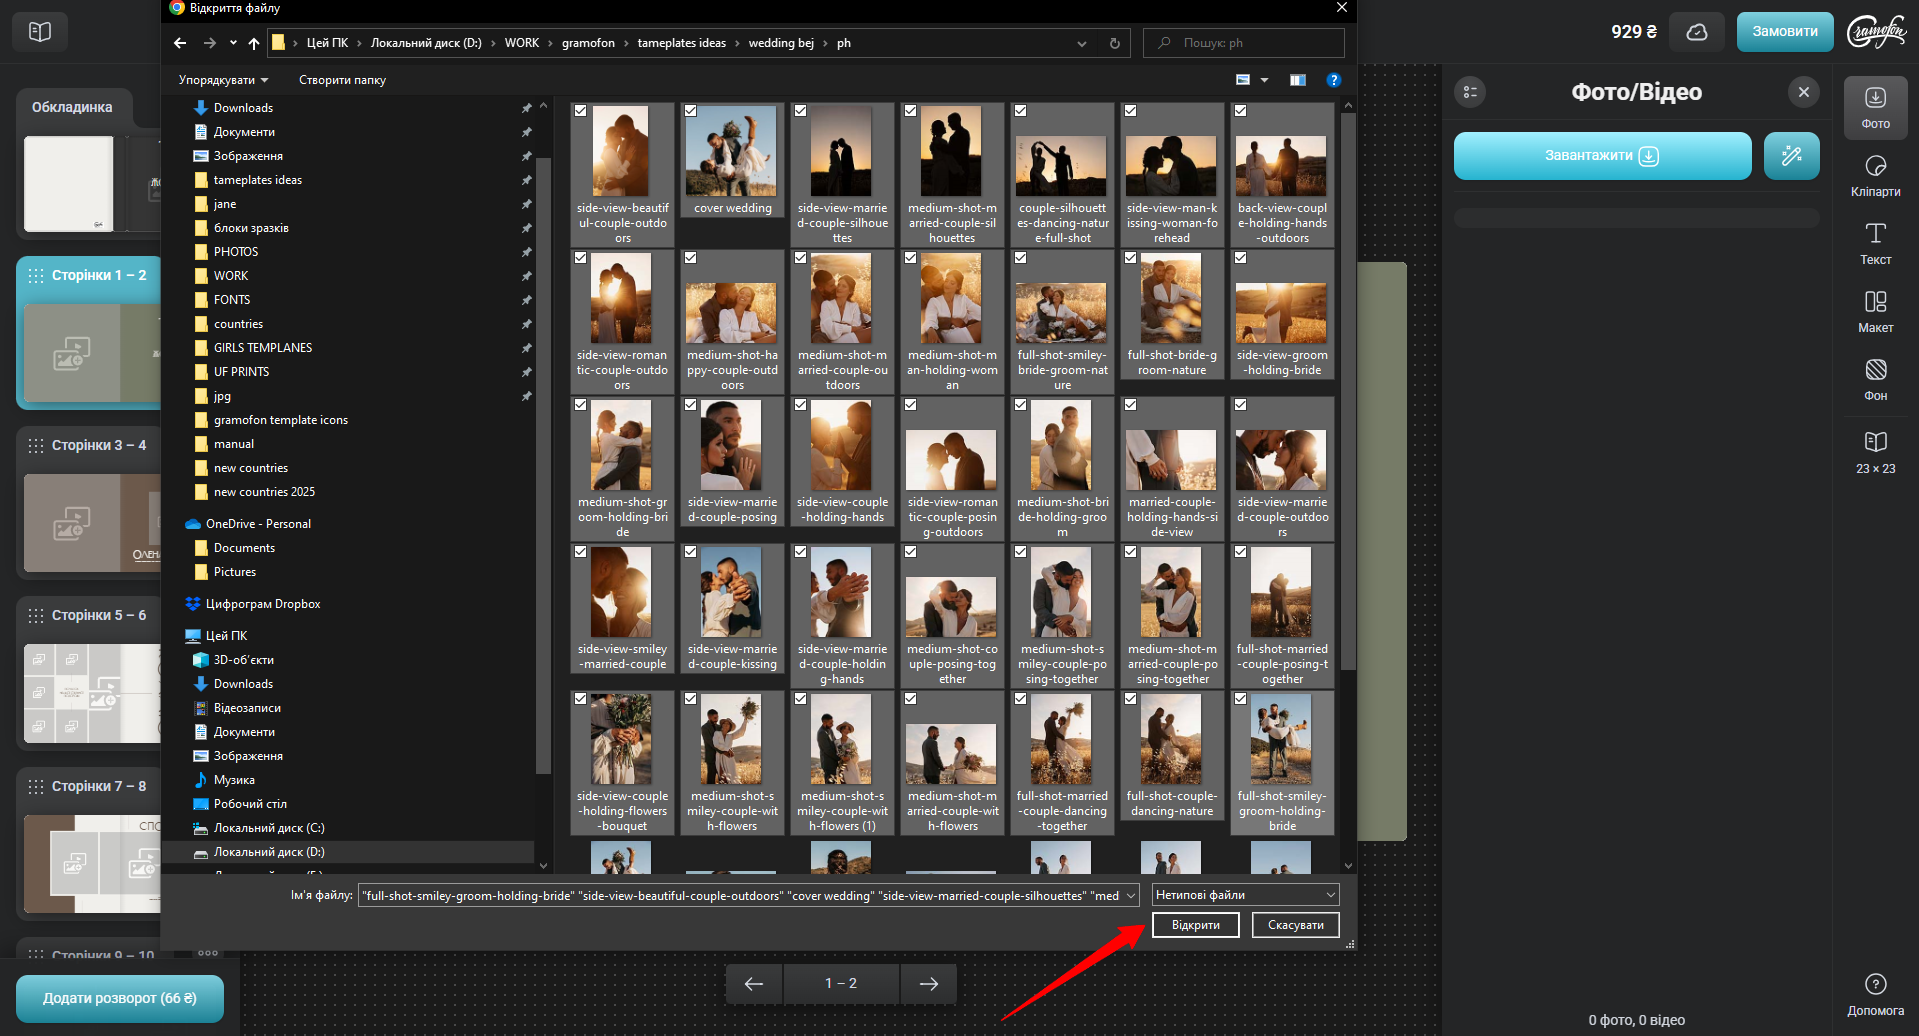
In the pop-up window choose a folder from which you will upload files and select all required files, then click "Open", and the files will be uploaded to the website.
In the editor, click the Instagram icon. Next, log in and upload your photos. We don't store your passwords, so don't worry about that.
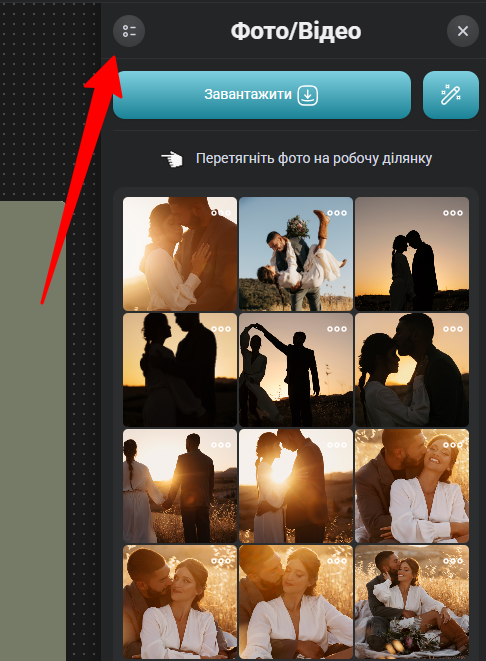
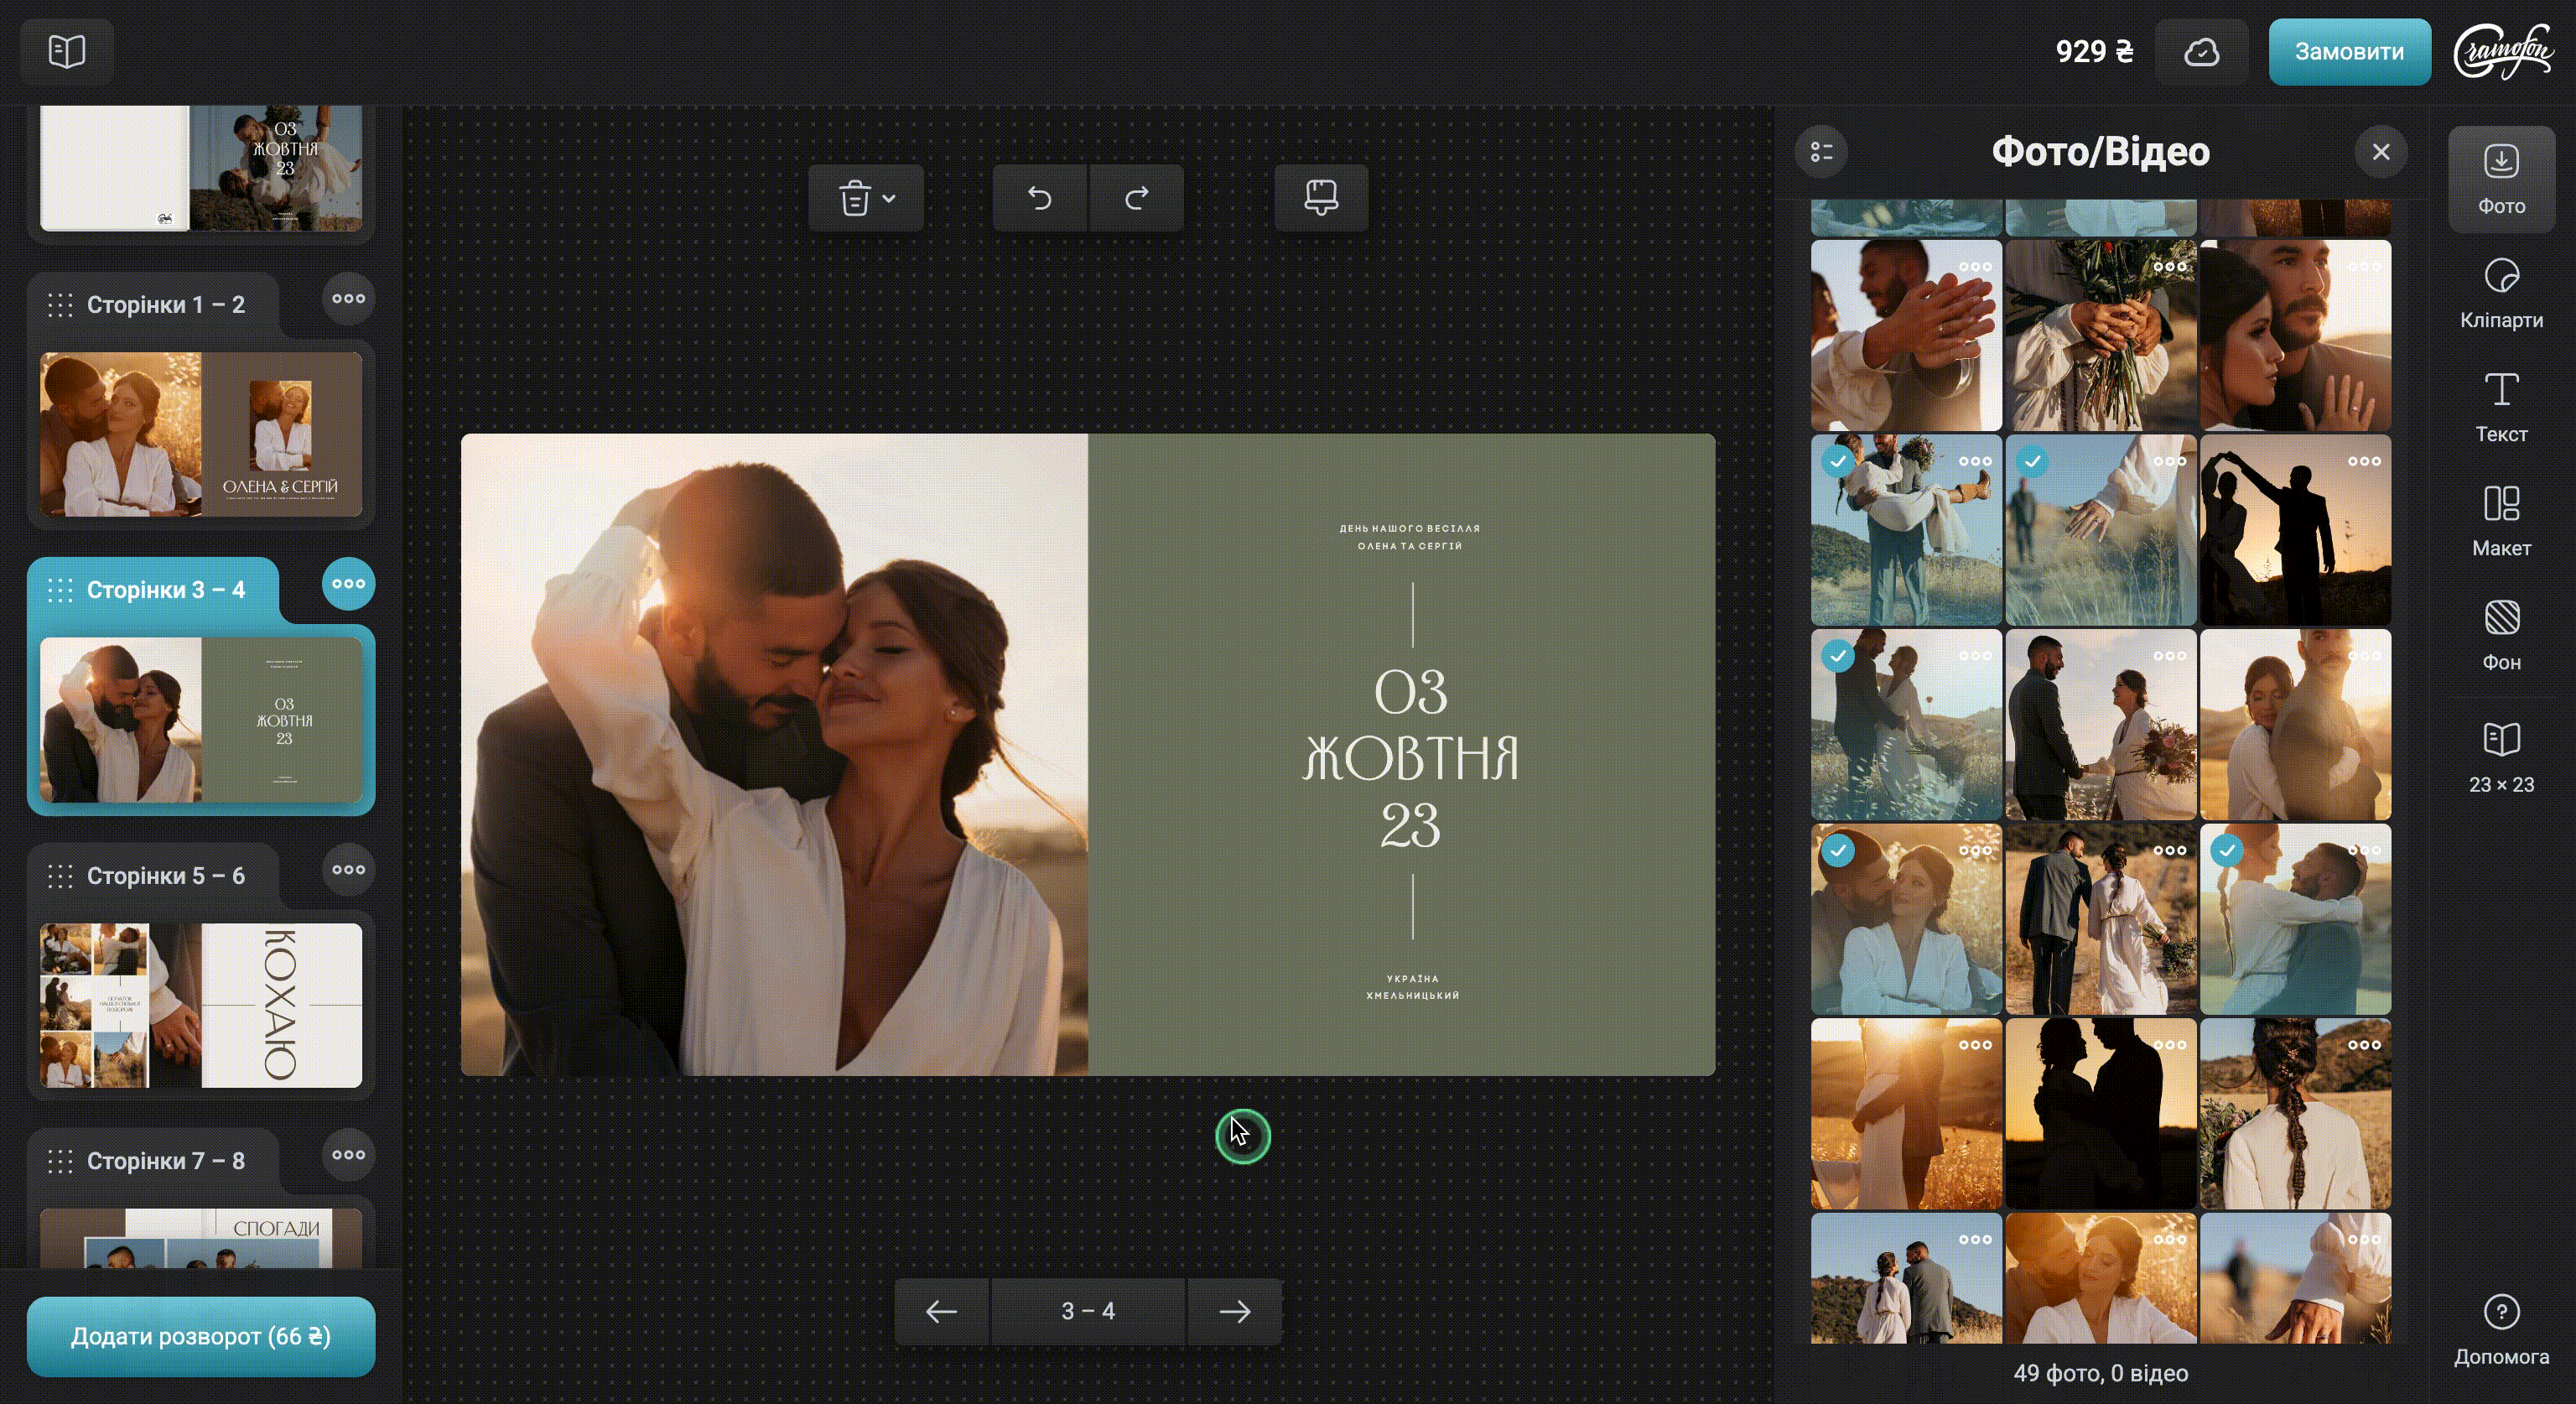
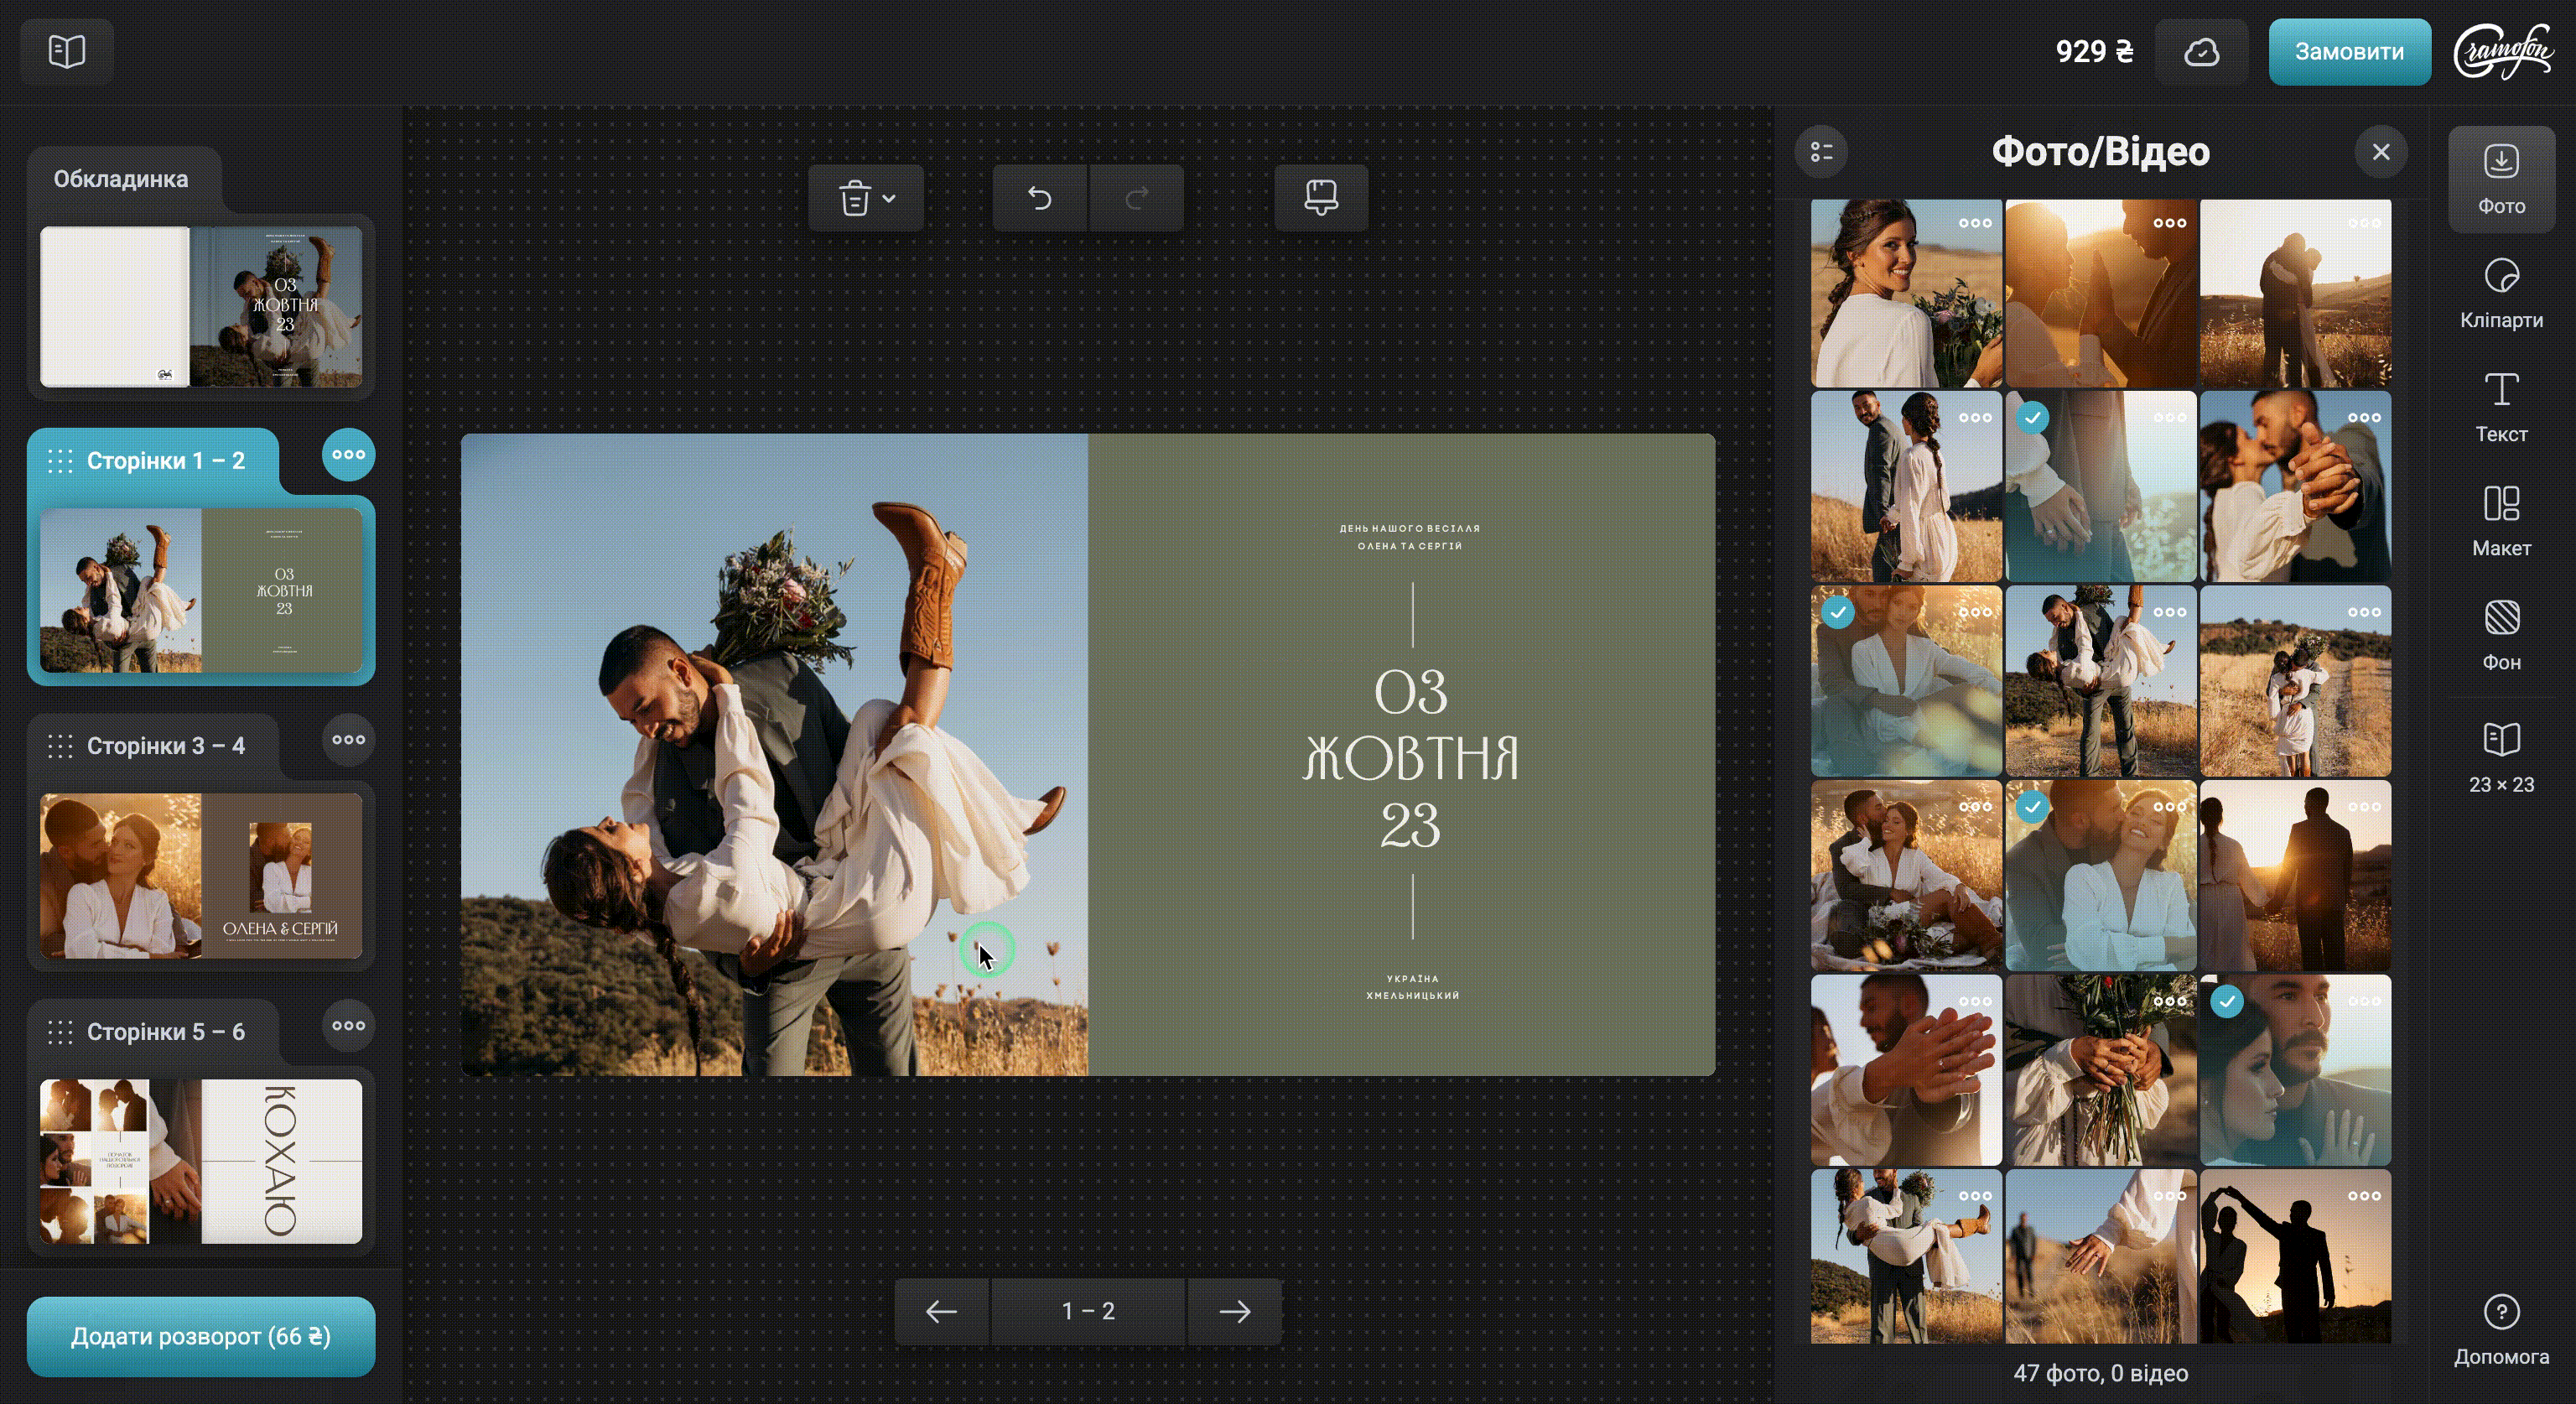
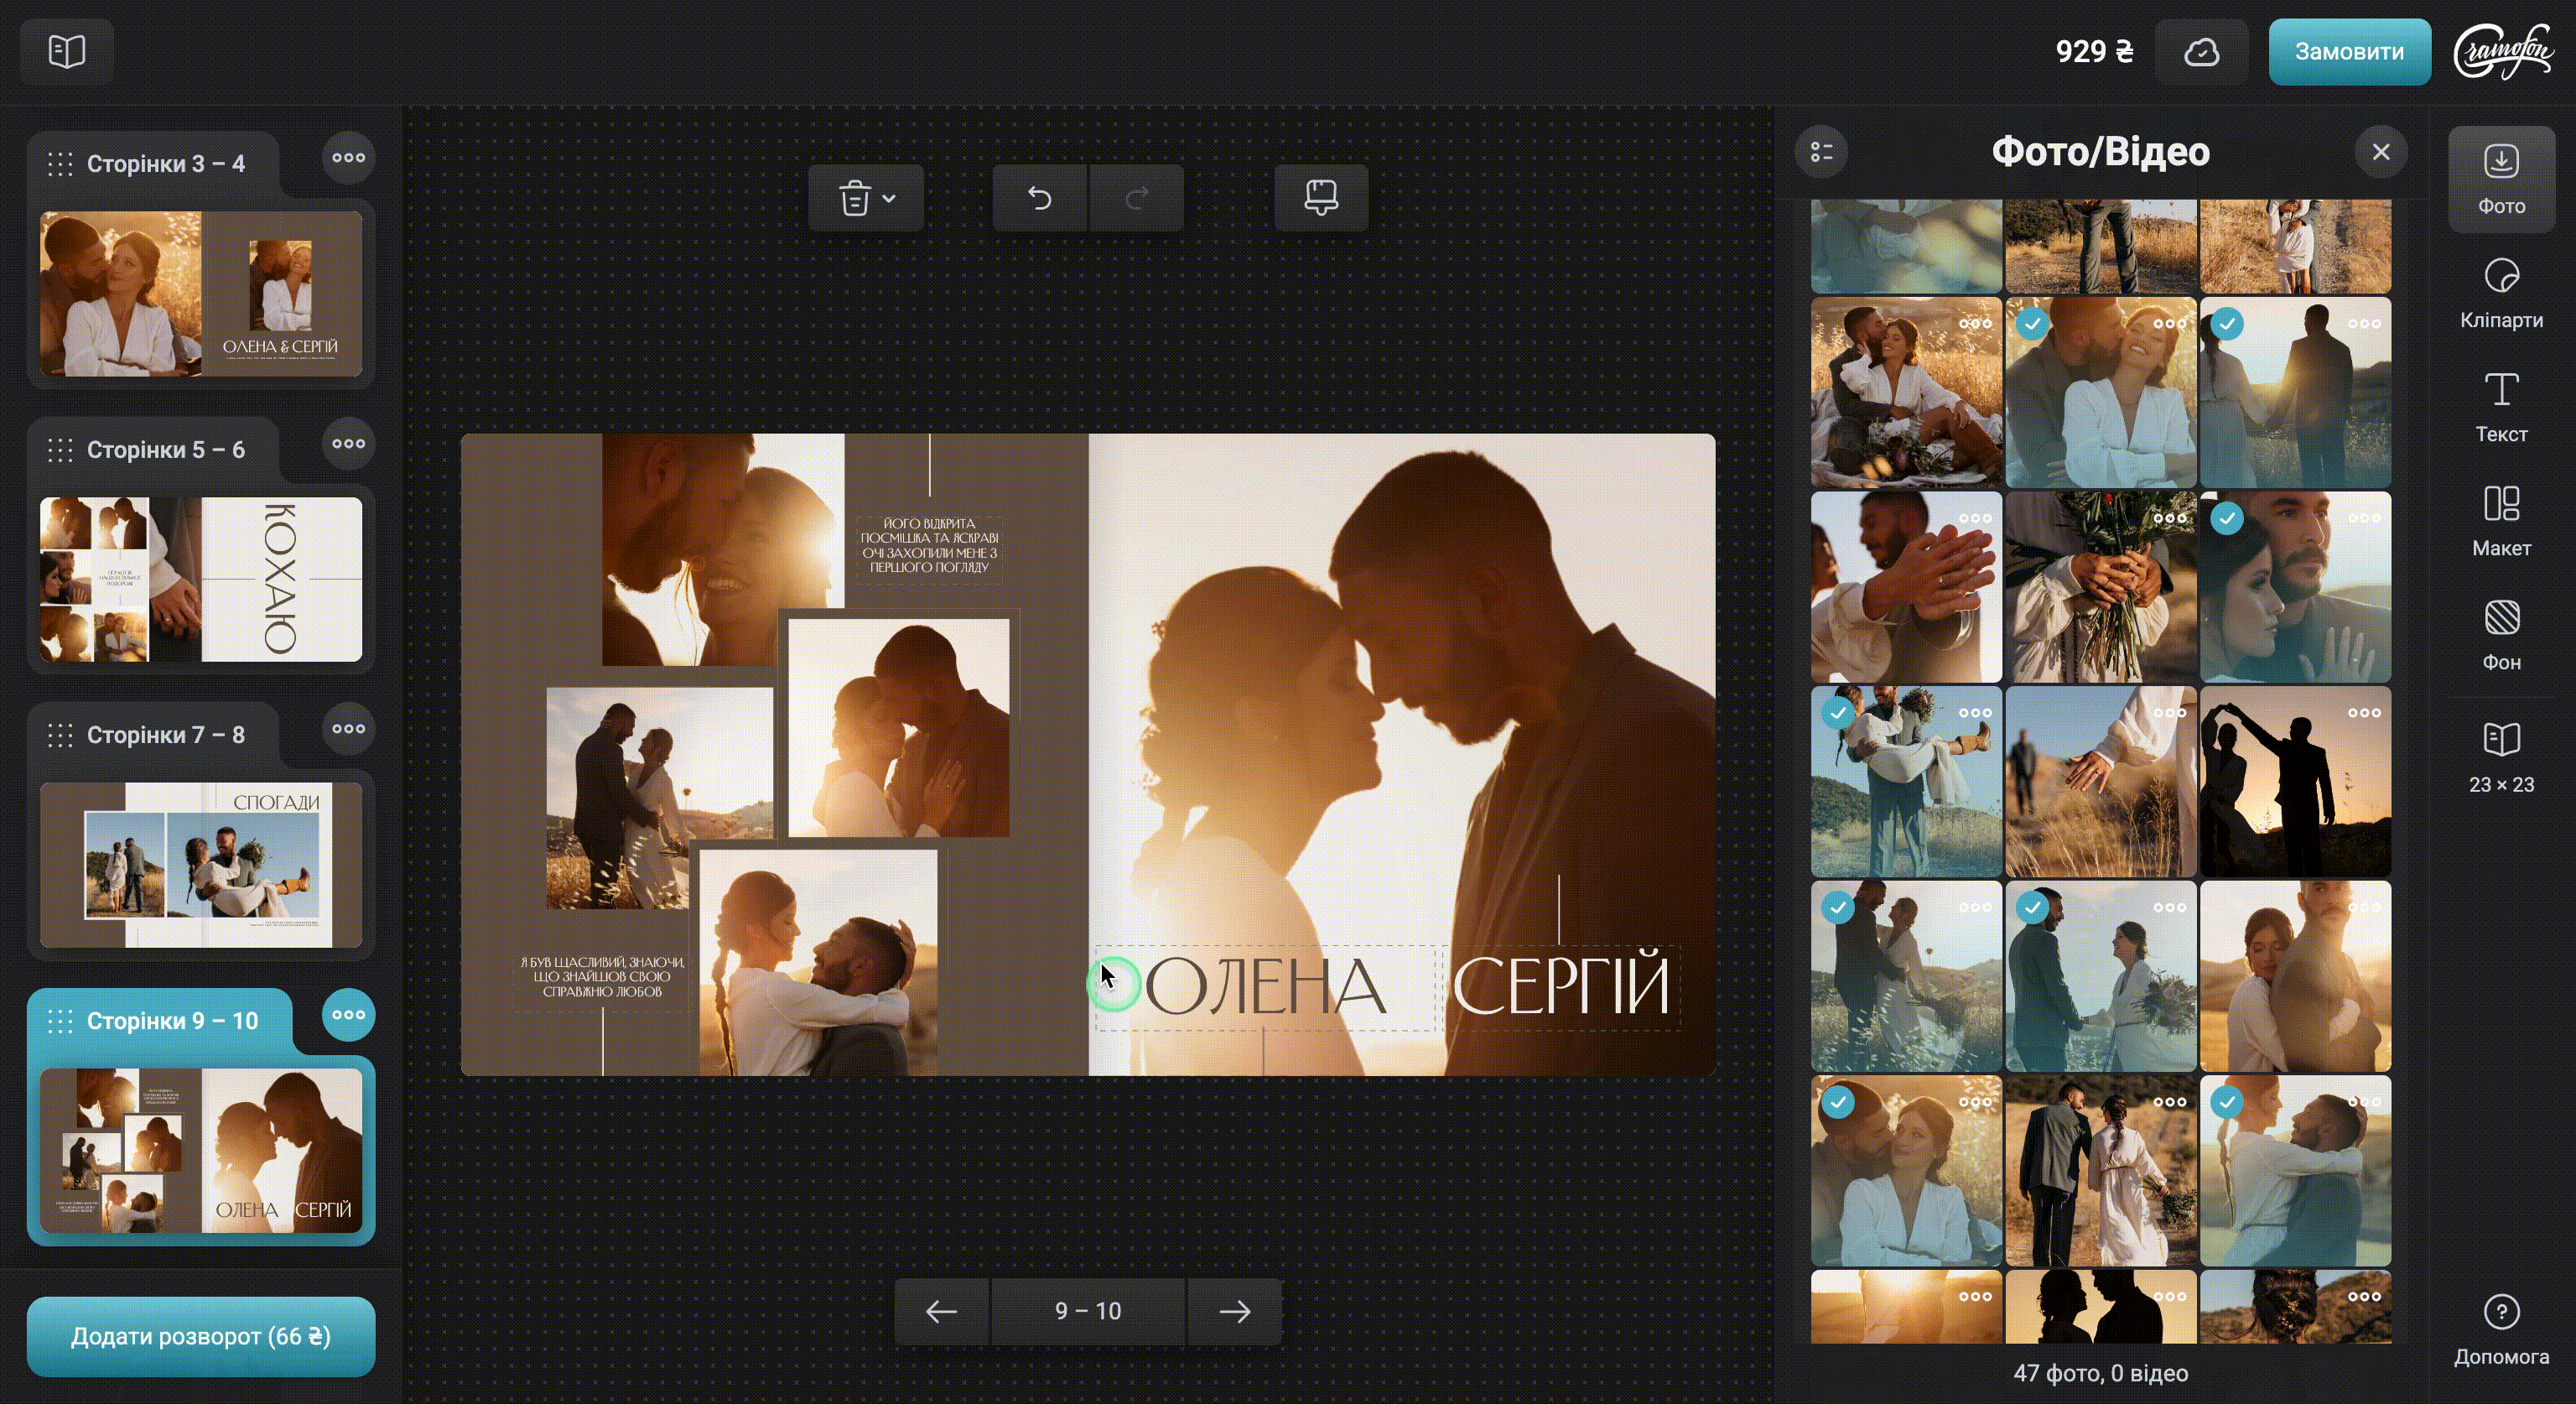
After a successful upload, the photos will appear in the right sidebar. You can now place them on the pages of the photo book.
Note! If you see an orange triangle on the photo, it means that the photo resolution is too low and you need to replace it.
In the editor, tap the Facebook icon. Next, log in and upload your photos. We don't store your passwords, so don't worry about that.
After a successful upload, the photos will appear in the right sidebar. You can now place them on the pages of the photo book.
Note! If you see an orange triangle on the photo, it means that the photo resolution is too low and you need to replace it.
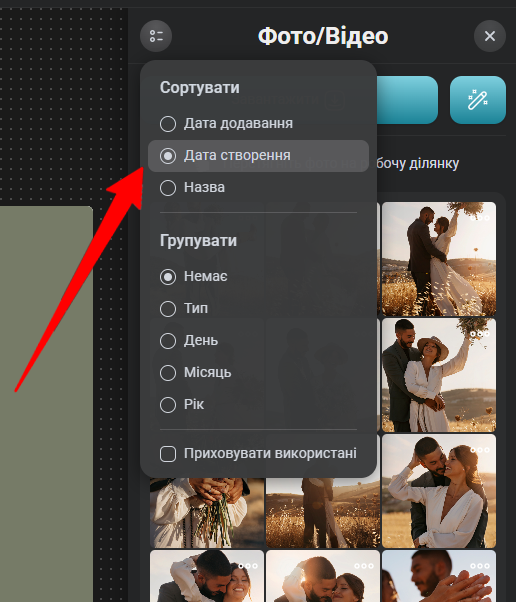
To sort the photos, tick the checkbox next to "Filter". This will open a drop-down box where you can set the criteria by which you want to sort the photos:
If you choose to sort by the file creation date, you can optionally segment photos by day, month, and year. To segment photos by month, simply click "month" in the drop-down box. A screenshot below shows how the photos are sorted by month.
⠀The same principle can be used to sort photos in alphabetical order or vice versa from Z to A. This feature will be useful if you sign your photos, for example, "Summer. Italy" or "Rafting on Cheremosh", instead of leaving the name "img 242535" assigned to the photo automatically by your camera or phone.
⠀The photos you used in the book are highlighted in green.
If the photos you have used already confuse you when creating a book, use the "Hide Used Photos" feature. To do this, simply check the box next to this option in the drop-down box
Photos you haven't used yet will not be highlighted.
The photo you are currently handling will have a yellow frame.
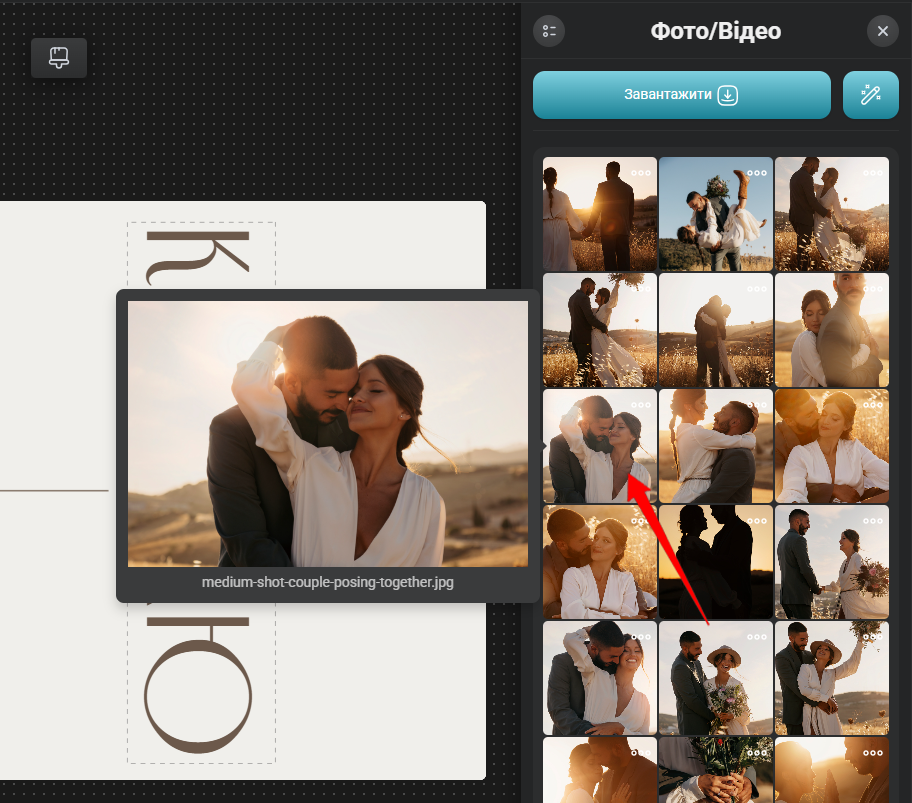
Are you having a hard time viewing photos in the canvas of uploaded files? No big deal! Hover your cursor over the chosen photo, linger on it and a large photo preview will open.
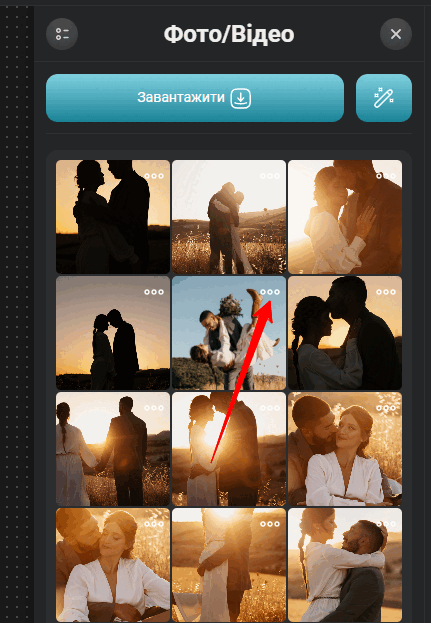
If you accidentally uploaded two identical photos or your pixelated-blurred hand on the backdrop of the floor, you can remove them from the photo canvas so that they don't confuse you when creating your dream photo book. To do this, hover your cursor over the unwanted photo. A cross will appear in the upper right corner. Click to delete the photo.
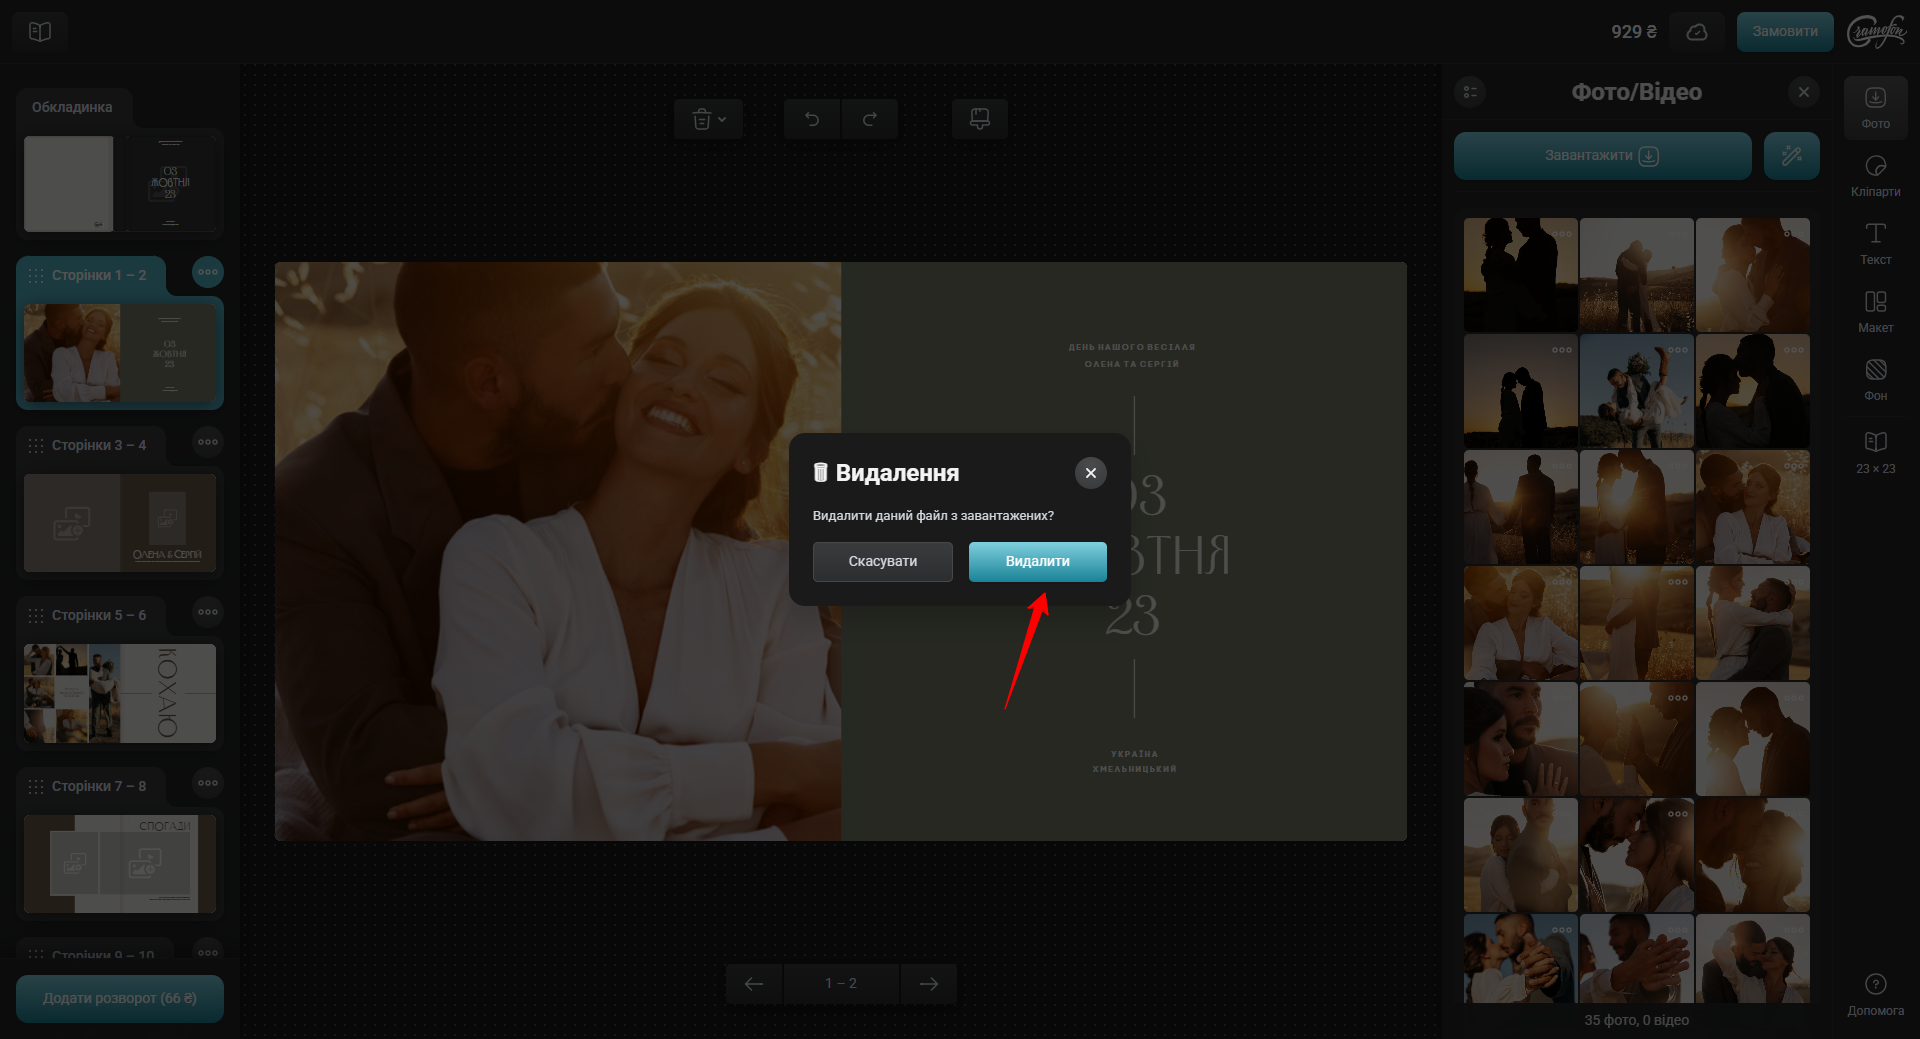
Just in case, our careful editor will ask you again if you do want to delete this photo. Click the green "Yes, delete" button if you want to delete it. If you hit that unfortunate cross by accident, this retest will save you from losing an important photo.
By default, the backside of the cover is hidden. To see it, you need to click the button in the lower-left panel of the editor. It looks like an eraser.
⠀Press and open the backside of the cover.
Now you can edit it like any other page: add photos, frames, captions and stickers.
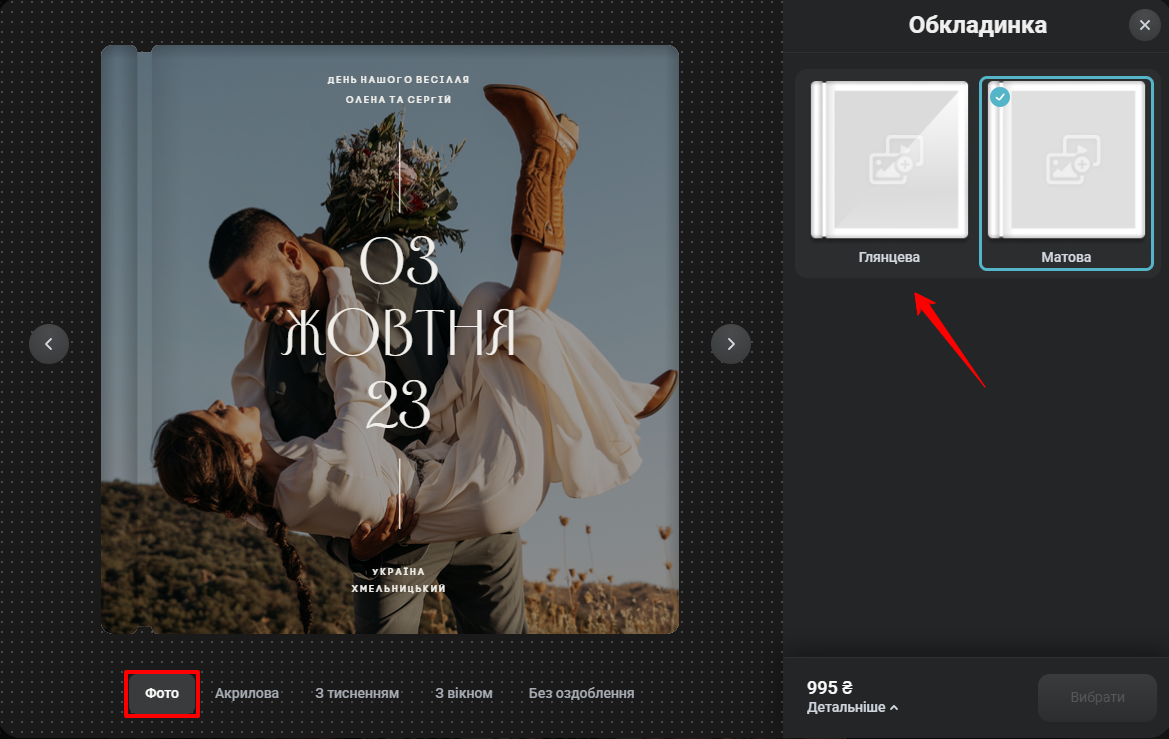
In order to change the type of the cover, click on the desired type of cover (photo cover, faux leather or textile) in the upper left part of the editor. After that, you can choose the type of decoration and color of the material (for faux leather or textile).
The faux leather covers can be undecorated, embossed, or contain an acrylic glass photo insert. All of the above finishing options are available for all 27 faux leather colors.
Nature series faux leather covers with wood-like texture and pattern (the first 10 colors in the list) will not have stitching on the edge. The next 17 colors from the Classic series will be stitched along the edge with a thread matching the selected faux leather color.
Textile covers can be undecorated, embossed, or contain an acrylic glass photo insert. Photo inserts are available for all textiles.
On the covers of the Luxe textile series (the last 4 colors on the list), embossing decoration is available. That is, embossing can be made on gold, lavender, coral, and emerald luxe. We do not emboss the Flax textile series (the first 4 colors in the list).
We emboss faux leather covers in all colors and Luxe textile covers. You can only choose from the standard embossing options presented in the editor. Customized embossing is not available.
To add embossing to the cover:
1. In the Online Editor, select the cover on the top editor panel where the page numbering is located.
2. Now choose the cover material – faux leather or textile.
3. Select the No Photo decoration option. Now choose the color of the cover. If it is faux leather, you can choose any color; if it is textile, only the Luxe series can be chosen.
4. On the right side of the Online Editor, click the Embossing menu item, then select the embossing theme.
5. Left-click on the selected embossing and the system will generate a preview of what the embossing will look like on the cover of your book.
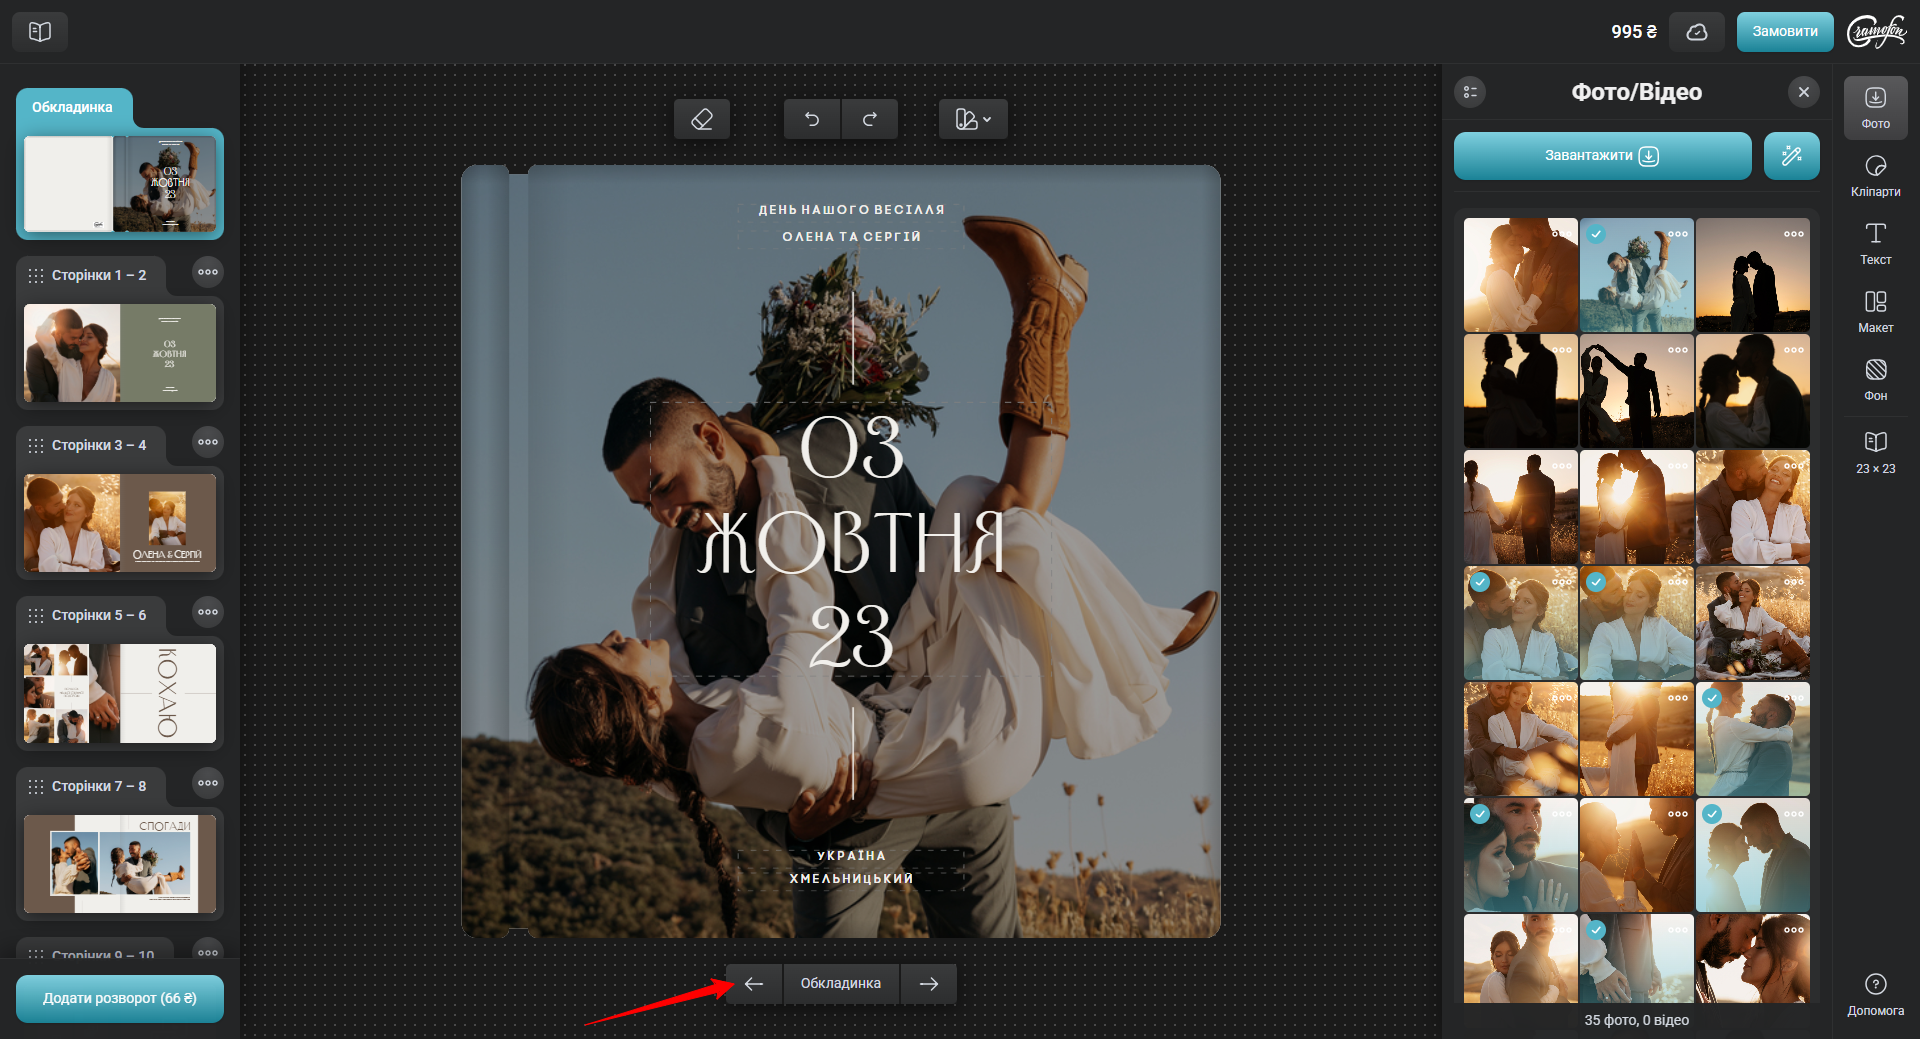
In the Online Editor, you can move between pages of the photo book in two ways:
The first way is to flip through the book using the optional left and right circular buttons; however, if you have quite a few pages in the book, this way is too long.
The second way is scrolling through the page numbering ribbon in the top panel of the Online Editor by clicking on the appropriate optional left or right arrow buttons and then clicking on the preferred page.
The screenshot below shows movement between all pages of the book in green and movement between two adjacent pages in red.
To add pages, you need to click on the green plus "+" icon in the top right bar.
After that, choose one of the page designs from the selected template or empty pages without design. To do this, just click once on the selected page design option and it will appear on the desktop.
You can only add pages in pairs; a single page cannot be added.
There are process limits on the maximum number of pages for different types of books. Learn more here.
The minimum number of pages in photobooks is 24 (only in photobooks with Magazine block type and digital printing method the minimum number of pages is 26, except for the 12x12 format). That means you cannot delete pages so that to have less than 24 (26) of them.
If you have more pages, and some of them are redundant:
Click the cross icon in the upper right corner of the right page.
And confirm the deletion by clicking on "Yes, delete".
Pages are deleted in pairs only; one page cannot be deleted.
The minimum number of pages is 24 for Lay Flat and 26 for Standard type block. You cannot order a photo book with fewer pages. If you have not filled all the pages in the book and some are left blank, they will still be printed and glued into the book.
When you select a photo book with Standard block type, the minimum number of pages is 26, except for the 30x30 cm book format. For this format the minimum number of pages is 24.
There are different maximum numbers of pages for different types of photo books. It is due to the process peculiarities.
The following shows the maximum number of book pages depending on their options:
- Standard block type - 96 pages;
- Lay flat block type (satin, glossy paper) - 80 pages;
- Lay flat block type (satin PRO paper with cardboard interlayers) - 46 pages.
To swap pages, click on the corresponding feature buttons in the bottom bar of the editor. Click in the right arrow to move the spread to the right, towards the end of the book, and the left arrow to move the spread to the left, i.e. towards the beginning of the book.
To create a copy of a page, click the icon (see below) in the bottom panel of the Online Editor. The copied page will be placed after the page from which the copy was created, i.e. after the original.
To move a photo or change its proportions:
1. Click on the desired photo and select Edit.
2. Left-click on the photo, press the left mouse button, and drag it to the area of the page where you want to place it.
3. Align the photo against the other photos placed on the page previously. To do this, the editor has orange-colored guide bars that are displayed when you move a page element (photo, clipart, text) within the spread, and when you try to place the element at the same level in relation to the others or in relation to the page edges.
3.1 To rotate the image inside the cell by 90, 180 or 270 degrees, click and select the "Rotate" option. If you click "Rotate" once, the photo will rotate clockwise by 90 degrees; if you click it for the second time it will rotate by 180 degrees; if you click it for the third time it will rotate by 270 degrees.
3.2 In order to rotate the cell with the photo by ! any degree angle !, click on the photo again and select the Edit option. A rounded arrow symbol will appear at the top of the photo. Hover the mouse pointer on it and press the left mouse button. Now, pressing the mouse button, rotate the cell in the direction you want it to go.
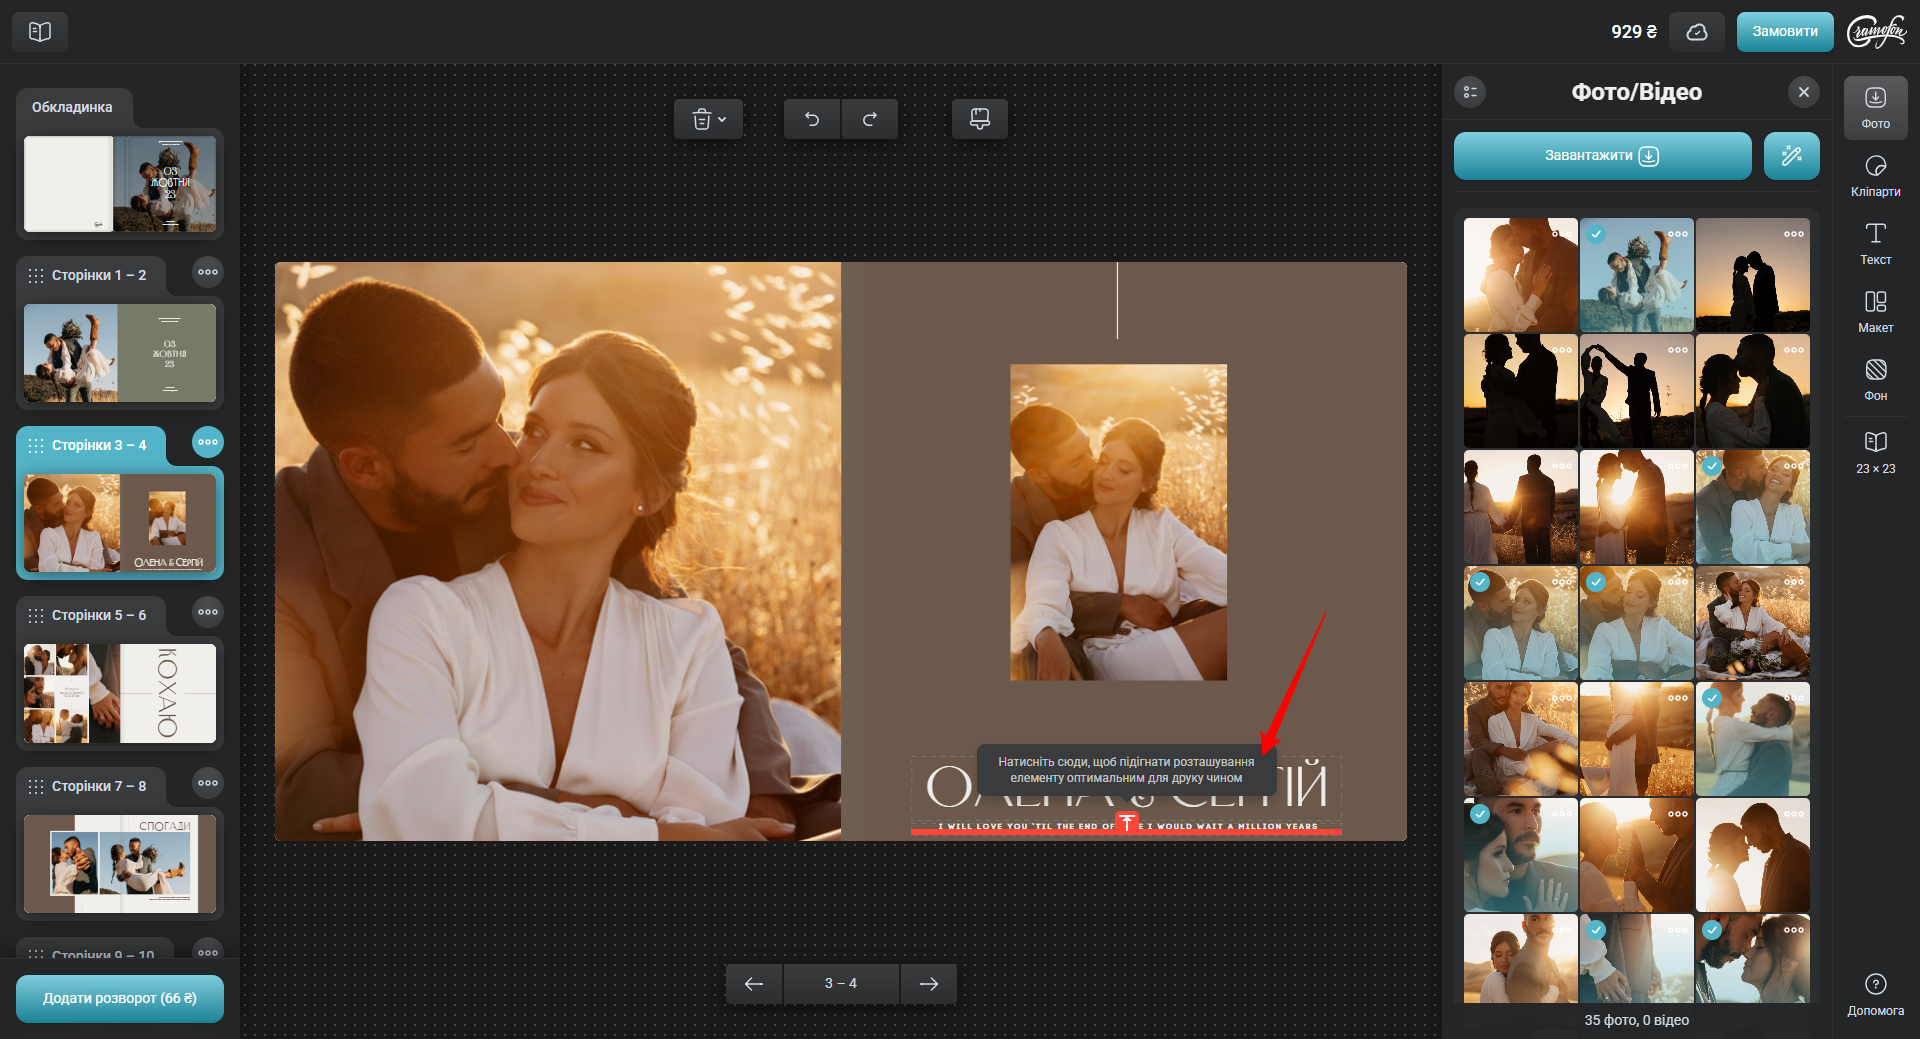
To place a full-page photo, click on the photo, select the Edit option in the toolbar, and then click Full-Page.
You can decorate the photo placed on the page of the photo book with a minimalistic frame in white or any other color.
1. Click the photo and select Frame.
2. Now select the width of the frame using the slider; the maximum width is 20 mm
3. By default, the frame will be white. To change the frame color, click on the white box next to the slider. In the pop-up window, select the color using the color chain or enter a numeric value for the color. Once you have finished selecting, click "Ok" to save the changes.
In order to change the transparency of a photo:
1. Click the photo and select Edit.
2. Now select the Transparency option and use the slider to set the desired image transparency value.
By default, all photos have a 100% transparency value. The minimum transparency value is 5%, at which the photo will be almost invisible.
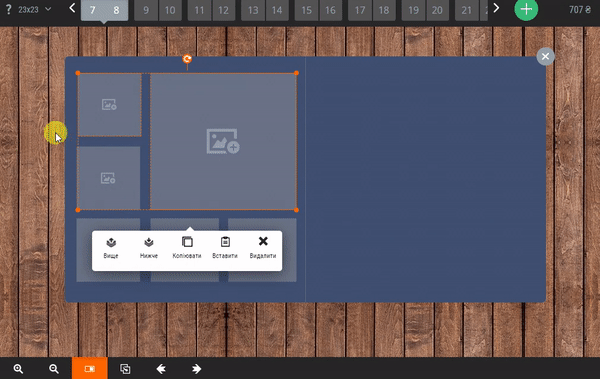
When placing many design elements on a photo book page, it may be required to place certain elements on top of others. For example, clipart on top of a photo. In order to set the order in which the elements overlap:
1. Press the photo and select Edit.
2. Then press the Below or Above option.
If you select Below, the photo will be superimposed over the other design elements. If you select Above, the photo will be placed on top of the other design elements.
To copy and paste photos within a single spread:
1. Click the photo and select Edit.
2. Now select the Copy option. The photo with the design elements will be copied to the clipboard.
3. Then click Paste. The photo will be placed on the same page from which you copied it, slightly below the original.
To copy and paste a photo to another spread:
1. Click the photo and select Edit.
2. Now select the Copy option. The photo with the design elements will be copied to the clipboard.
3. Navigate to the spread where you want to insert the photo.
4. Press Ctrl+V.
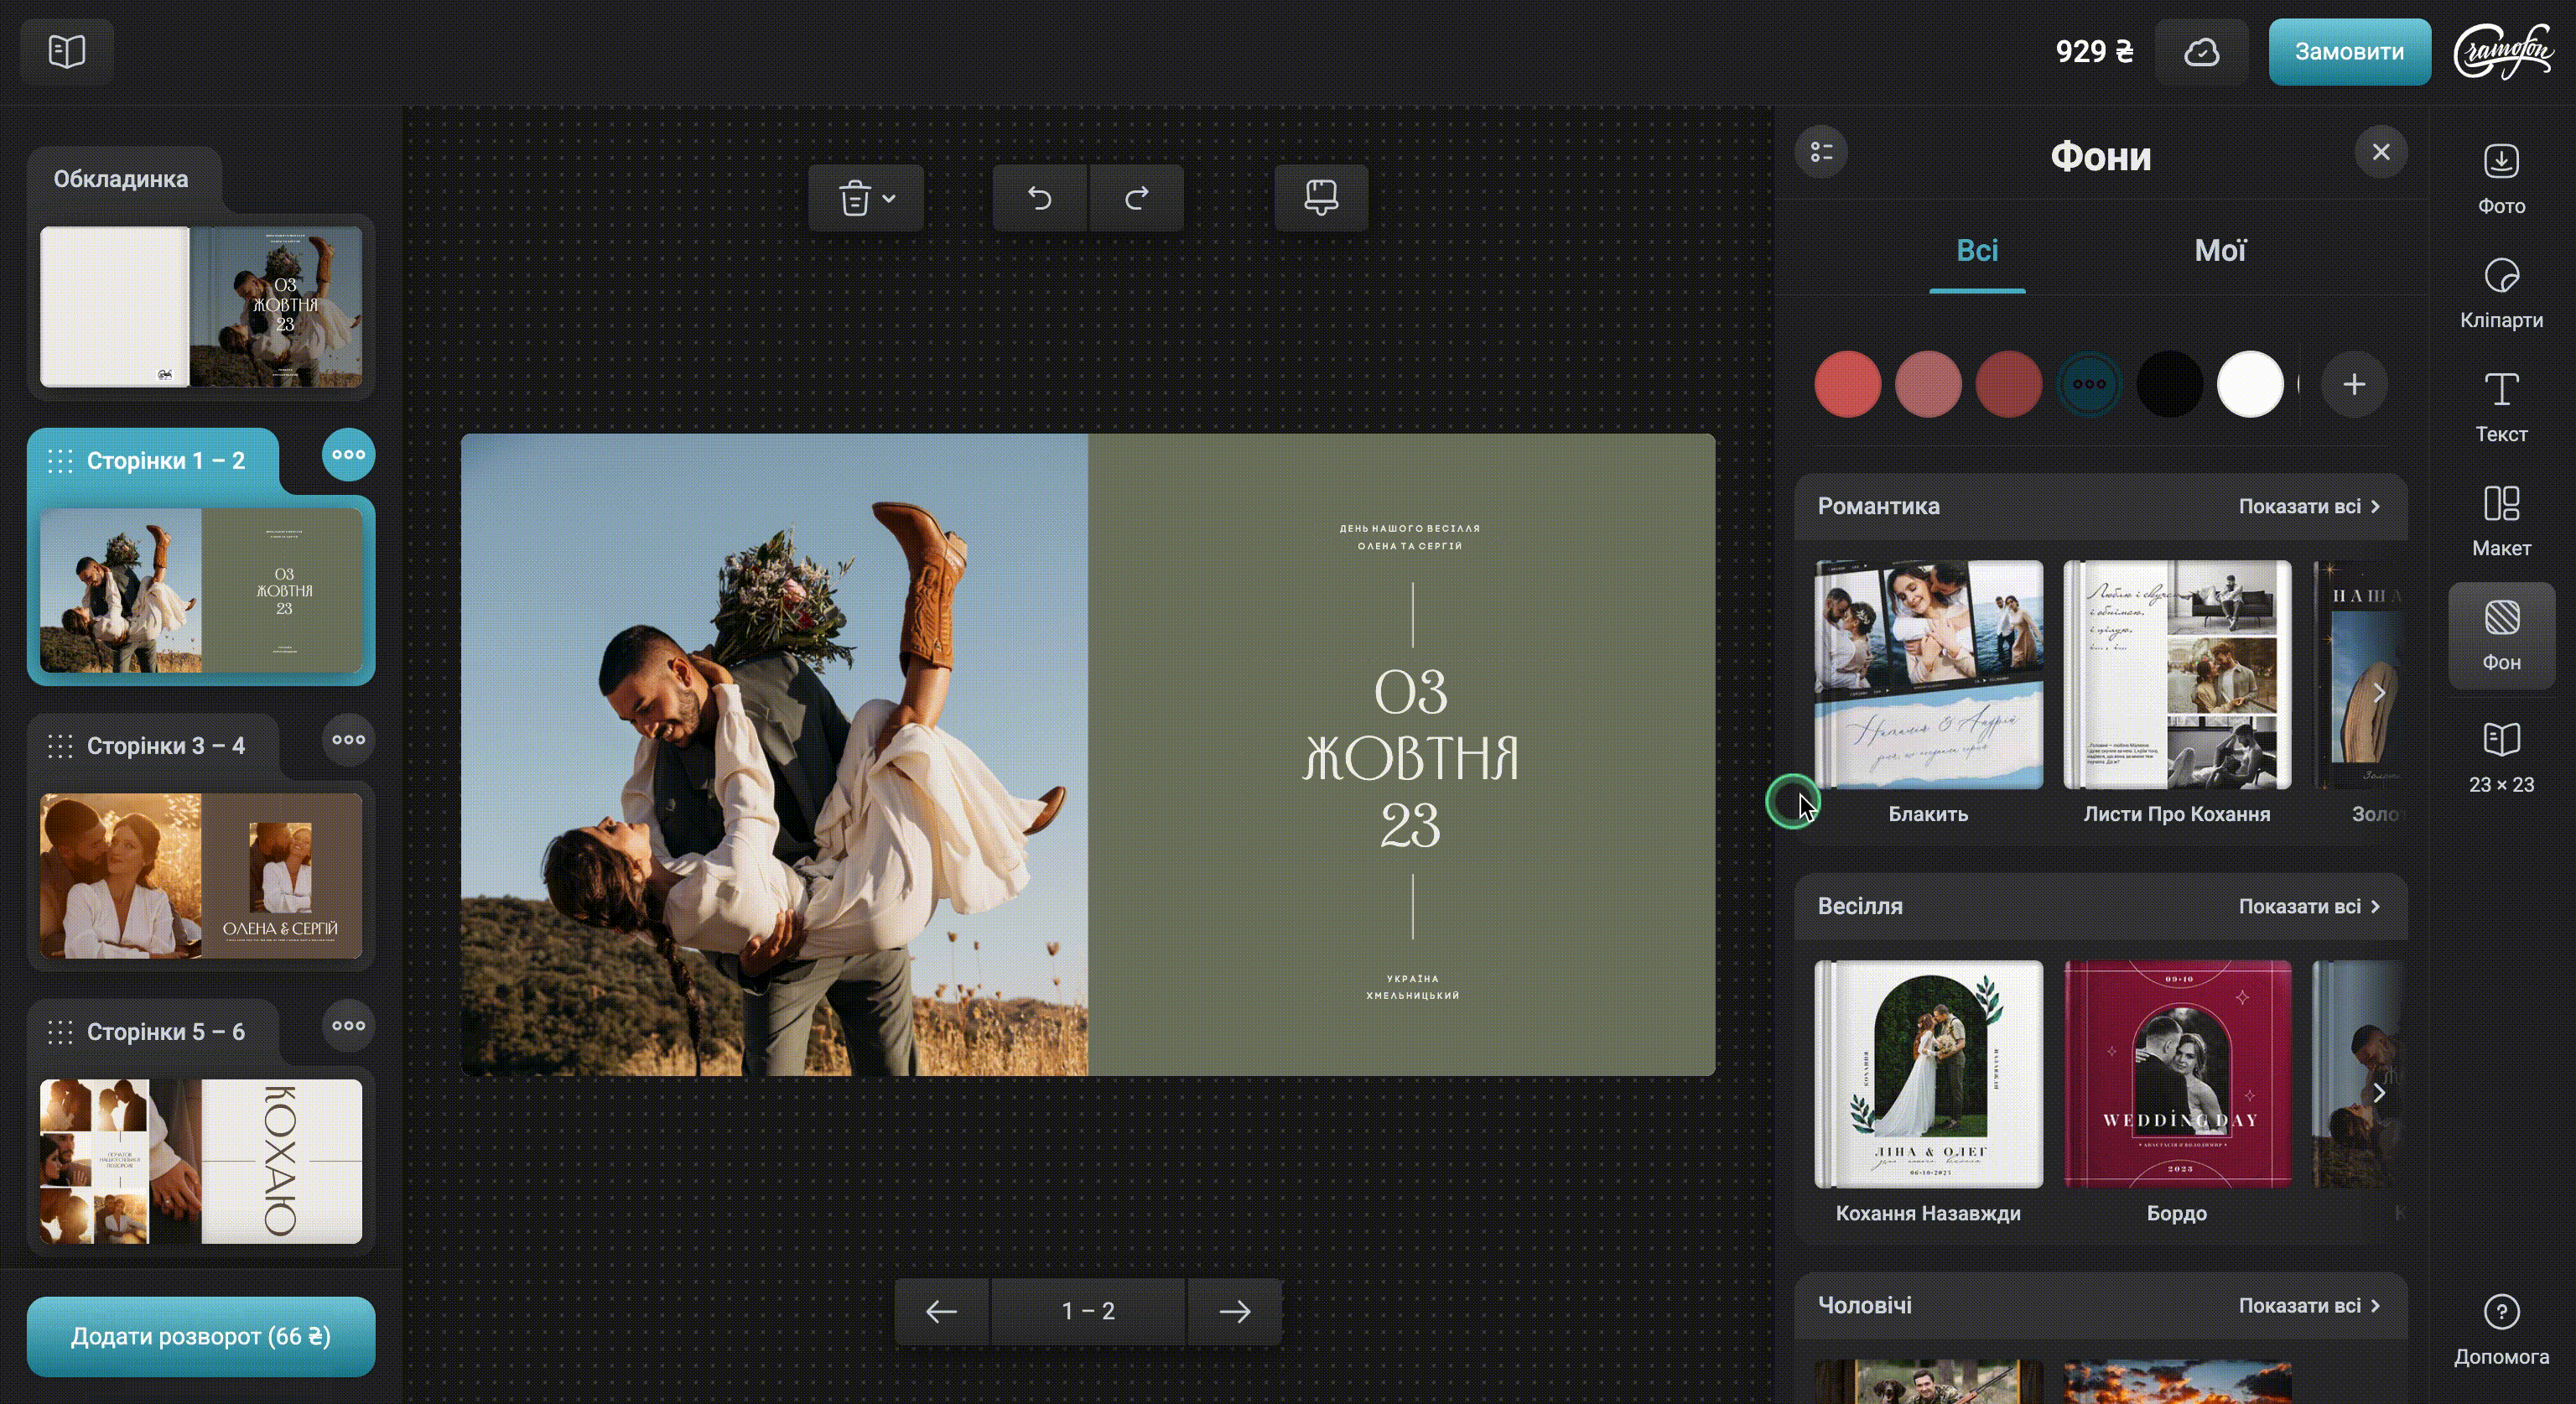
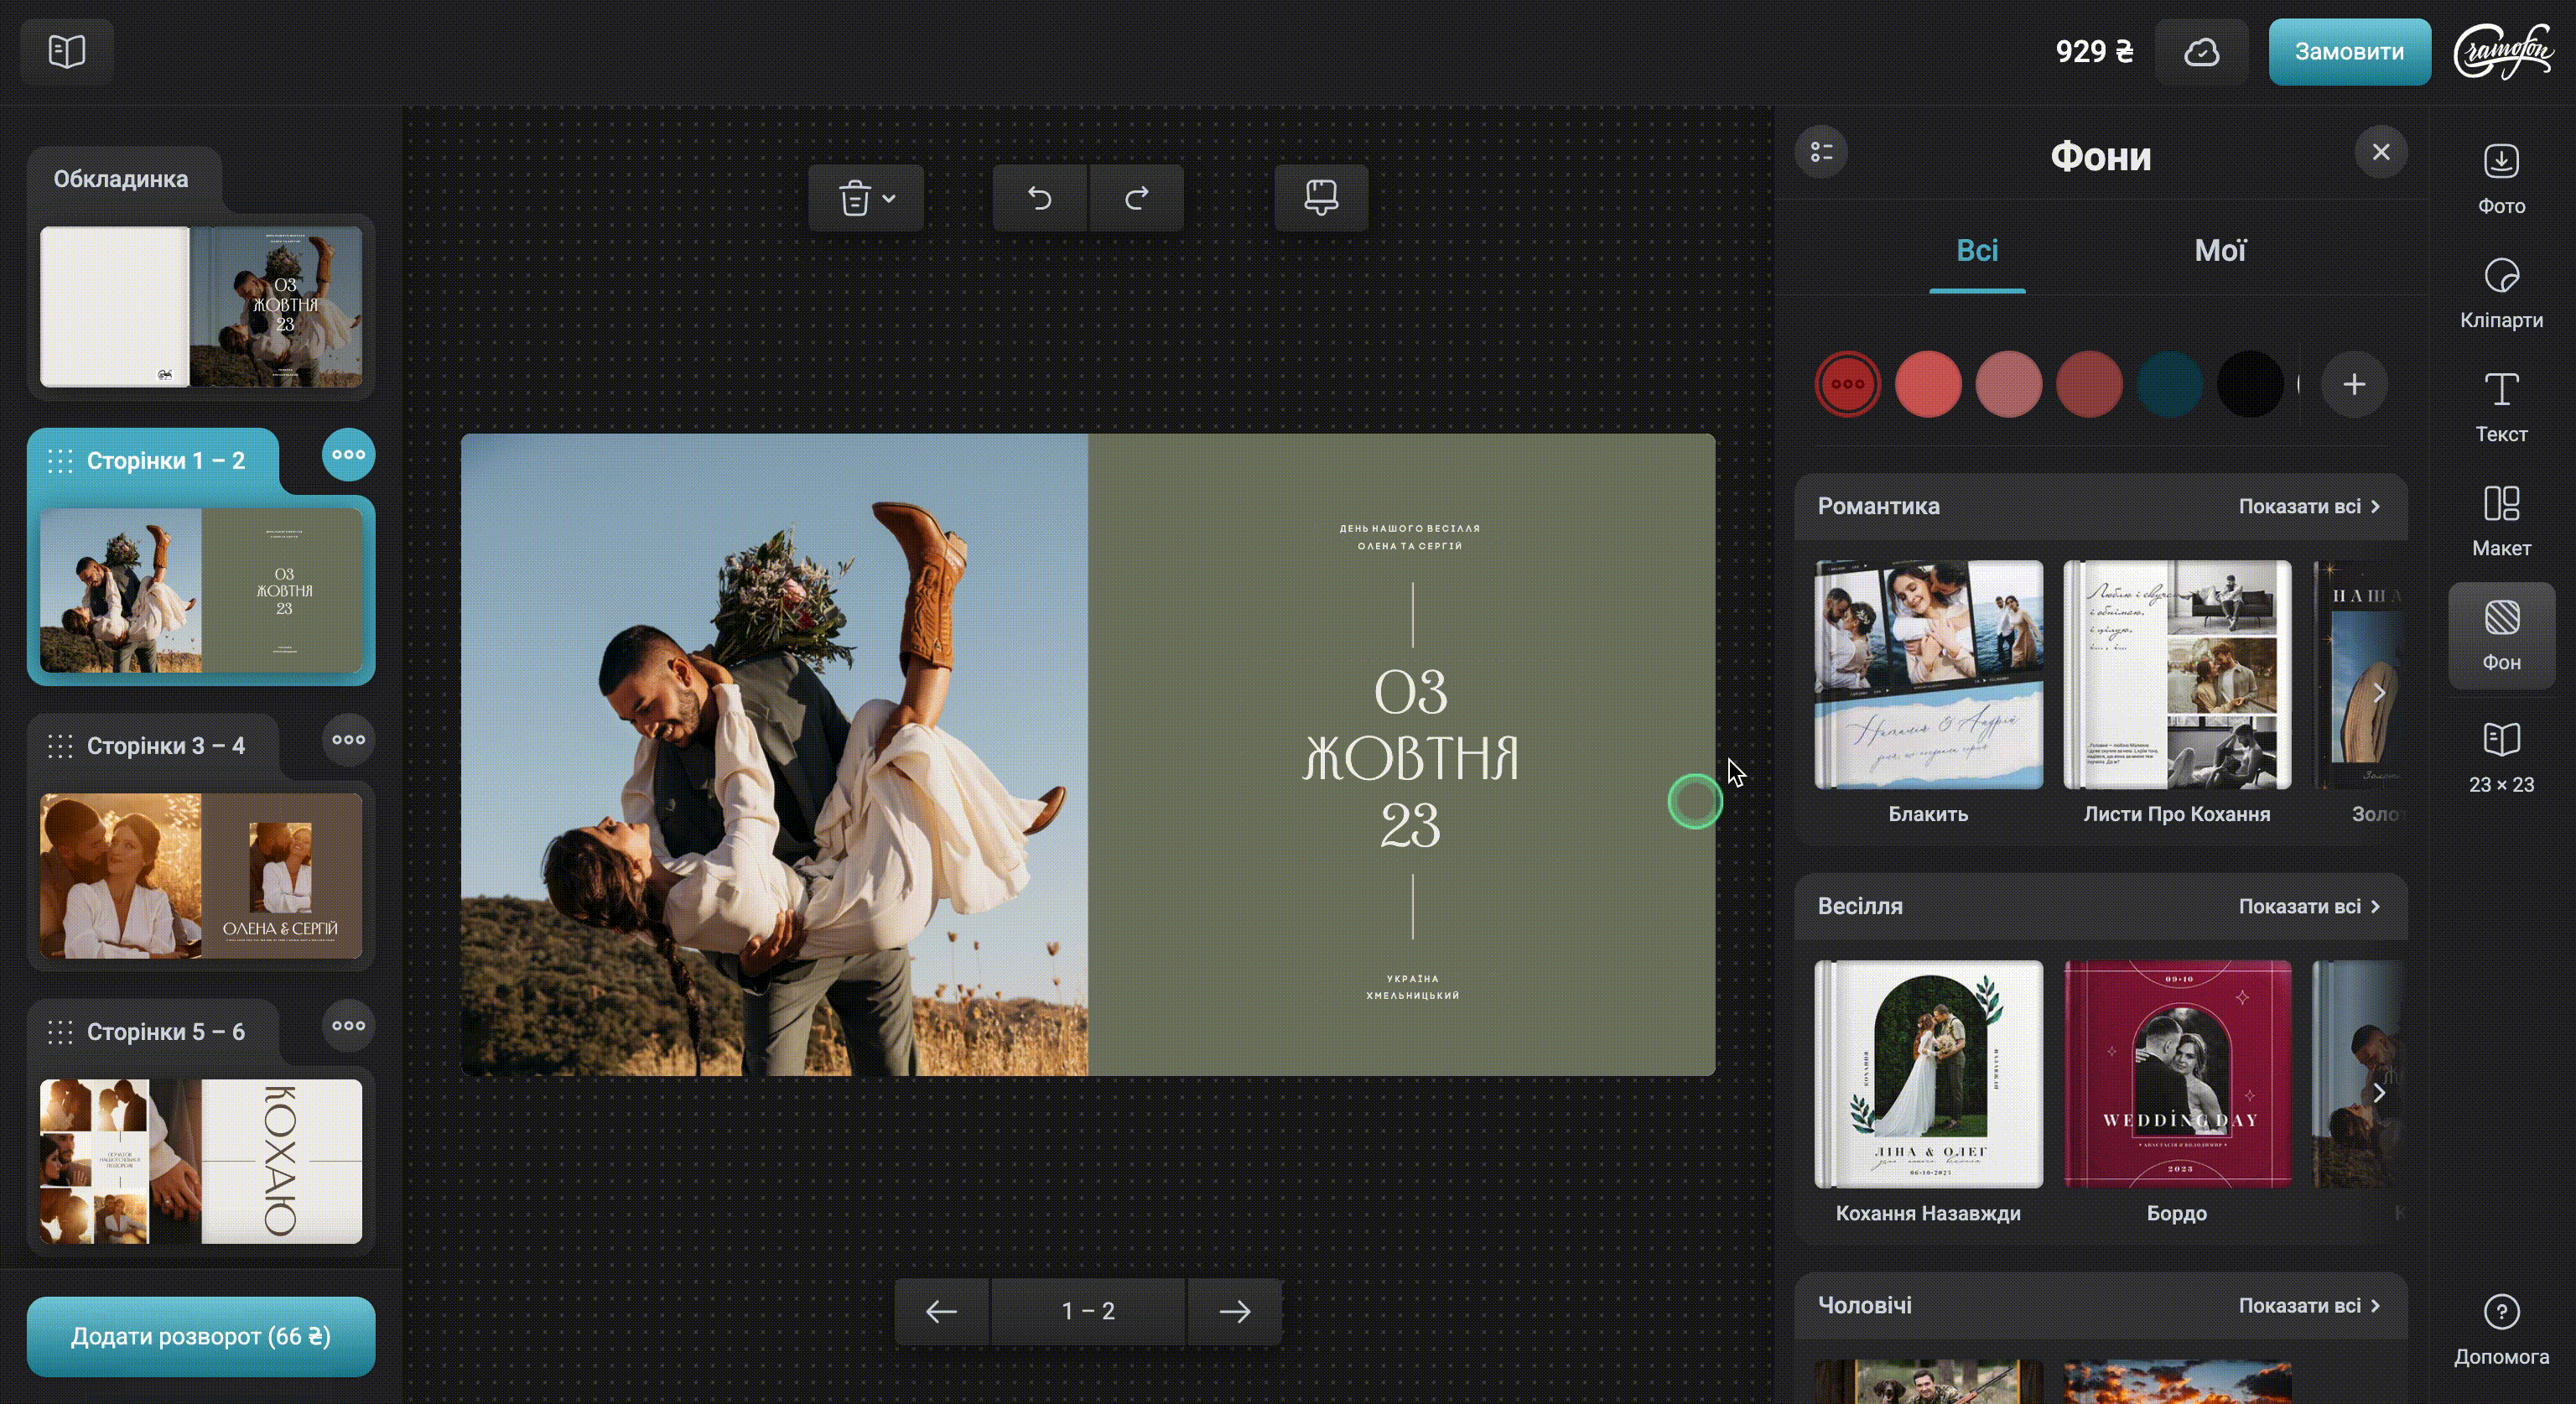
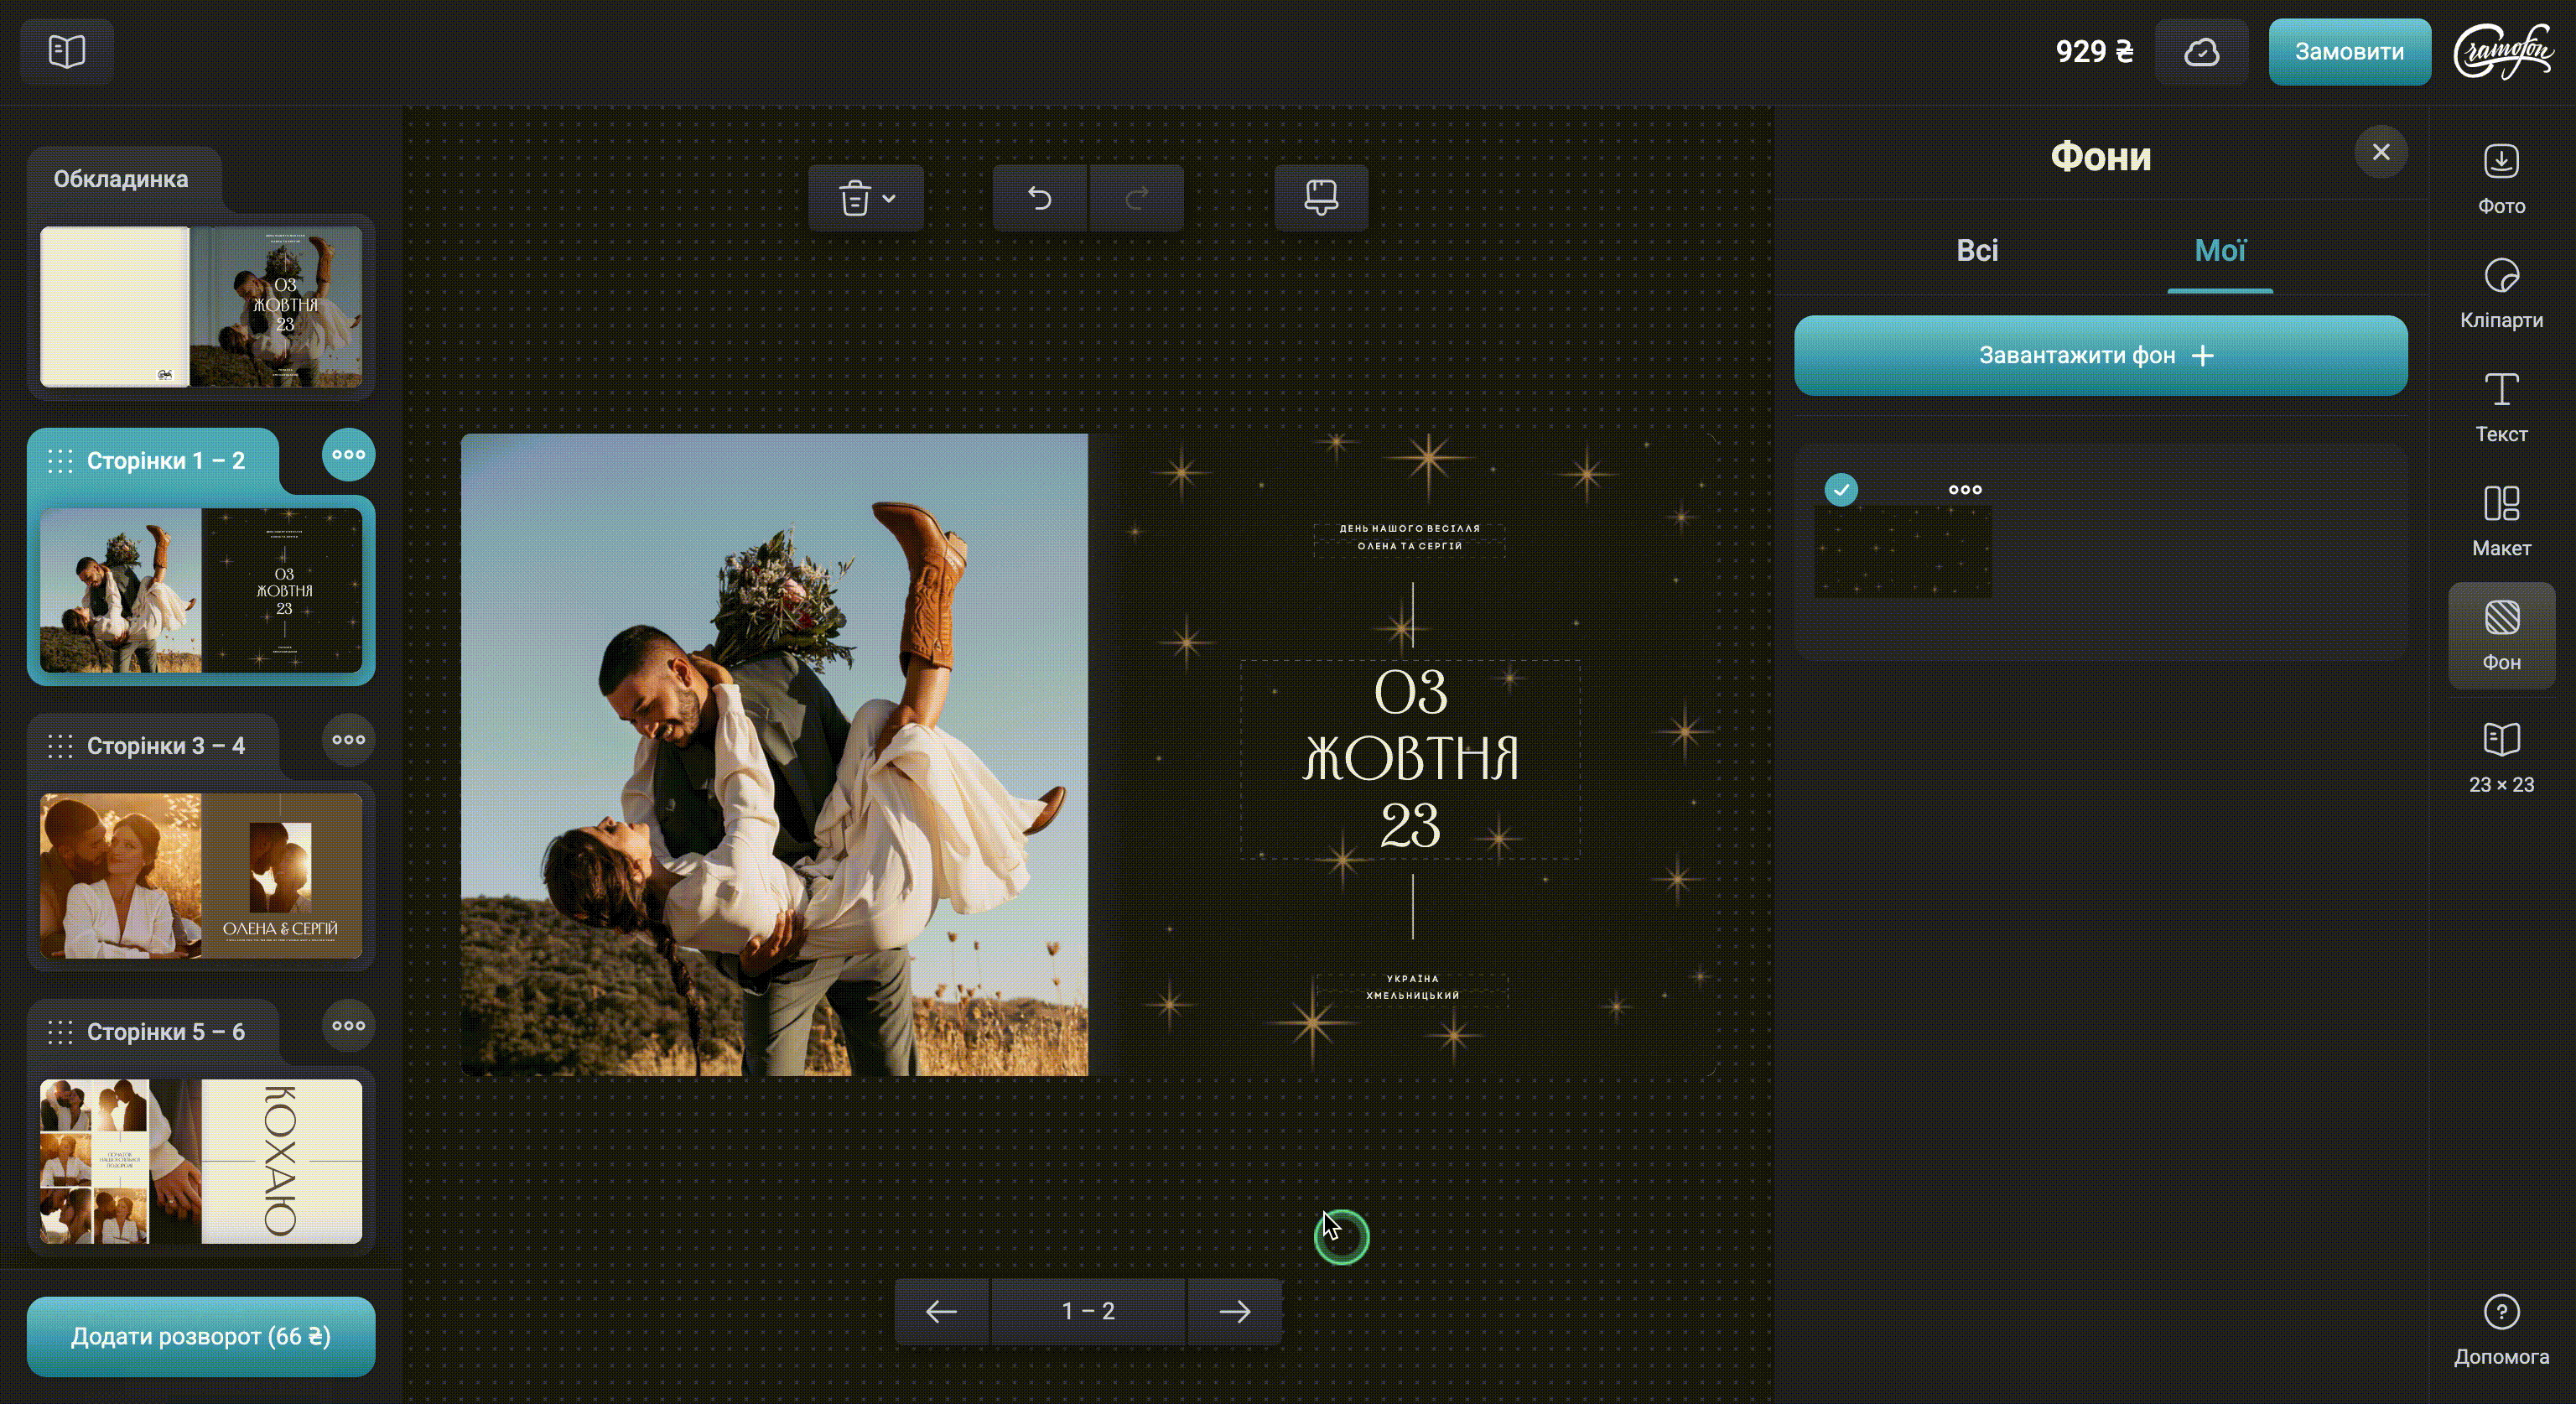
To replace the background from the selected template with the background from another theme template:
1. In the right sidebar of the Online Editor, select the Background menu, then the theme of the photo book.
2. In the right window, the backgrounds from all the templates on this theme appear.
3. Click on the background you like and drag it with the left mouse button to the cover or the spread of the photo book.
You can also make a solid background. To do this:
1. In the right sidebar of the Online Editor, select the Background menu, then the Solid option.
2. Next, drag a solid background with the left mouse button to the cover, page, or spread of the photo book.
3. Click on the colored icon and select the preferred shade.
4. Press "OK" to save the changes.
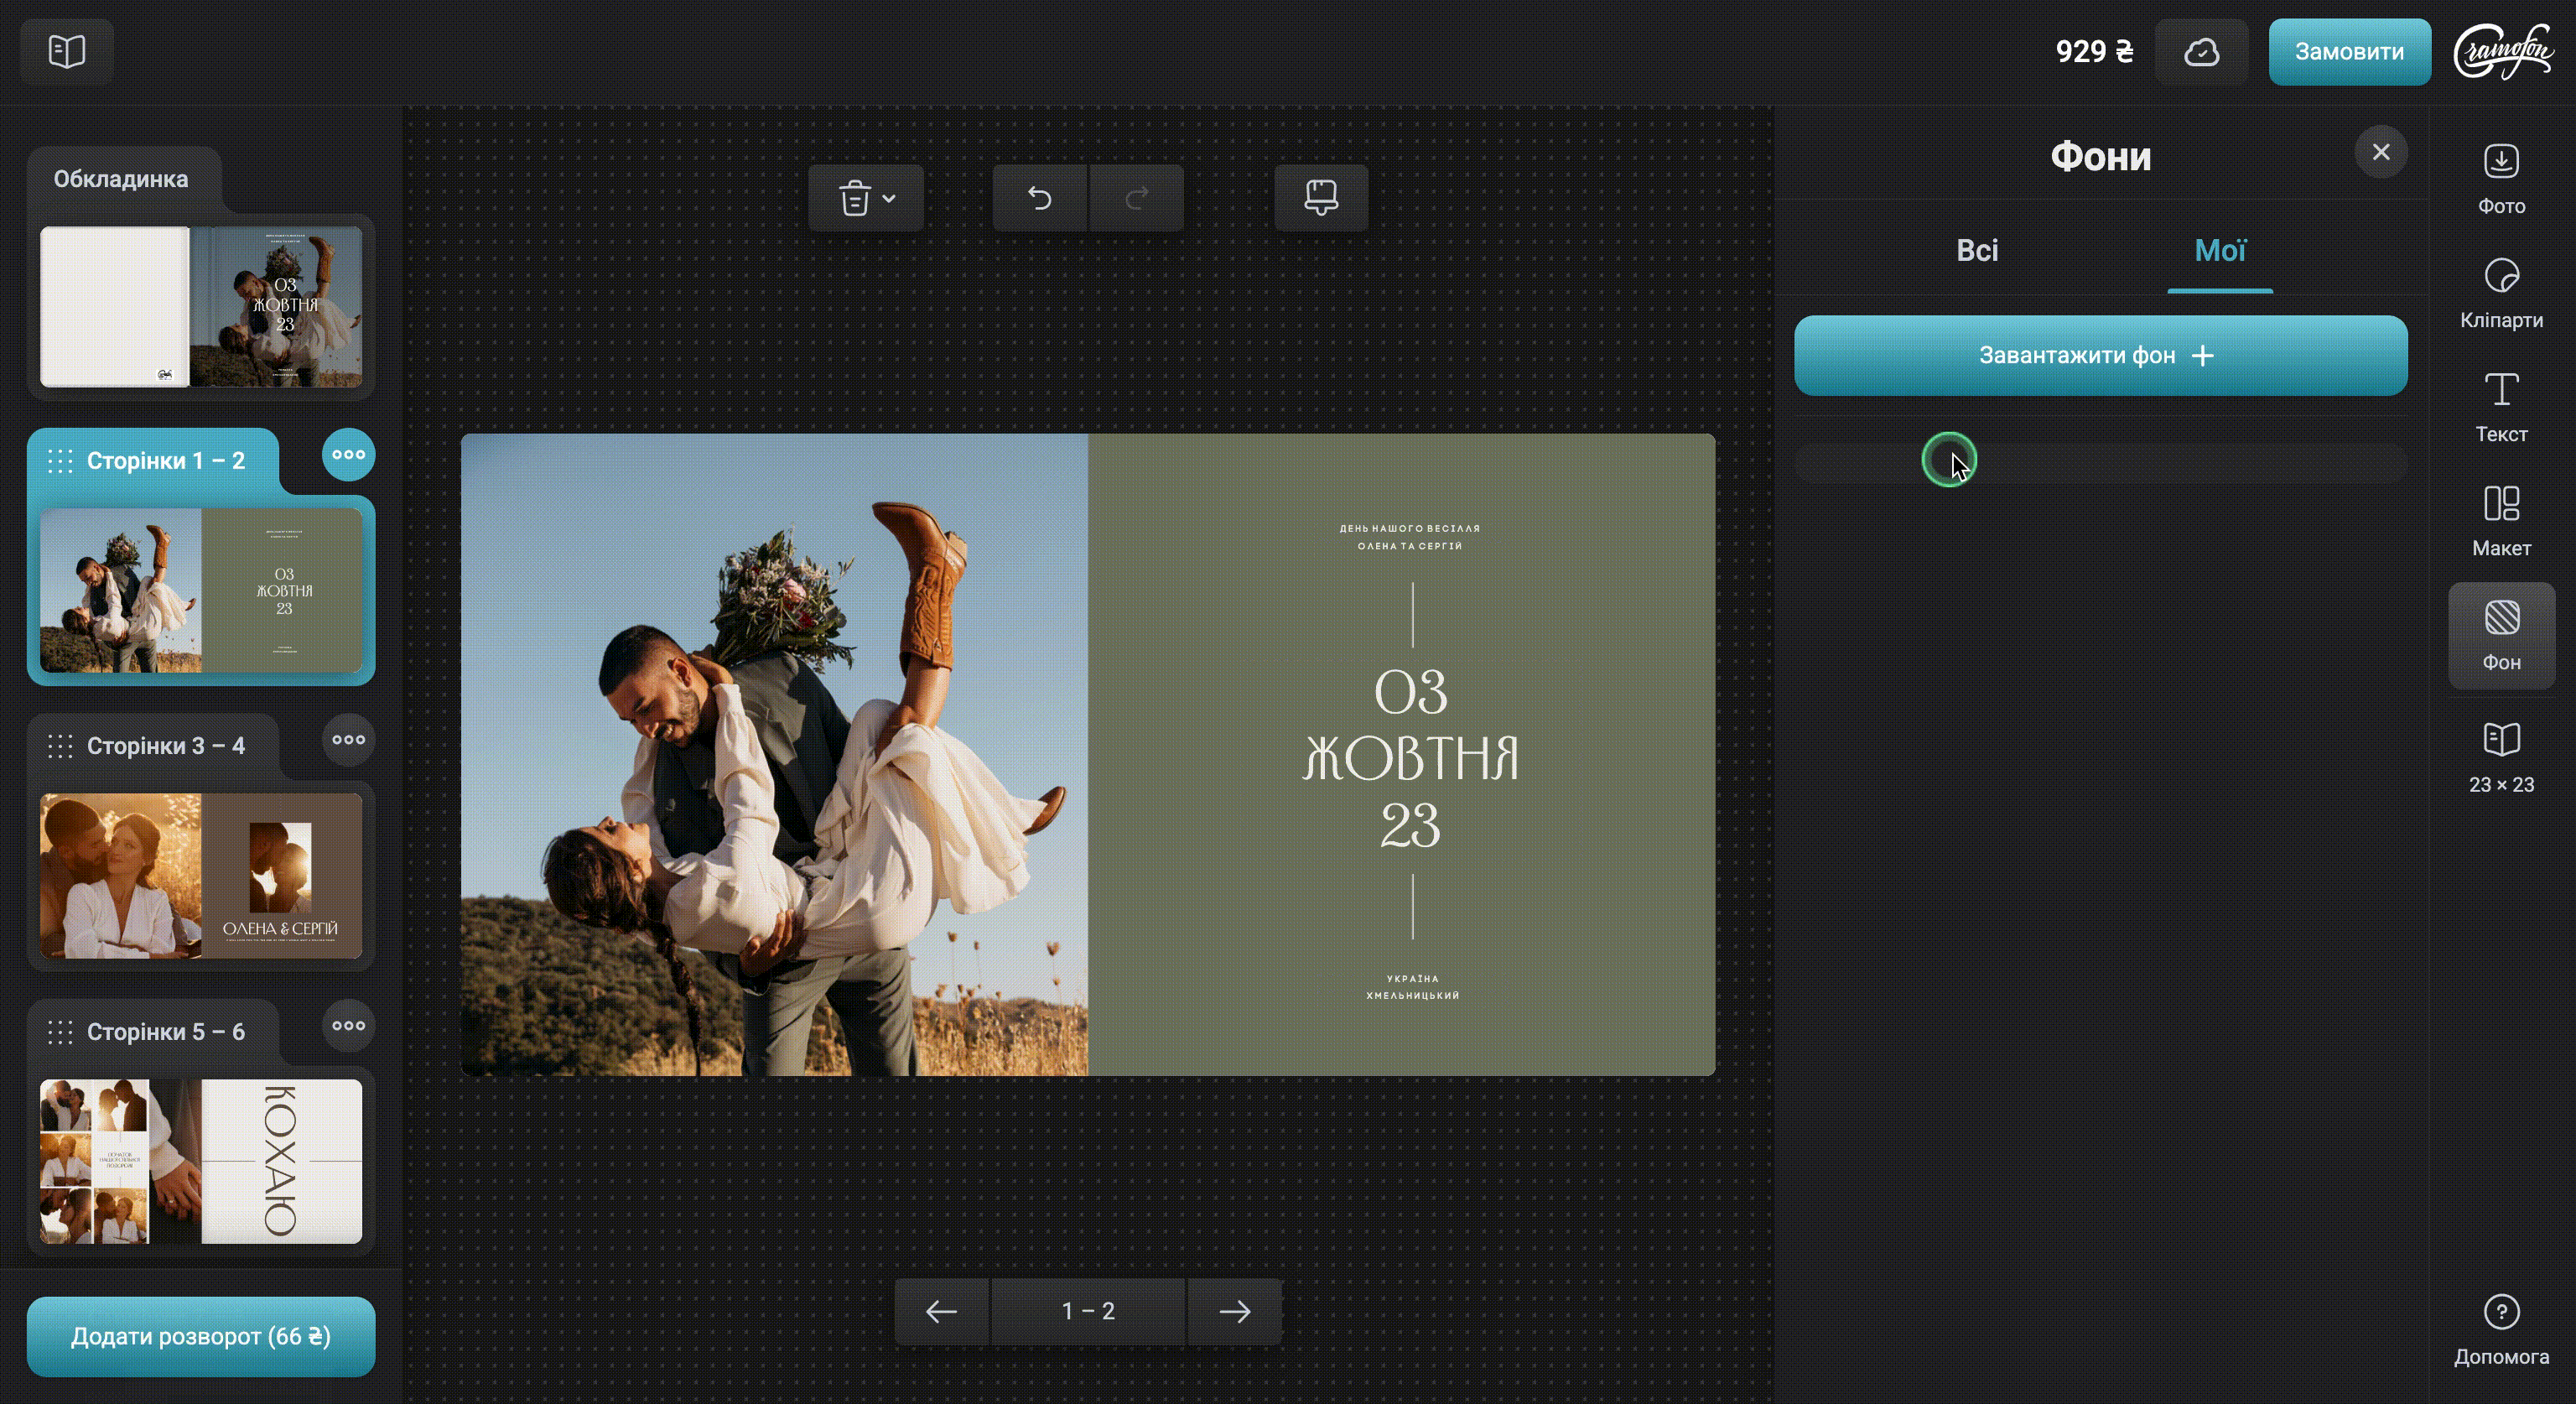
To upload a custom background:
1. In the right sidebar of the Online Editor, select the Background menu, then click the upload button (green arrow)
2. In the pop-up window, choose a folder from which you will upload images and select all preferred pictures.
3. Click Open, and the images will start uploading to the website.
In order to change the transparency of the background:
1. Click on the background and select Transparency.
2. Now use the slider to set the preferred image transparency value.
By default, all backgrounds have 100% transparency. The minimum value of transparency is 5%, at which the background will be almost invisible.
You can change the transparency of backgrounds from our library or the custom backgrounds you have uploaded. For a Solid background, you can change the transparency by choosing a lighter shade on the color wheel.
Rotate the backgrounds in the same way as the photos. Please, refer to paragraph 3.1 of the PHOTO HANDLING section. Learn more here
Zoom in the background in the same way as photos. Learn more here
Delete the background in the same way as the photos. Learn more here
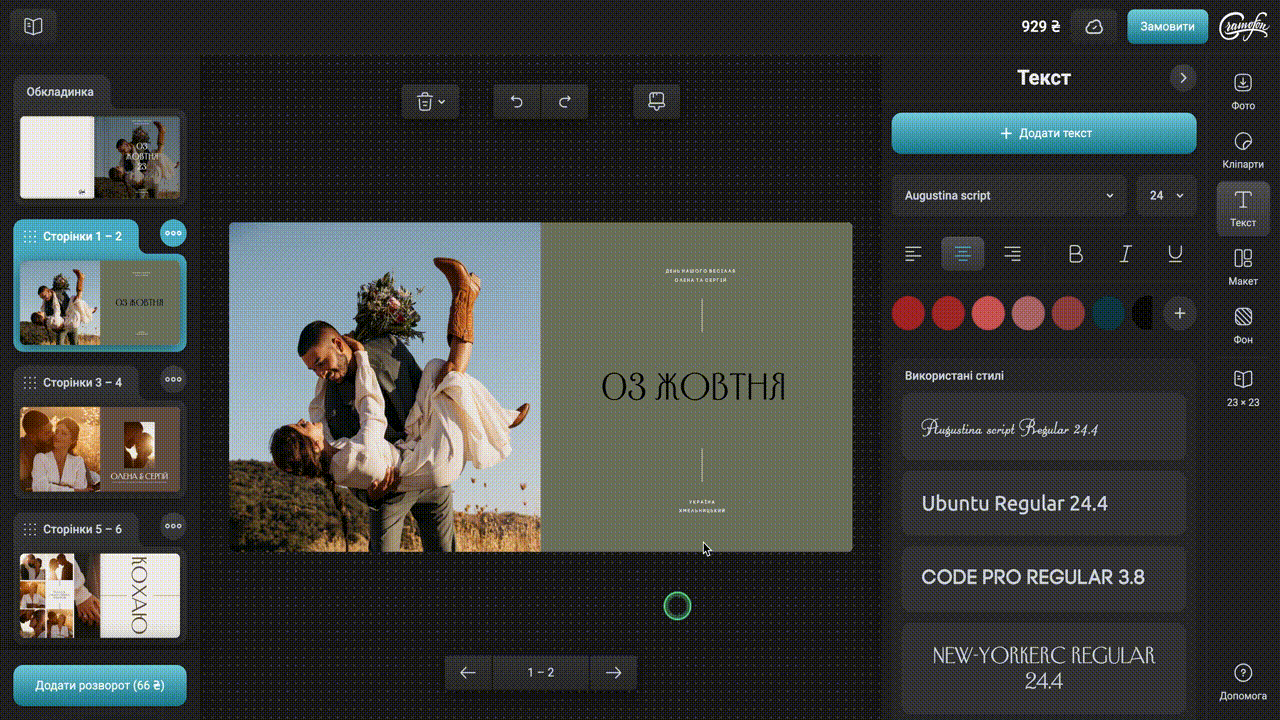
In order to add text:
1. In the right sidebar of the Online Editor, click Text.
2. Select a font, left-click on it and drag it to the work field.
3. Write your own text.
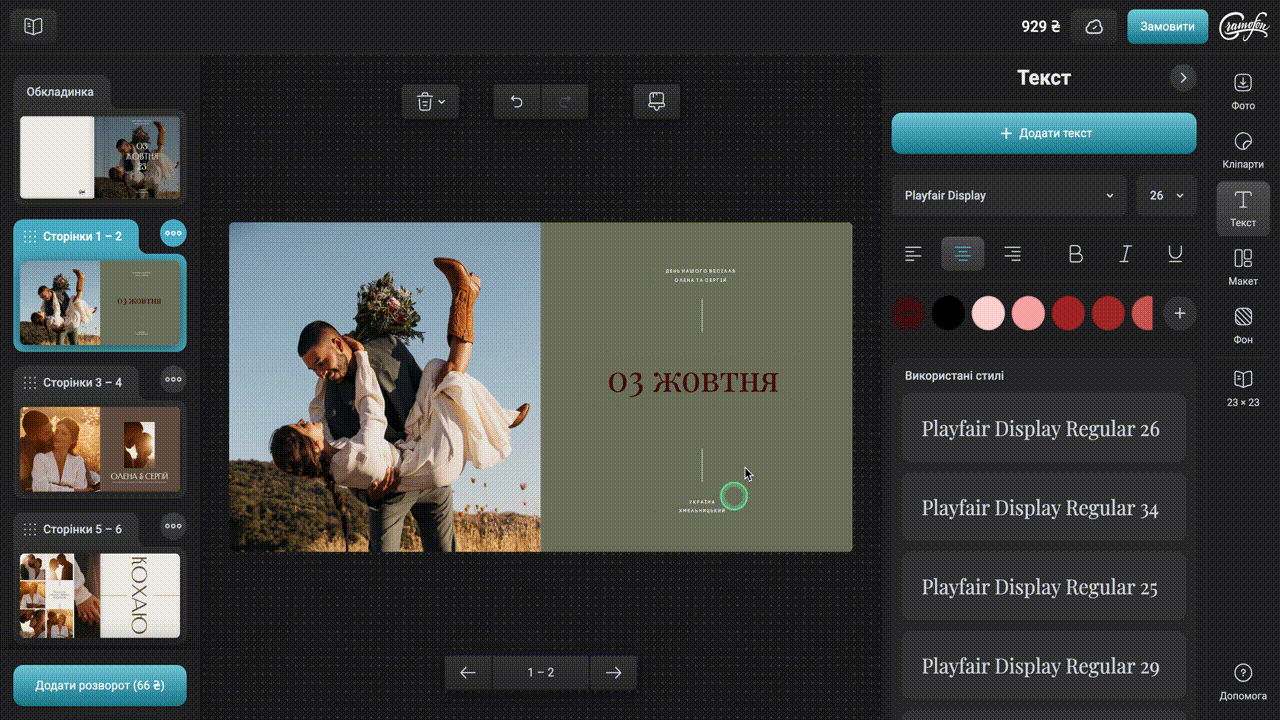
To change the font, click on the text block, then on the font name, and select a new font of your liking from the drop-down list =)
To change the font size, click on the text box, then use the up and down arrows to change the font size in the pop-up window. Each click on the arrows adds or subtracts one point of the font size. Alternatively, click the down icon in the pop-up window (see a screenshot below) and choose the font size as desired.
To change the caption color, click on the text box, and then click on the color box in the pop-up window. The color wheel will open. Select the color you like and click OK.
To change the font outline, click a text box, then select the bold, italic, or underline options in the pop-up window. Not all outline types are available for all font types.
To align text in a text box, click on it and select one of the alignment options: left-aligned, right-aligned, or centered.
To move text across a page or cover:
1. Click on the text box (text)
2. Select Edit. Markers will appear around the text box.
3. Now feel free to drag and drop the text box in the desired direction.
NOPE! It won't be printed. :)
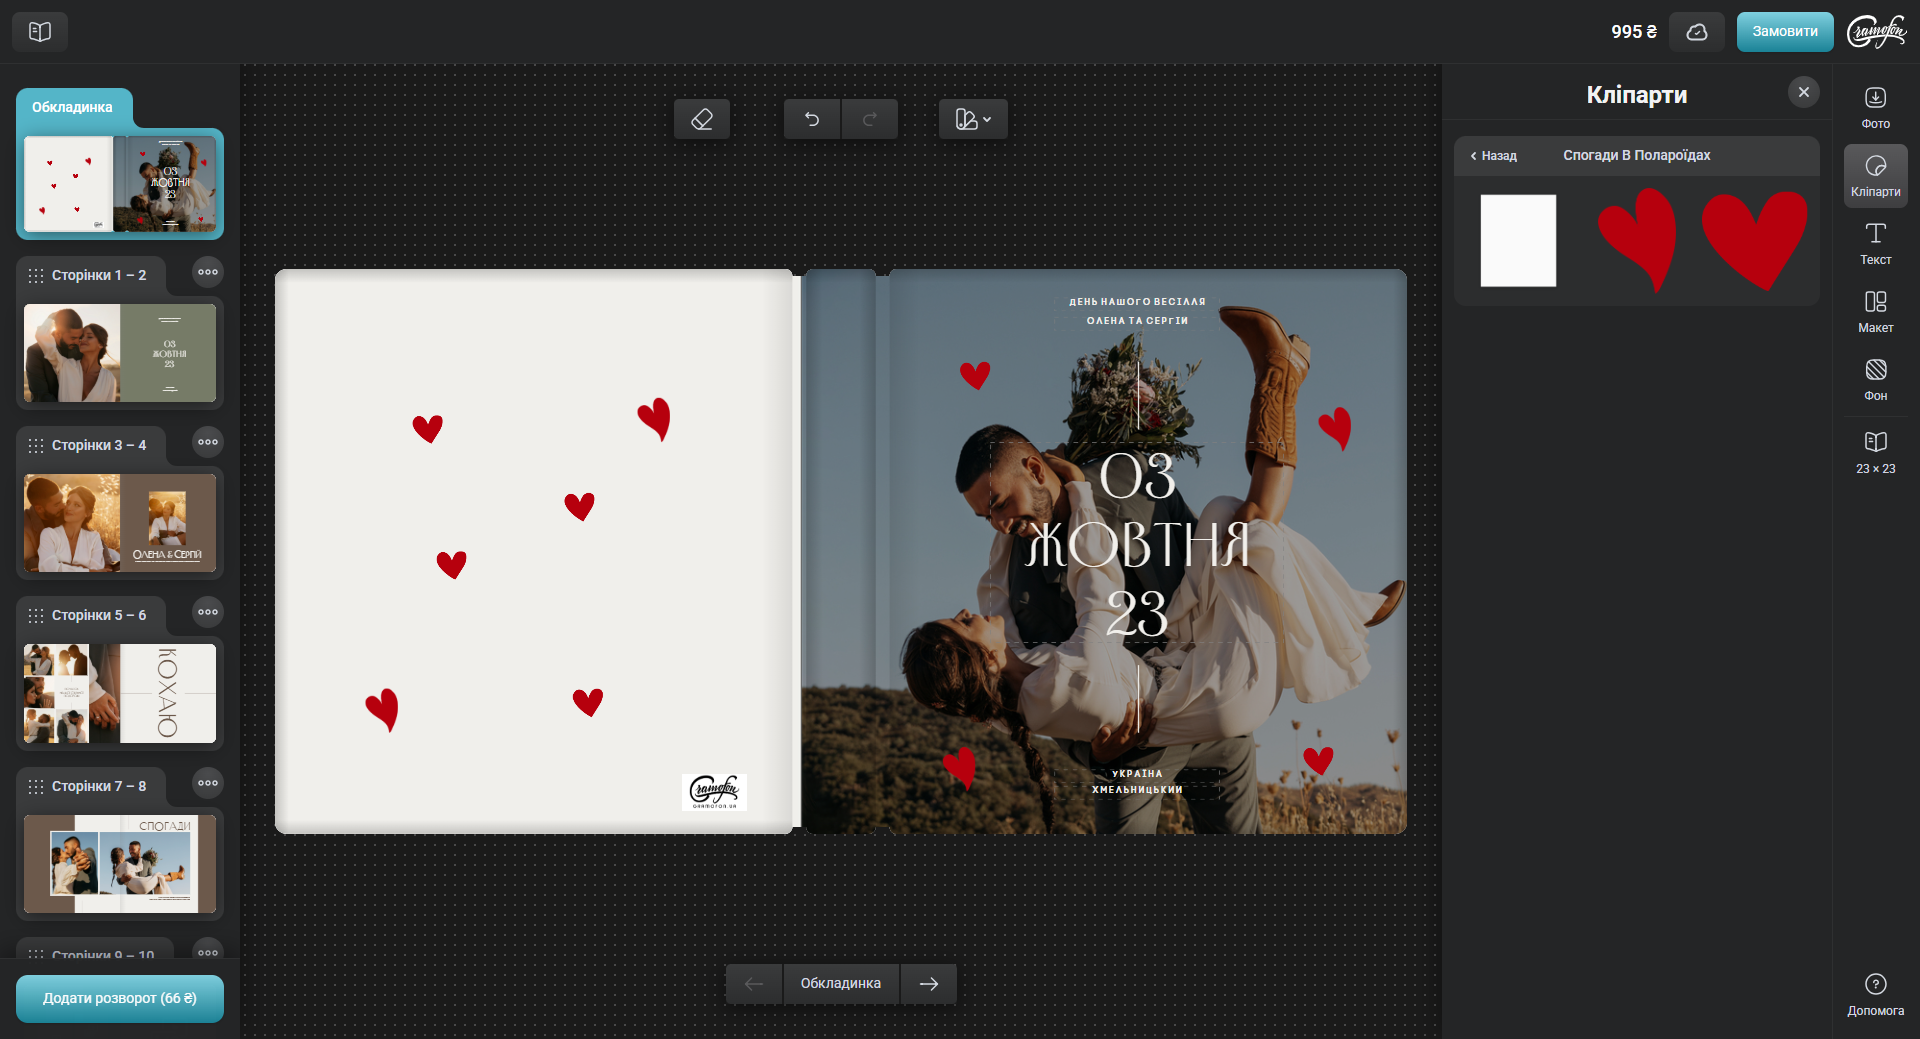
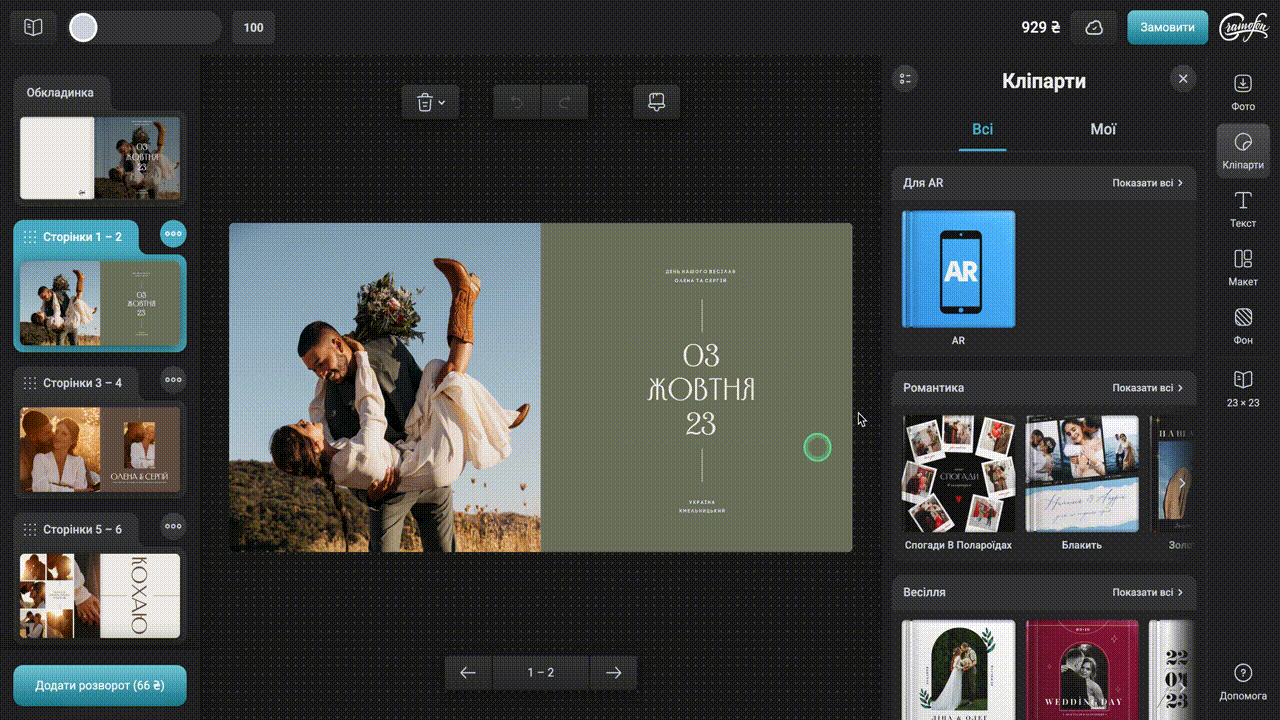
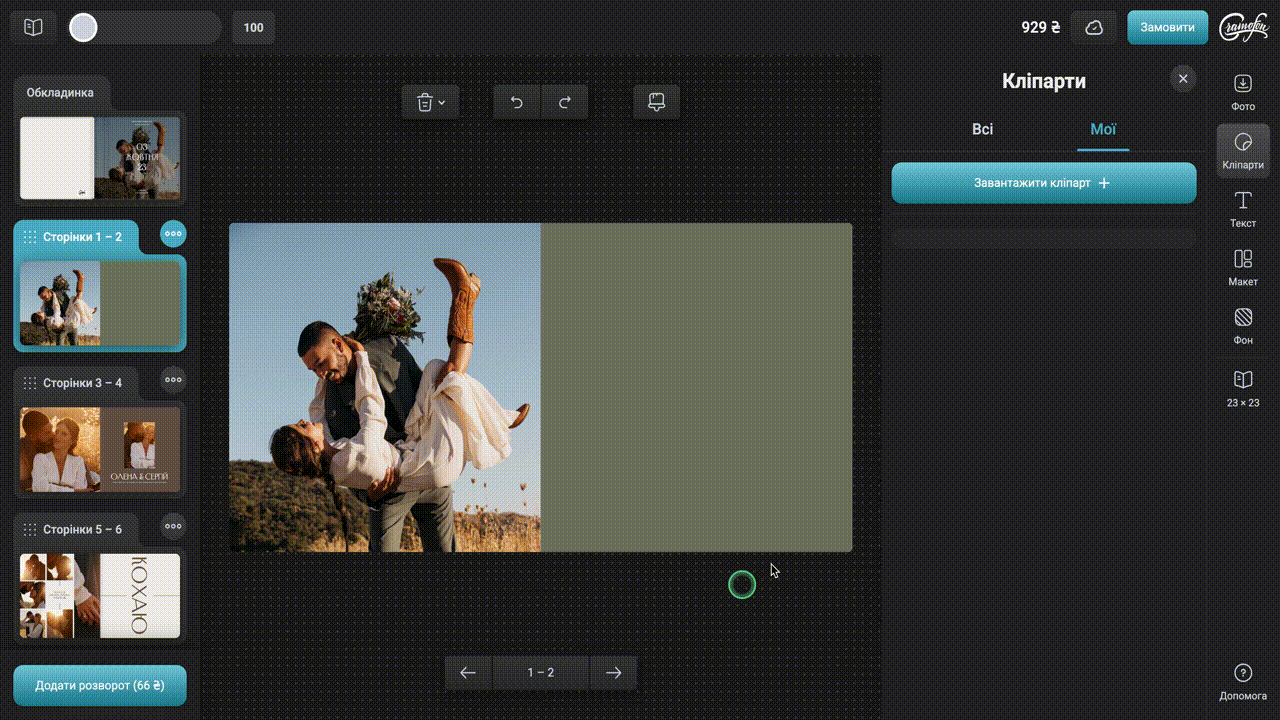
Clipart or sticker is a graphic element used to decorate a photo book. The clipart can be ready-made captions in a beautiful font, cute animals, and more.
To place clipart on a page, click on the Clipart section in the right sidebar of the Online Editor, and select the clipart from the list. Left-click on it and drag it to the page or cover.
To download your own clipart:
1. In the right sidebar of the Online Editor, select the Clipart menu, then click the upload button (green arrow)
2. In the pop-up window, select a folder from which you want to upload clipart.
3. Click Open, and the clipart will be uploaded into the editor.
NB! Clipart must be in png format.
A limited number of layout options are available for covers, with one or three photos.
To place the layout on the cover:
1. In the right sidebar of the Online Editor, click the Compose menu and select the number of photos.
2. Click the left mouse button on the desired option and drag.
If you need a custom layout, you can find it in other theme templates or make your own.
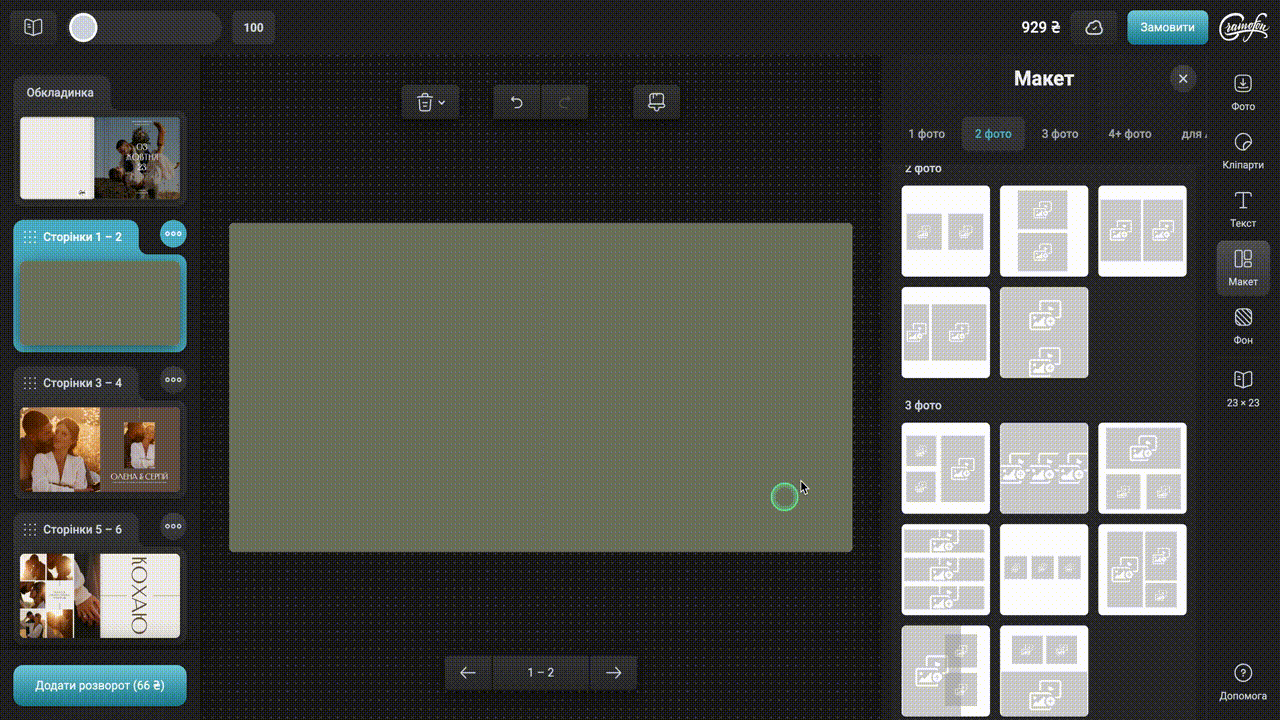
Several photo layout options are available for pages, from 1 to 16 photos per page.
In order to place a layout on a page you need to:
1. In the right sidebar of the Online Editor, click the Layout menu and select the number of photos.
2. Left-click the layout option and drag it to the cover.
If you need a custom layout, you can find it in the other theme templates or make your own one.
To copy an existing layout:
1. Hold down the Ctrl key and select all cells of the layout with the left mouse button, then click Copy in the opened window.
2. Click the Paste button and drag the copy to the desired location on the page.
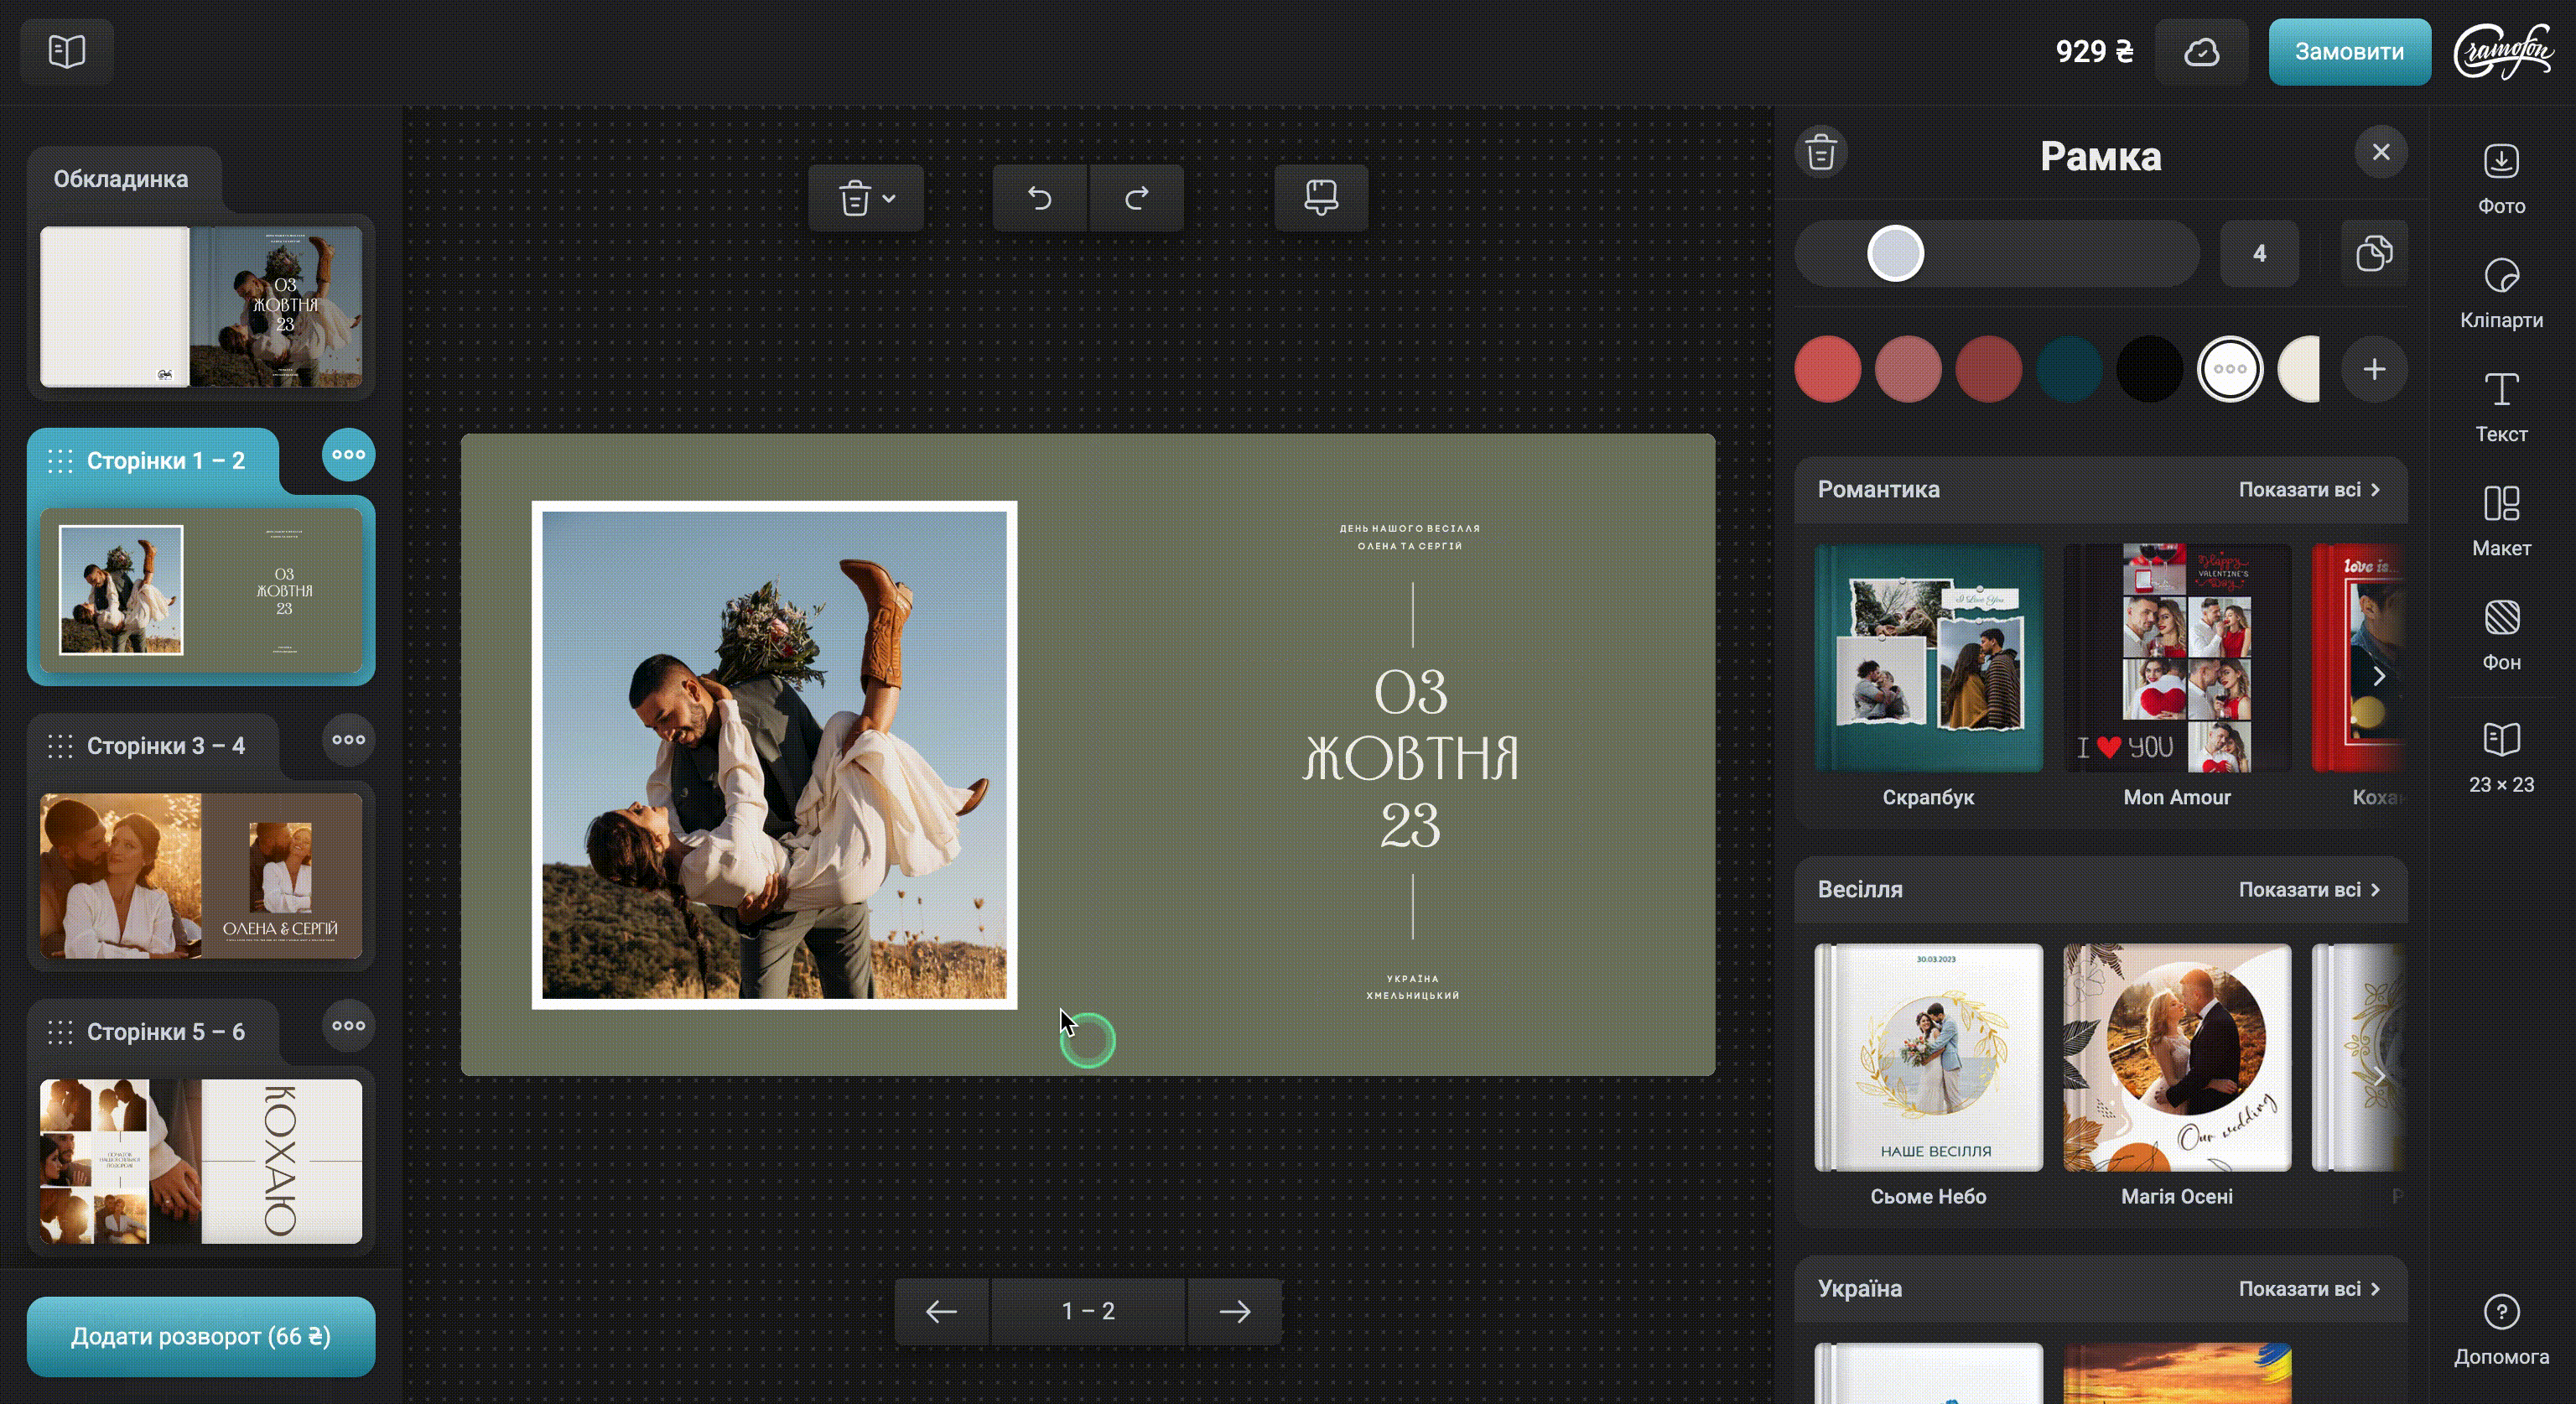
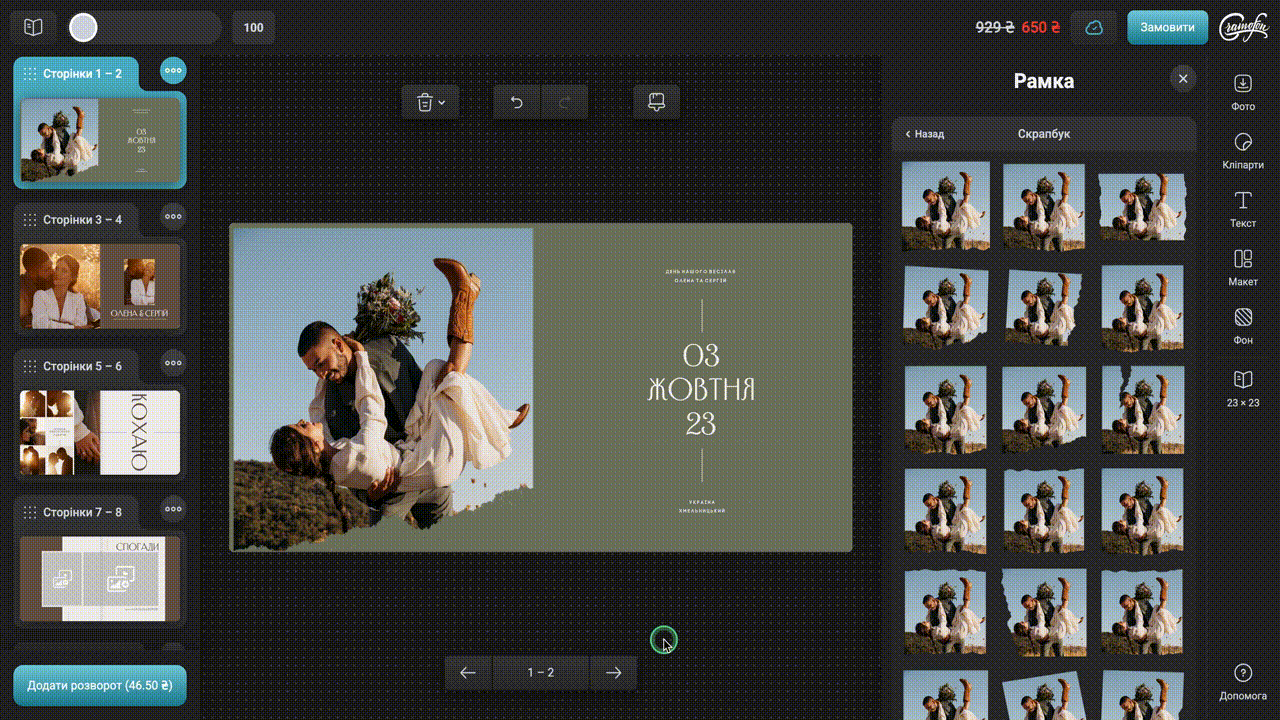
In order to place a frame on a photo book page you need to:
1. Place a photo on the page/cover of the photo book;
2. In the right sidebar, click the Frame menu, and then select a theme;
3. Left-click and drag the selected frame onto the photo;
Be sure to center the photo in the frame so that details important for the story (arms, legs, heads, etc.) are not cropped.
Note: you can place the frame only on the photo or layout (empty cells under the photo), if you move the frame to an empty page of the photo book or to cliparts, the frame will not move.
To remove the frame:
1. Click the photo from which you want to remove the frame.
2. In the pop-up window, select Delete Frame.
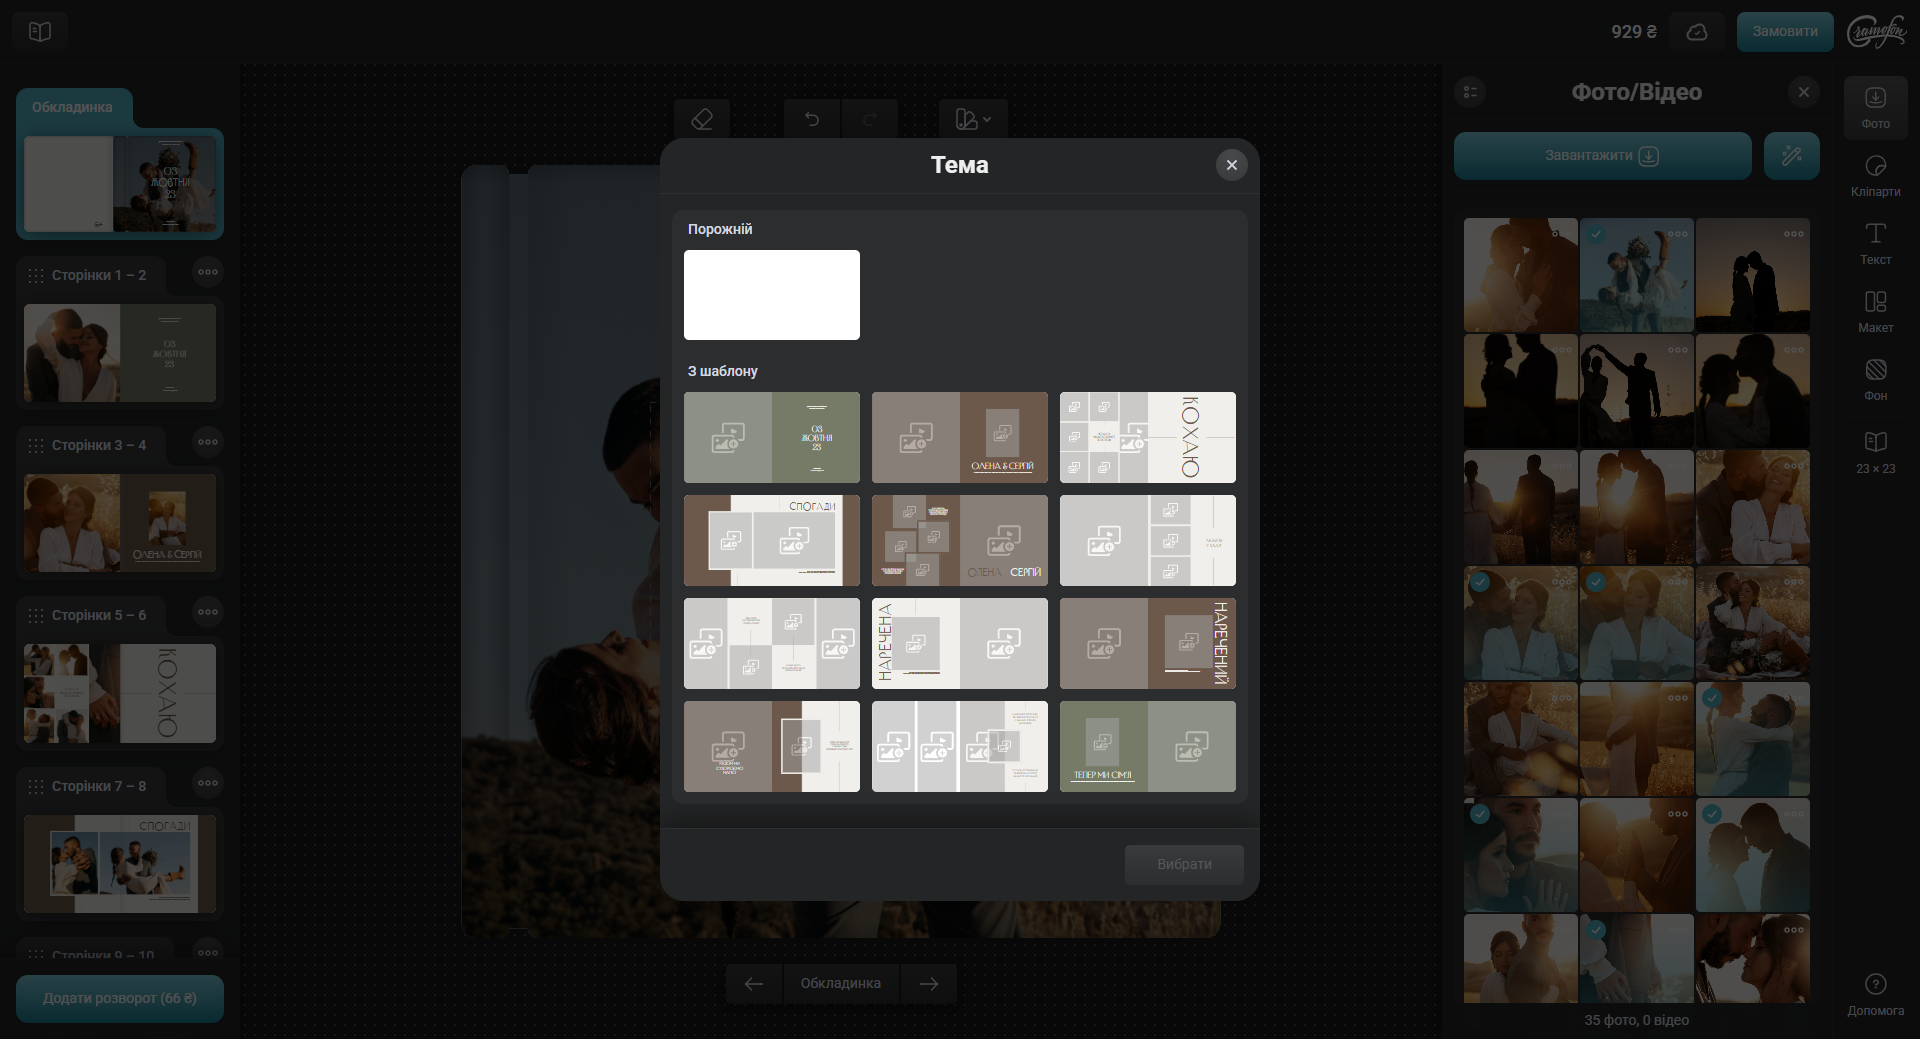
To change the theme of the spread/cover page:
1. On the right side of the Online Editor, click on the Themes menu and select our book category.
2. In the pop-up window, all thematic templates for the selected category will appear on the right.
3. Click on the preferred template.
4. Choose a thematic spread, left-click on it and drag it to the cover or page of the book.
For process purposes, each printed sheet is trimmed before the book block is assembled.
If the photo is too close to the edge of the layout, trimming may leave irregular thin strips of background on the edges of the photo. To avoid this, follow the Editor's prompts and stretch the photo to the very edge.
If the text is too close to the edge of the layout, it may be trimmed during sheet trimming, so position it away from the edge of the layout as recommended by the editor.
If your photos bear this mark when uploaded to the Online Editor, it means that:
1. the photo is in the wrong format
2. the photo is "broken"
3. the photos failed to upload due to Internet connection failure
All uploaded photos must be in JPG format to create a product.
If the files are in this format, but there is still a triangle, the files are most likely corrupted. Usually, re-saving in the image editor resolves this situation. (Open the file in an image editor, and then save it in jpg format.)
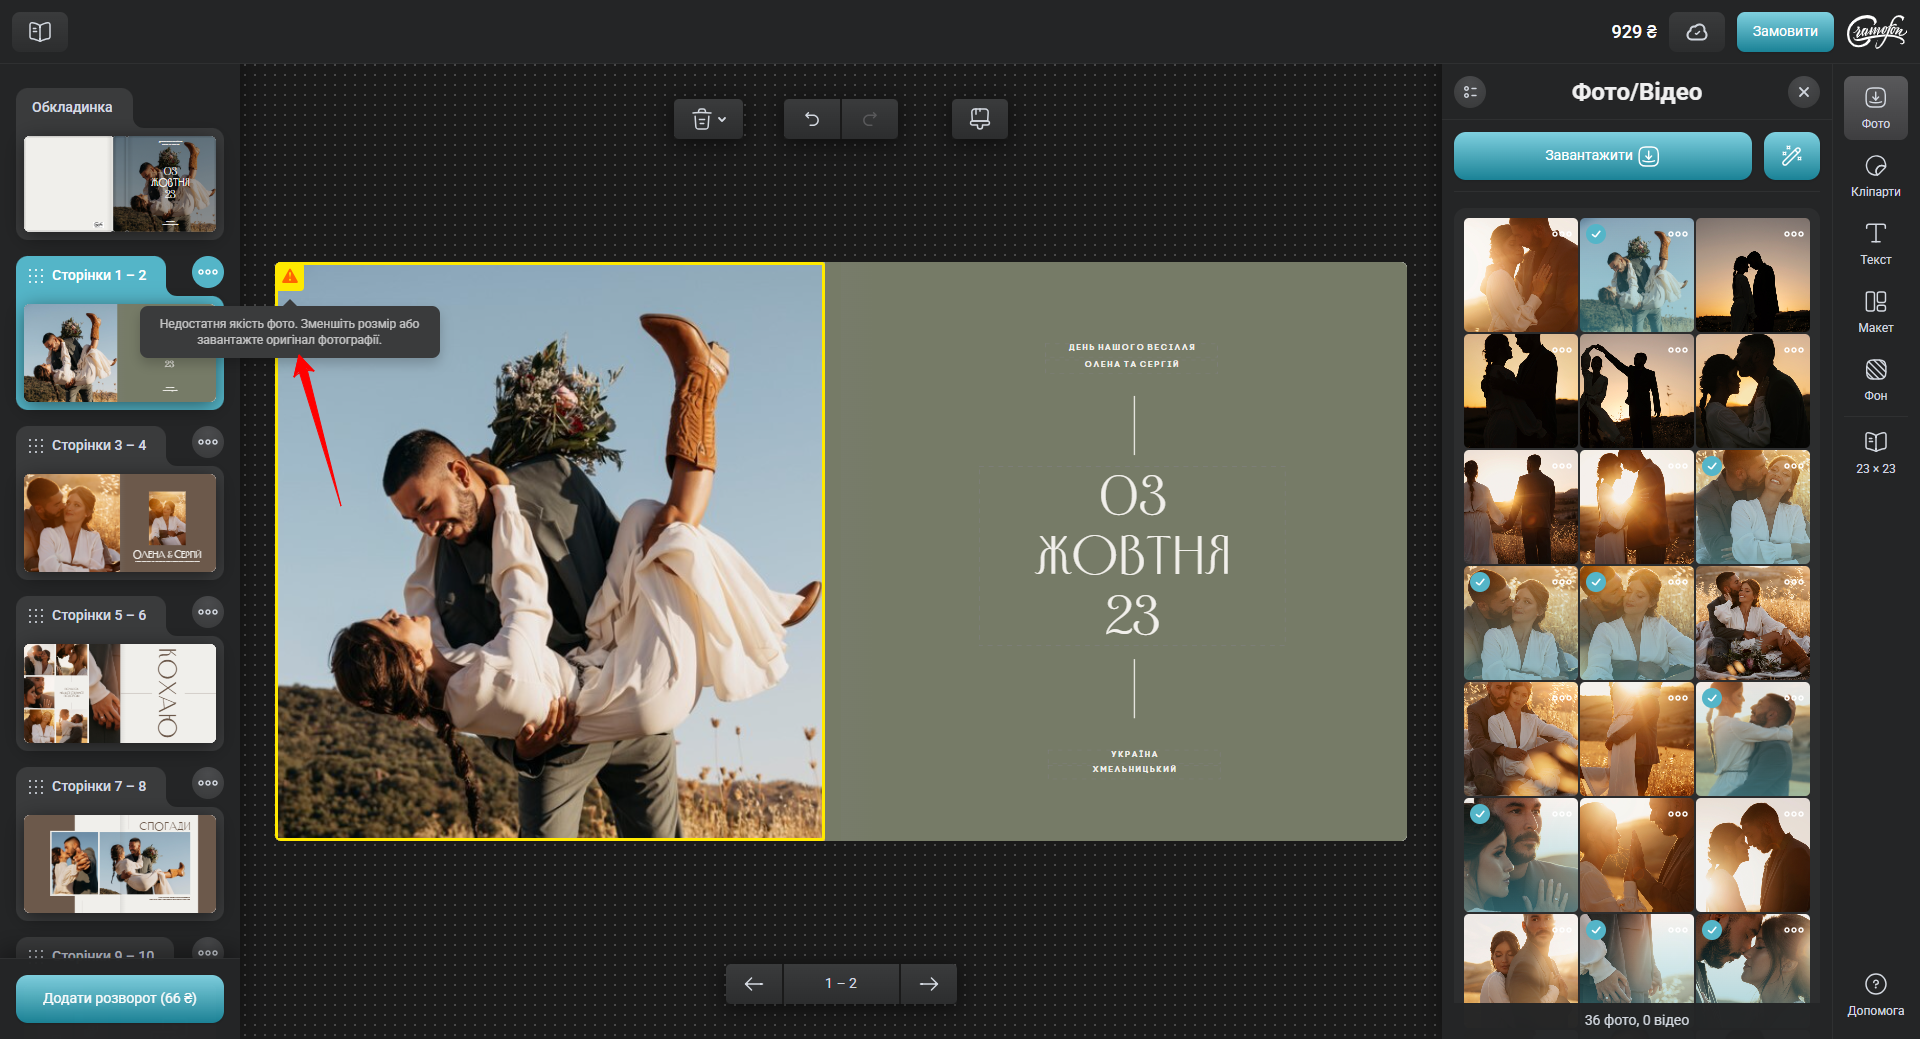
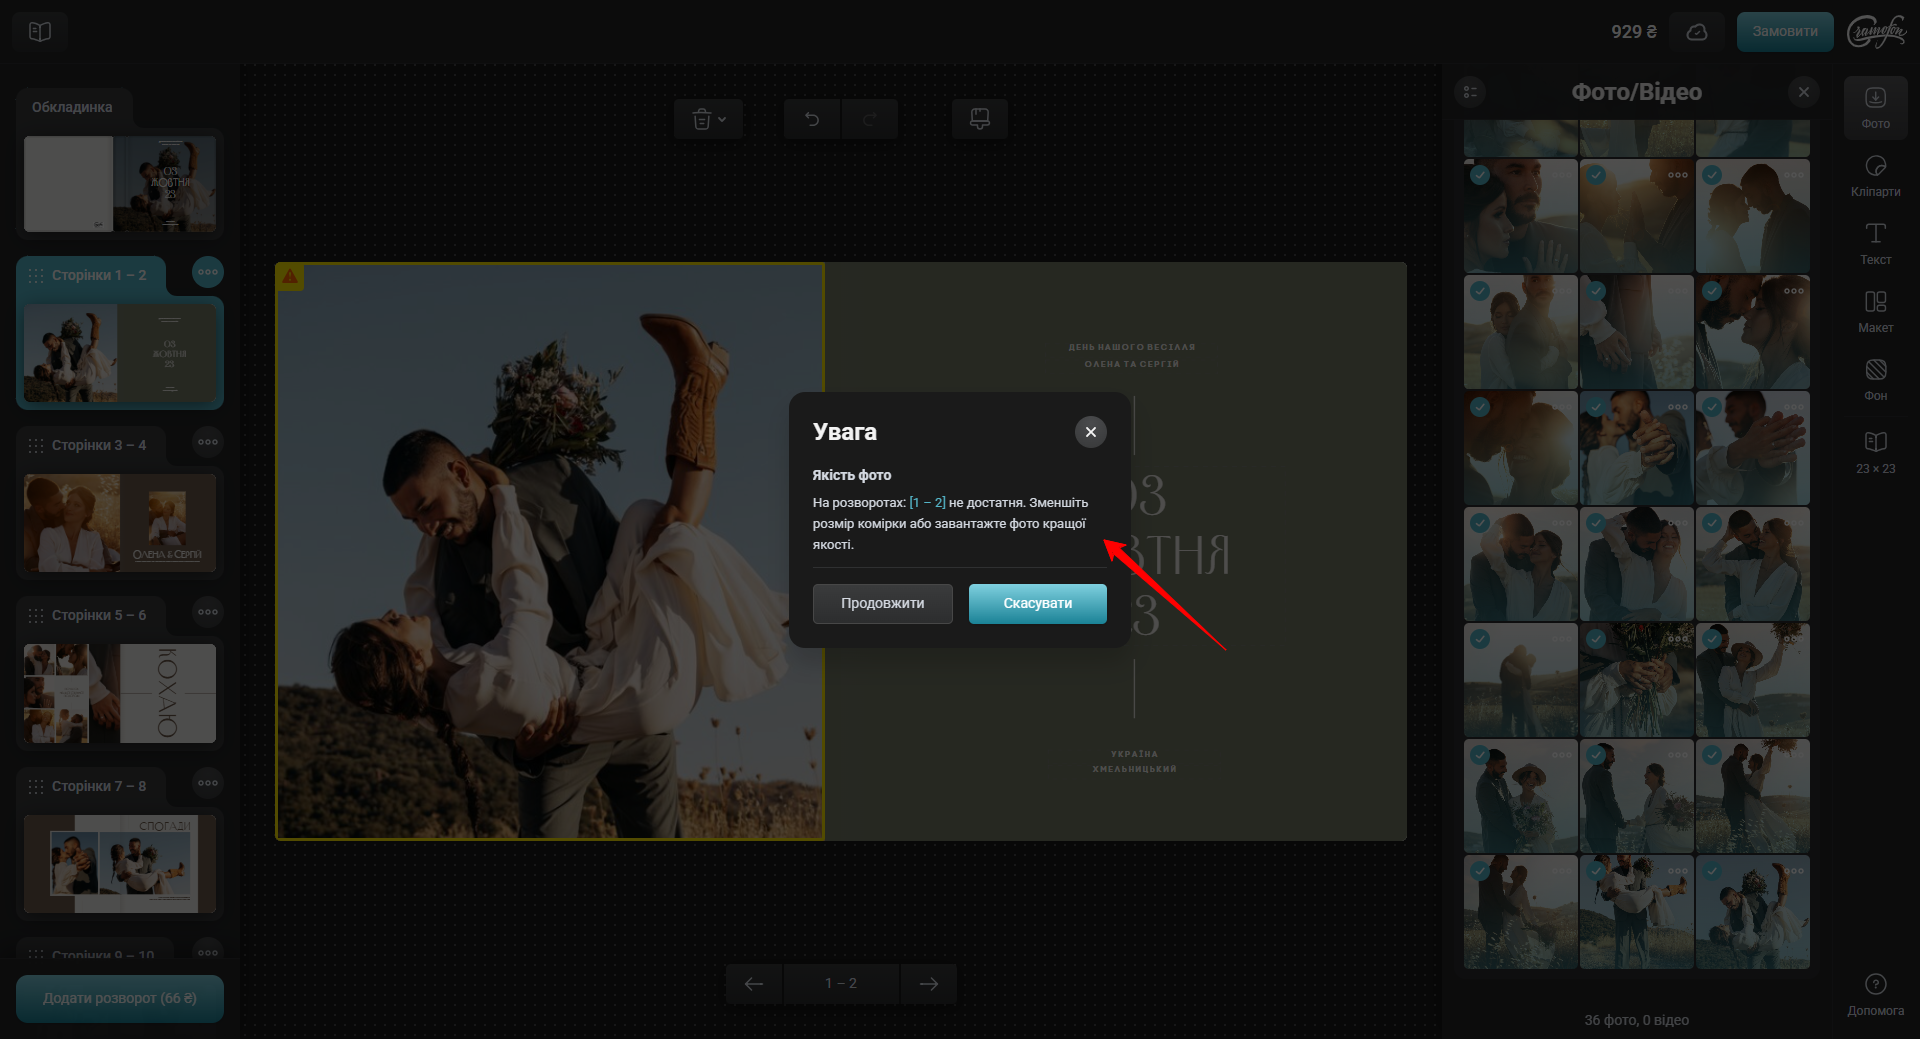
If a yellow frame appears around the photo and an orange triangle with an exclamation mark inside appears at the top left of the file, then the file has an extension that is too small to fit on the page/cover of the book, and the image may look blurry or pixelated when printed.
In such cases, it is recommended to replace the file with the original or to zoom out the file on the page/cover of the photo book until the frame disappears. If most of the files you have are small, we recommend not to place them on the whole page/book cover, rather make layouts of several photos. If the frame does not disappear, you can change the book format to a smaller one.
If you disregarded this prompt when you placed the photo on the page/cover of the book, the system will inform you again about the small file extension in a pop-up window when you click Add to Cart.
Please, note that we do not reject orders containing photos with a small resolution, but these files can look fuzzy, blurry, and pixelated in the final photo book, which shall not be regarded as a printing defect because the quality of the printed image depends primarily on the original photo you uploaded.
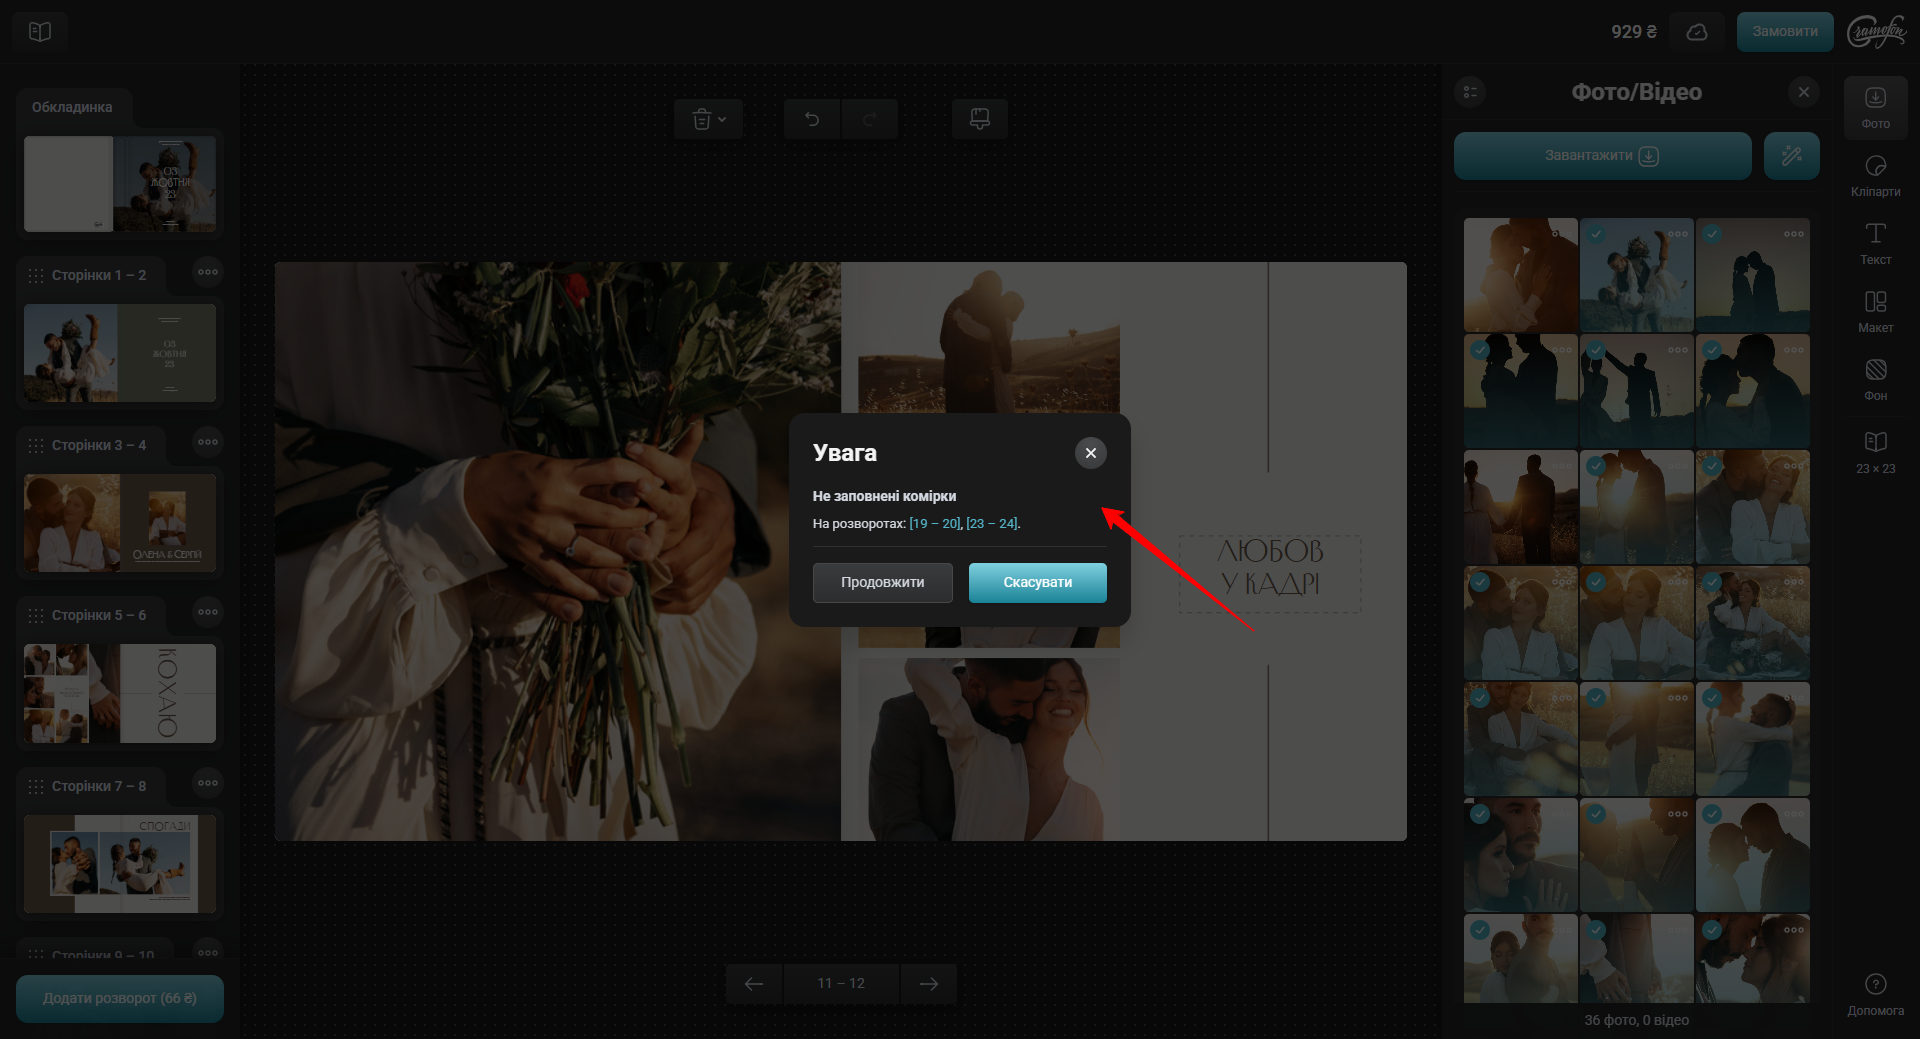
This prompt occurs when:
1. You select a themed template and failed to fill in all the photo cells in it
2. You placed the photo on top of the cell in which the photo was to be placed.
If in the preview mode, when you click Add to Cart, you see that all pages are filled and there are no empty spaces, then most likely you have placed a photo on top of the photo cell. You can ignore the system prompt and proceed with the ordering process.
Online Editor is a free graphic editor for creating photo books from ready-made special templates developed by Gramofon.ua
A page is half a spread
That's two adjacent pages =)
This is 2 pages at the beginning and end of the photo book with a polygraphic printing method and a magazine block. The flyleaves are not edited. A logo is printed on the flyleaf, at the beginning of the photo book. The logo can be removed for an extra fee.
This is the place to insert a photo
This is a photo book cover intended for decorative, protective, and binding purposes.
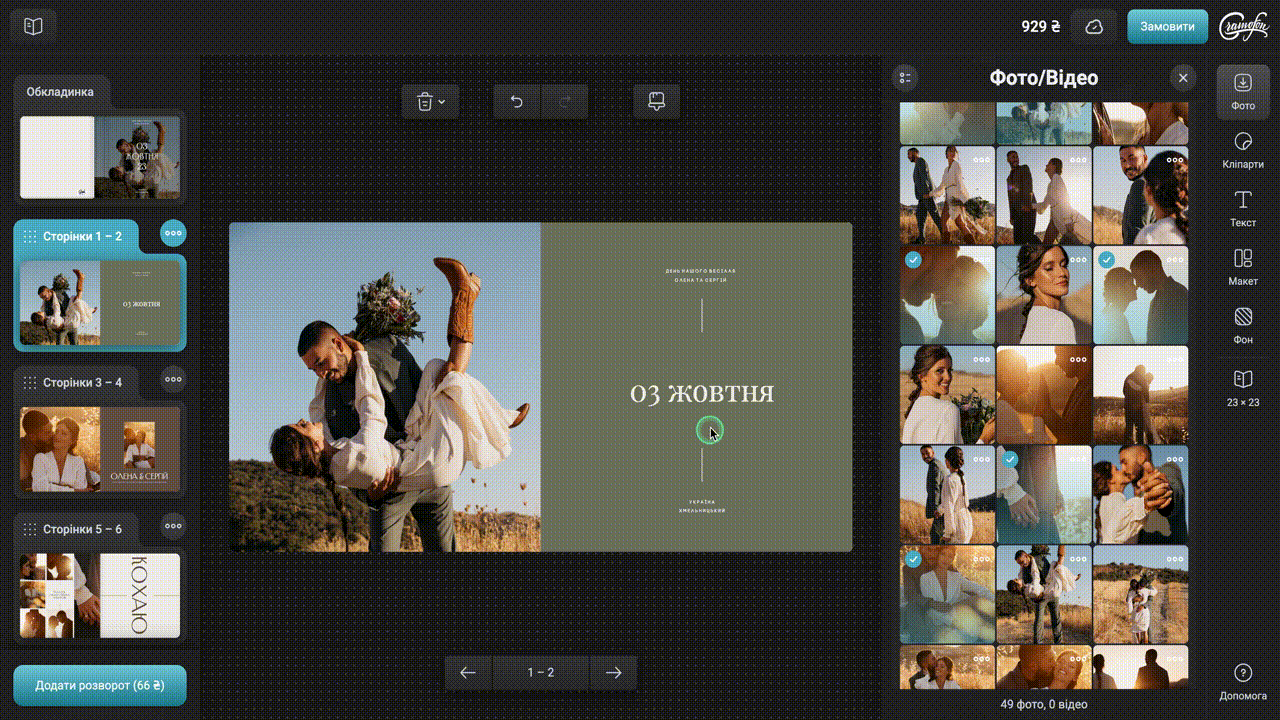
To upload photos from a computer, tap the From Computer icon
In the pop-up window choose a folder from which you will upload files and select all required files, then click "Open", and the files will be uploaded to the website.
In the editor, click the Instagram icon. Next, log in and upload your photos. We don't store your passwords, so don't worry about that.
After a successful upload, the photos will appear in the right sidebar. You can now place them on the pages of the photo book.
Note! If you see an orange triangle on the photo, it means that the photo resolution is too low and you need to replace it.
In the editor, tap the Facebook icon. Next, log in and upload your photos. We don't store your passwords, so don't worry about that.
After a successful upload, the photos will appear in the right sidebar. You can now place them on the pages of the photo book.
Note! If you see an orange triangle on the photo, it means that the photo resolution is too low and you need to replace it.
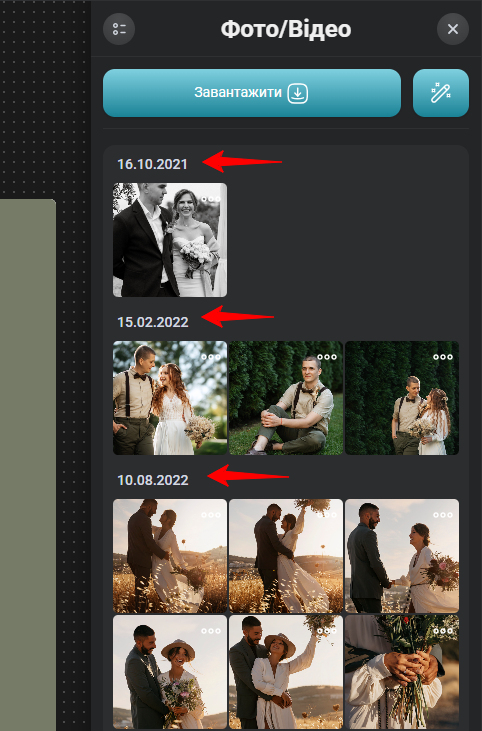
To sort the photos, tick the checkbox next to "Filter". This will open a drop-down box where you can set the criteria by which you want to sort the photos:
If you choose to sort by the file creation date, you can optionally segment photos by day, month, and year. To segment photos by month, simply click "month" in the drop-down box. A screenshot below shows how the photos are sorted by month.
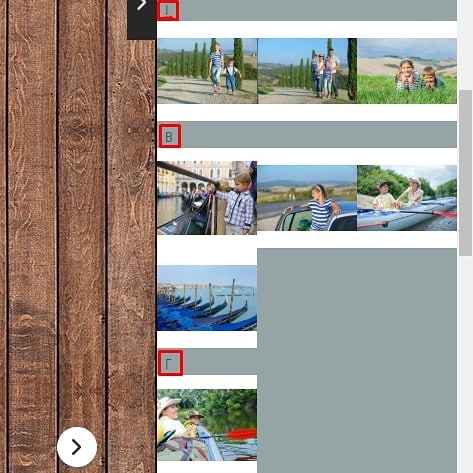
⠀The same principle can be used to sort photos in alphabetical order or vice versa from Z to A. This feature will be useful if you sign your photos, for example, "Summer. Italy" or "Rafting on Cheremosh", instead of leaving the name "img 242535" assigned to the photo automatically by your camera or phone.
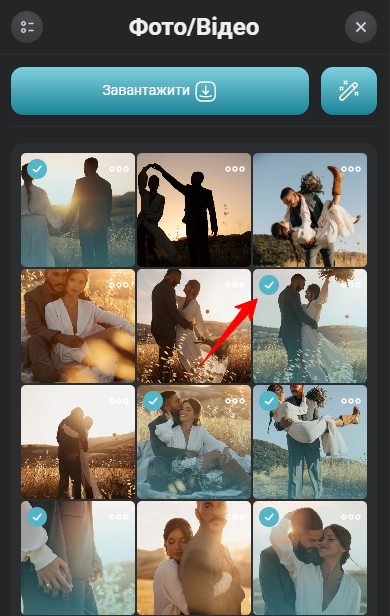
⠀The photos you used in the book are highlighted in green.
If the photos you have used already confuse you when creating a book, use the "Hide Used Photos" feature. To do this, simply check the box next to this option in the drop-down box
Photos you haven't used yet will not be highlighted.
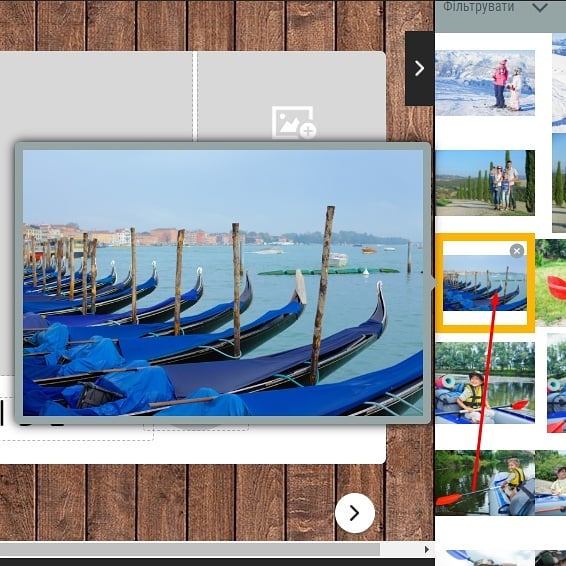
The photo you are currently handling will have a yellow frame.
Are you having a hard time viewing photos in the canvas of uploaded files? No big deal! Hover your cursor over the chosen photo, linger on it and a large photo preview will open.
If you accidentally uploaded two identical photos or your pixelated-blurred hand on the backdrop of the floor, you can remove them from the photo canvas so that they don't confuse you when creating your dream photo book. To do this, hover your cursor over the unwanted photo. A cross will appear in the upper right corner. Click to delete the photo.
Just in case, our careful editor will ask you again if you do want to delete this photo. Click the green "Yes, delete" button if you want to delete it. If you hit that unfortunate cross by accident, this retest will save you from losing an important photo.
By default, the backside of the cover is hidden. To see it, you need to click the button in the lower-left panel of the editor. It looks like an eraser.
⠀Press and open the backside of the cover.
Now you can edit it like any other page: add photos, frames, captions and stickers.
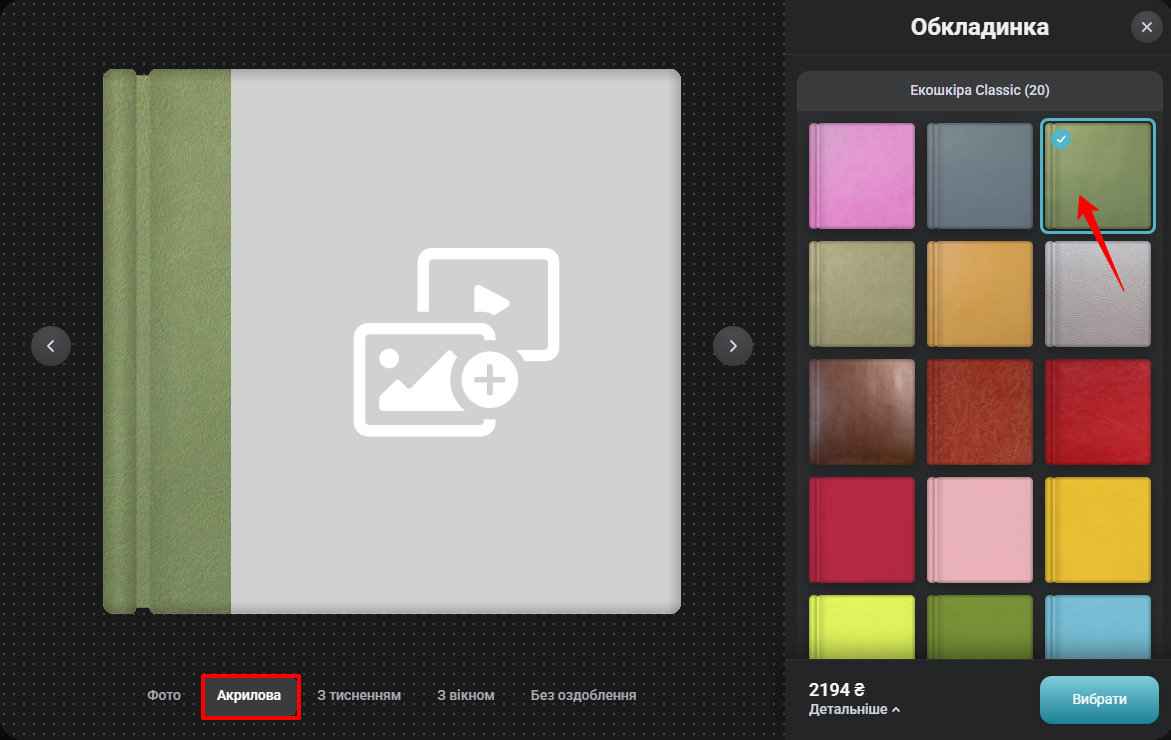
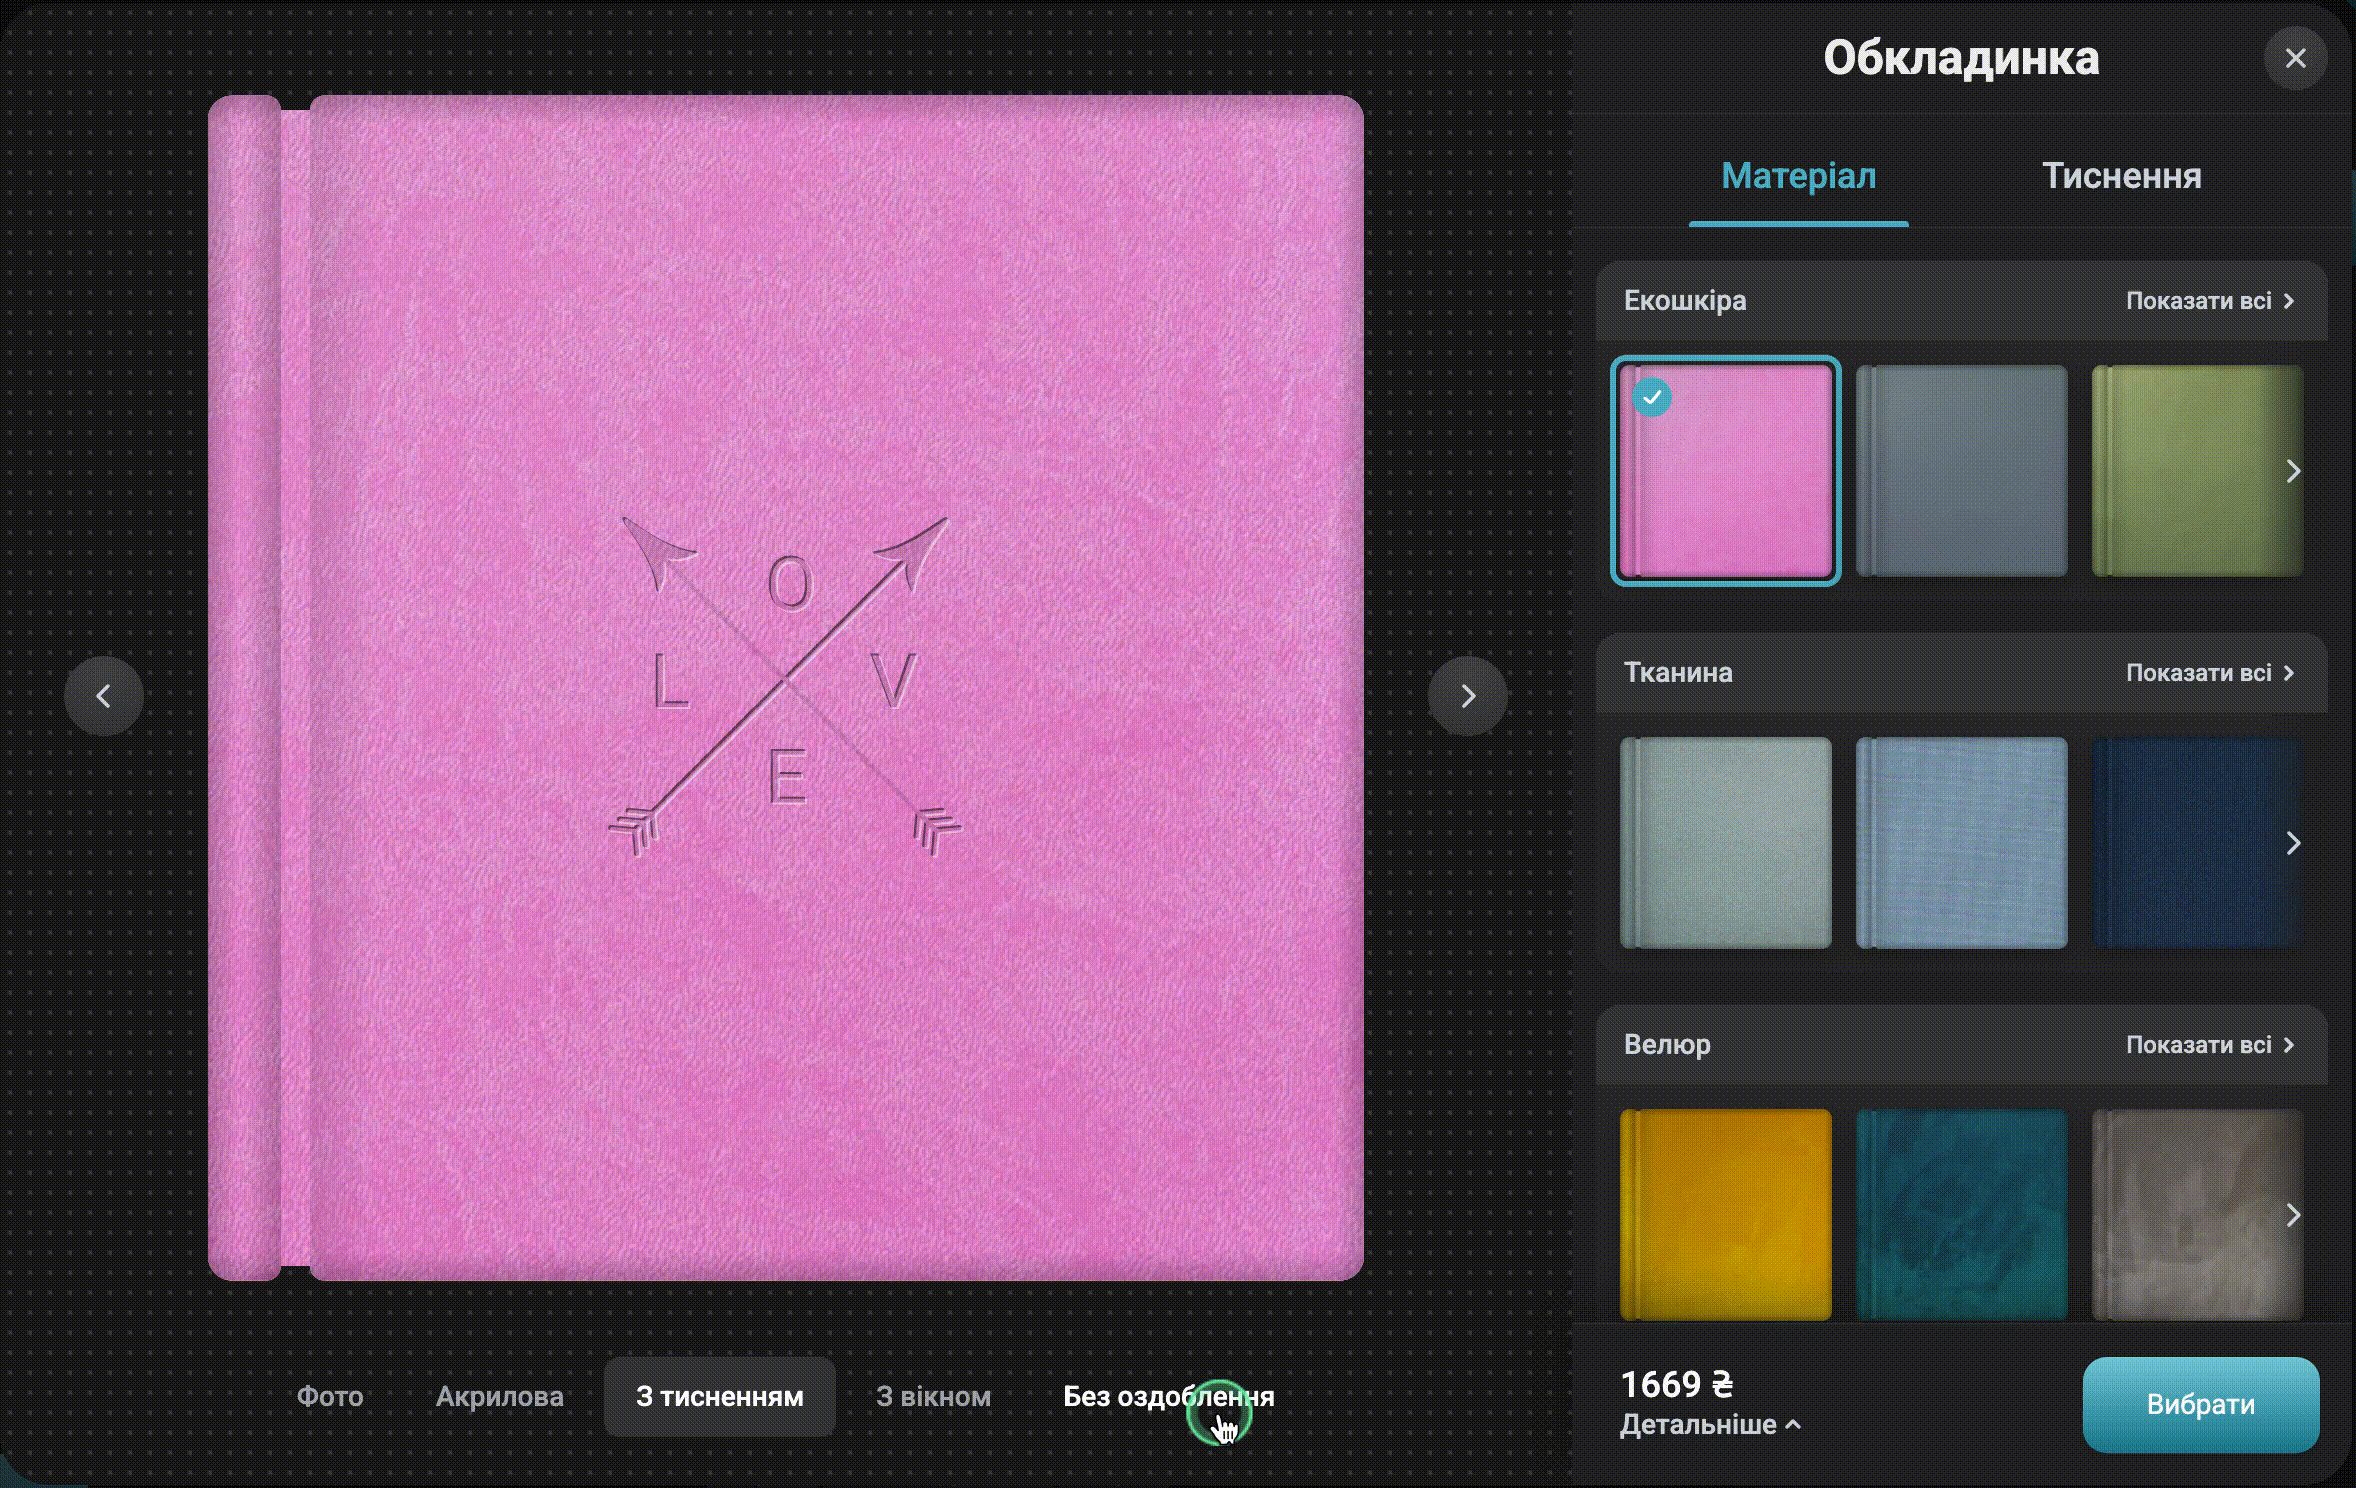
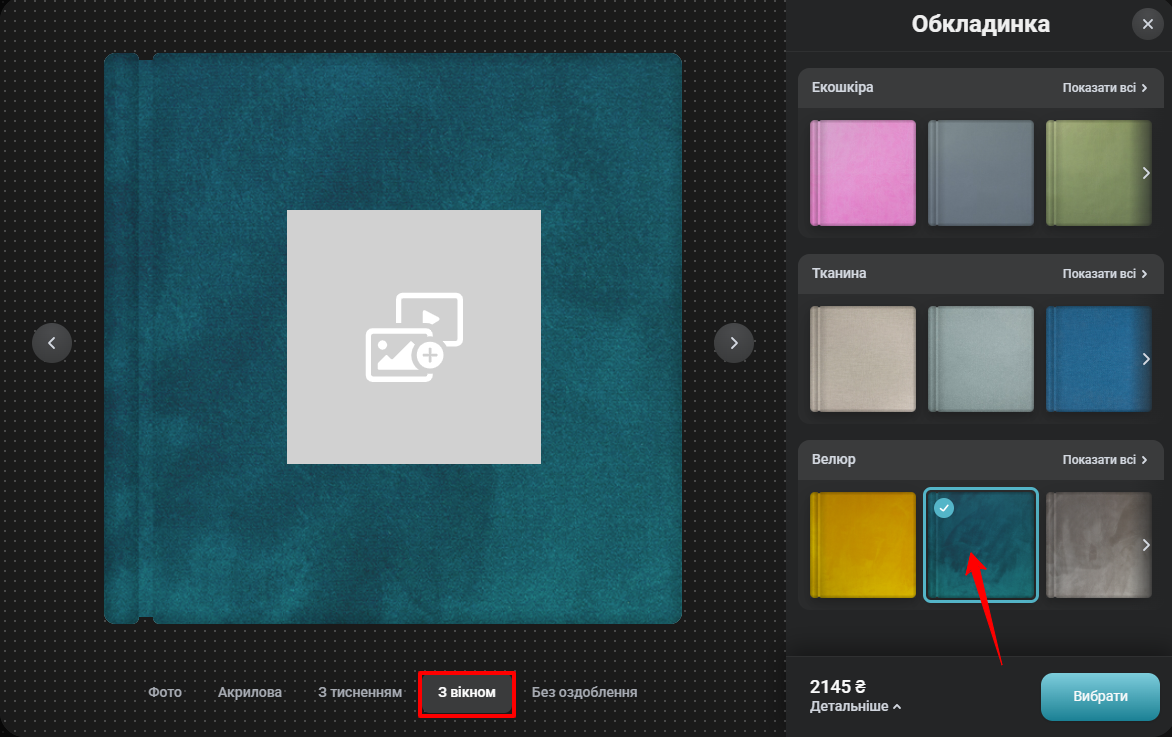
In order to change the type of the cover, click on the desired type of cover (photo cover, faux leather or textile) in the upper left part of the editor. After that, you can choose the type of decoration and color of the material (for faux leather or textile).
The faux leather covers can be undecorated, embossed, or contain an acrylic glass photo insert. All of the above finishing options are available for all 27 faux leather colors.
Nature series faux leather covers with wood-like texture and pattern (the first 10 colors in the list) will not have stitching on the edge. The next 17 colors from the Classic series will be stitched along the edge with a thread matching the selected faux leather color.
Textile covers can be undecorated, embossed, or contain an acrylic glass photo insert. Photo inserts are available for all textiles.
On the covers of the Luxe textile series (the last 4 colors on the list), embossing decoration is available. That is, embossing can be made on gold, lavender, coral, and emerald luxe. We do not emboss the Flax textile series (the first 4 colors in the list).
We emboss faux leather covers in all colors and Luxe textile covers. You can only choose from the standard embossing options presented in the editor. Customized embossing is not available.
To add embossing to the cover:
1. In the Online Editor, select the cover on the top editor panel where the page numbering is located.
2. Now choose the cover material – faux leather or textile.
3. Select the No Photo decoration option. Now choose the color of the cover. If it is faux leather, you can choose any color; if it is textile, only the Luxe series can be chosen.
4. On the right side of the Online Editor, click the Embossing menu item, then select the embossing theme.
5. Left-click on the selected embossing and the system will generate a preview of what the embossing will look like on the cover of your book.
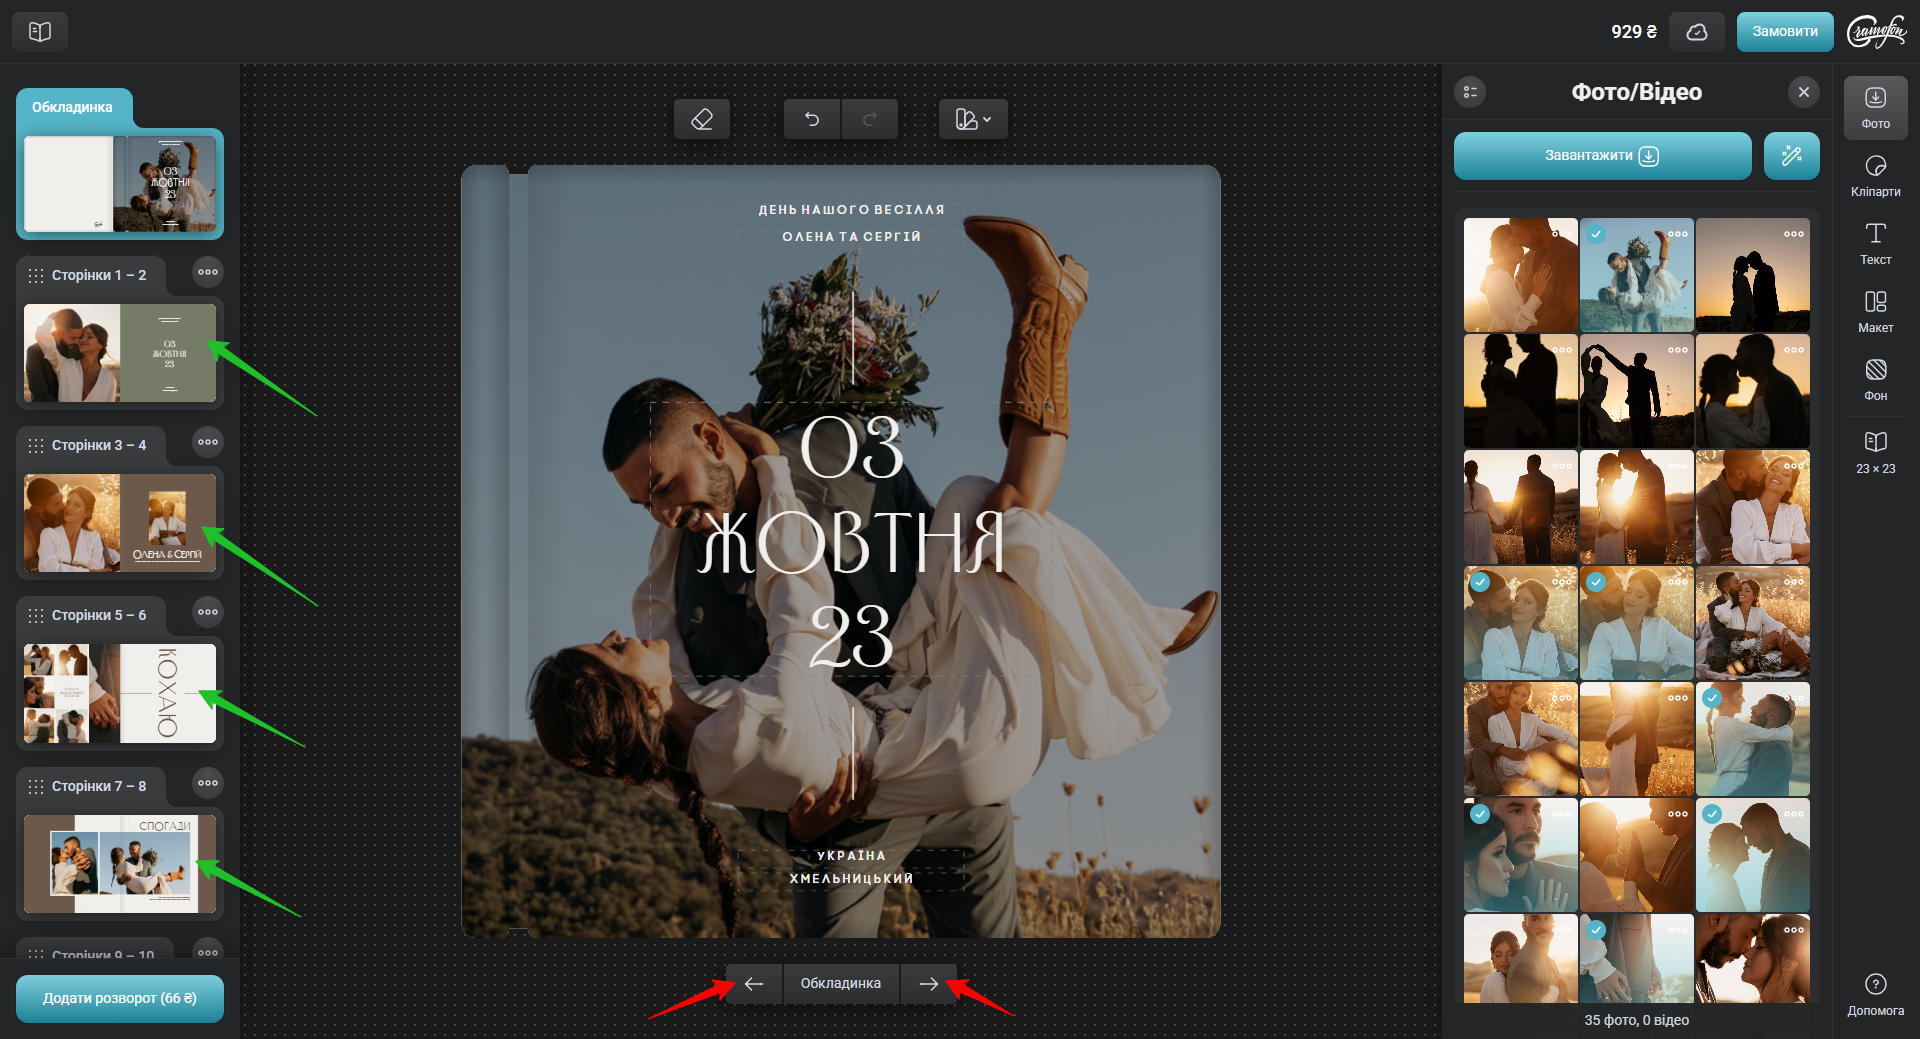
In the Online Editor, you can move between pages of the photo book in two ways:
The first way is to flip through the book using the optional left and right circular buttons; however, if you have quite a few pages in the book, this way is too long.
The second way is scrolling through the page numbering ribbon in the top panel of the Online Editor by clicking on the appropriate optional left or right arrow buttons and then clicking on the preferred page.
The screenshot below shows movement between all pages of the book in green and movement between two adjacent pages in red.
To add pages, you need to click on the green plus "+" icon in the top right bar.
After that, choose one of the page designs from the selected template or empty pages without design. To do this, just click once on the selected page design option and it will appear on the desktop.
You can only add pages in pairs; a single page cannot be added.
There are process limits on the maximum number of pages for different types of books. Learn more here.
The minimum number of pages in photobooks is 24 (only in photobooks with Magazine block type and digital printing method the minimum number of pages is 26, except for the 12x12 format). That means you cannot delete pages so that to have less than 24 (26) of them.
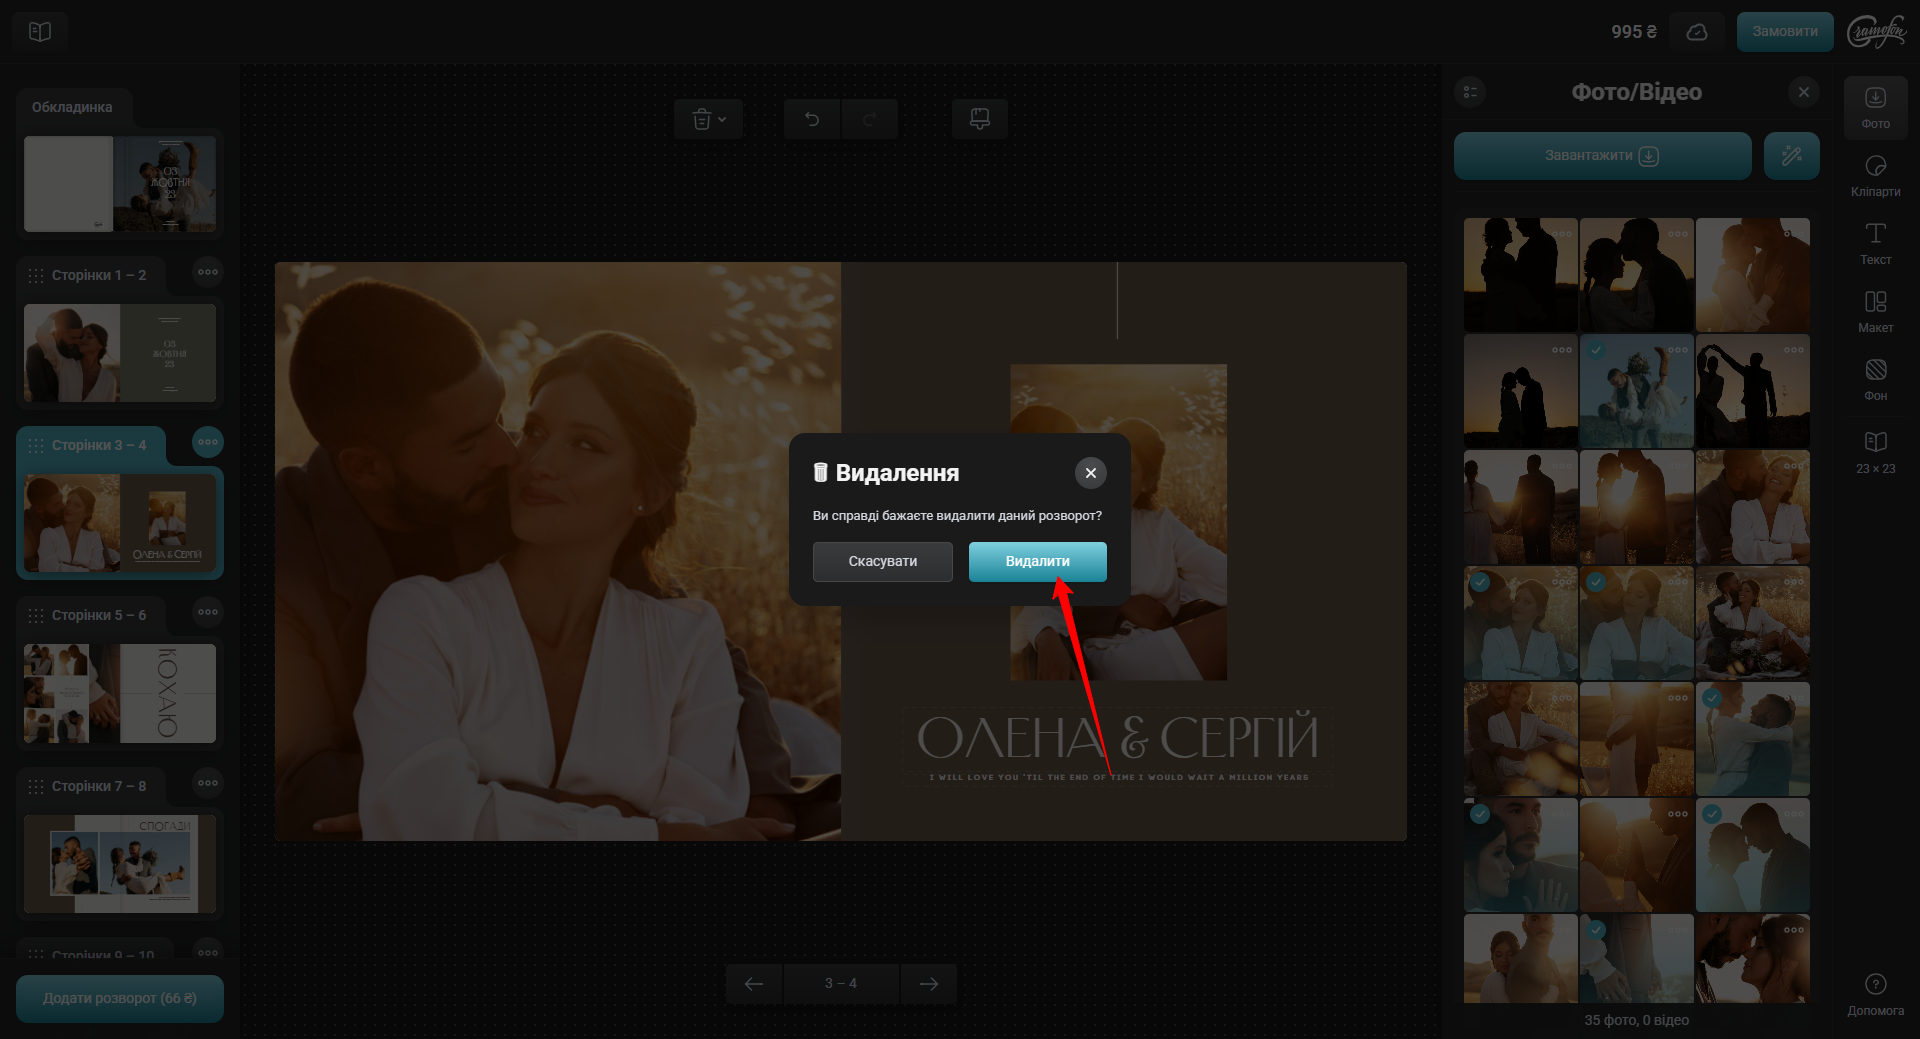
If you have more pages, and some of them are redundant:
Click the cross icon in the upper right corner of the right page.
And confirm the deletion by clicking on "Yes, delete".
Pages are deleted in pairs only; one page cannot be deleted.
The minimum number of pages is 24 for Lay Flat and 26 for Standard type block. You cannot order a photo book with fewer pages. If you have not filled all the pages in the book and some are left blank, they will still be printed and glued into the book.
When you select a photo book with Standard block type, the minimum number of pages is 26, except for the 30x30 cm book format. For this format the minimum number of pages is 24.
There are different maximum numbers of pages for different types of photo books. It is due to the process peculiarities.
The following shows the maximum number of book pages depending on their options:
- Standard block type - 96 pages;
- Lay flat block type (satin, glossy paper) - 80 pages;
- Lay flat block type (satin PRO paper with cardboard interlayers) - 46 pages.
To swap pages, click on the corresponding feature buttons in the bottom bar of the editor. Click in the right arrow to move the spread to the right, towards the end of the book, and the left arrow to move the spread to the left, i.e. towards the beginning of the book.
To create a copy of a page, click the icon (see below) in the bottom panel of the Online Editor. The copied page will be placed after the page from which the copy was created, i.e. after the original.
To move a photo or change its proportions:
1. Click on the desired photo and select Edit.
2. Left-click on the photo, press the left mouse button, and drag it to the area of the page where you want to place it.
3. Align the photo against the other photos placed on the page previously. To do this, the editor has orange-colored guide bars that are displayed when you move a page element (photo, clipart, text) within the spread, and when you try to place the element at the same level in relation to the others or in relation to the page edges.
3.1 To rotate the image inside the cell by 90, 180 or 270 degrees, click and select the "Rotate" option. If you click "Rotate" once, the photo will rotate clockwise by 90 degrees; if you click it for the second time it will rotate by 180 degrees; if you click it for the third time it will rotate by 270 degrees.
3.2 In order to rotate the cell with the photo by ! any degree angle !, click on the photo again and select the Edit option. A rounded arrow symbol will appear at the top of the photo. Hover the mouse pointer on it and press the left mouse button. Now, pressing the mouse button, rotate the cell in the direction you want it to go.
To place a full-page photo, click on the photo, select the Edit option in the toolbar, and then click Full-Page.
You can decorate the photo placed on the page of the photo book with a minimalistic frame in white or any other color.
1. Click the photo and select Frame.
2. Now select the width of the frame using the slider; the maximum width is 20 mm
3. By default, the frame will be white. To change the frame color, click on the white box next to the slider. In the pop-up window, select the color using the color chain or enter a numeric value for the color. Once you have finished selecting, click "Ok" to save the changes.
In order to change the transparency of a photo:
1. Click the photo and select Edit.
2. Now select the Transparency option and use the slider to set the desired image transparency value.
By default, all photos have a 100% transparency value. The minimum transparency value is 5%, at which the photo will be almost invisible.
When placing many design elements on a photo book page, it may be required to place certain elements on top of others. For example, clipart on top of a photo. In order to set the order in which the elements overlap:
1. Press the photo and select Edit.
2. Then press the Below or Above option.
If you select Below, the photo will be superimposed over the other design elements. If you select Above, the photo will be placed on top of the other design elements.
To copy and paste photos within a single spread:
1. Click the photo and select Edit.
2. Now select the Copy option. The photo with the design elements will be copied to the clipboard.
3. Then click Paste. The photo will be placed on the same page from which you copied it, slightly below the original.
To copy and paste a photo to another spread:
1. Click the photo and select Edit.
2. Now select the Copy option. The photo with the design elements will be copied to the clipboard.
3. Navigate to the spread where you want to insert the photo.
4. Press Ctrl+V.
To replace the background from the selected template with the background from another theme template:
1. In the right sidebar of the Online Editor, select the Background menu, then the theme of the photo book.
2. In the right window, the backgrounds from all the templates on this theme appear.
3. Click on the background you like and drag it with the left mouse button to the cover or the spread of the photo book.
You can also make a solid background. To do this:
1. In the right sidebar of the Online Editor, select the Background menu, then the Solid option.
2. Next, drag a solid background with the left mouse button to the cover, page, or spread of the photo book.
3. Click on the colored icon and select the preferred shade.
4. Press "OK" to save the changes.
To upload a custom background:
1. In the right sidebar of the Online Editor, select the Background menu, then click the upload button (green arrow)
2. In the pop-up window, choose a folder from which you will upload images and select all preferred pictures.
3. Click Open, and the images will start uploading to the website.
In order to change the transparency of the background:
1. Click on the background and select Transparency.
2. Now use the slider to set the preferred image transparency value.
By default, all backgrounds have 100% transparency. The minimum value of transparency is 5%, at which the background will be almost invisible.
You can change the transparency of backgrounds from our library or the custom backgrounds you have uploaded. For a Solid background, you can change the transparency by choosing a lighter shade on the color wheel.
Rotate the backgrounds in the same way as the photos. Please, refer to paragraph 3.1 of the PHOTO HANDLING section. Learn more here
Zoom in the background in the same way as photos. Learn more here
Delete the background in the same way as the photos. Learn more here
In order to add text:
1. In the right sidebar of the Online Editor, click Text.
2. Select a font, left-click on it and drag it to the work field.
3. Write your own text.
To change the font, click on the text block, then on the font name, and select a new font of your liking from the drop-down list =)
To change the font size, click on the text box, then use the up and down arrows to change the font size in the pop-up window. Each click on the arrows adds or subtracts one point of the font size. Alternatively, click the down icon in the pop-up window (see a screenshot below) and choose the font size as desired.
To change the caption color, click on the text box, and then click on the color box in the pop-up window. The color wheel will open. Select the color you like and click OK.
To change the font outline, click a text box, then select the bold, italic, or underline options in the pop-up window. Not all outline types are available for all font types.
To align text in a text box, click on it and select one of the alignment options: left-aligned, right-aligned, or centered.
To move text across a page or cover:
1. Click on the text box (text)
2. Select Edit. Markers will appear around the text box.
3. Now feel free to drag and drop the text box in the desired direction.
NOPE! It won't be printed. :)
Clipart or sticker is a graphic element used to decorate a photo book. The clipart can be ready-made captions in a beautiful font, cute animals, and more.
To place clipart on a page, click on the Clipart section in the right sidebar of the Online Editor, and select the clipart from the list. Left-click on it and drag it to the page or cover.
To download your own clipart:
1. In the right sidebar of the Online Editor, select the Clipart menu, then click the upload button (green arrow)
2. In the pop-up window, select a folder from which you want to upload clipart.
3. Click Open, and the clipart will be uploaded into the editor.
NB! Clipart must be in png format.
A limited number of layout options are available for covers, with one or three photos.
To place the layout on the cover:
1. In the right sidebar of the Online Editor, click the Compose menu and select the number of photos.
2. Click the left mouse button on the desired option and drag.
If you need a custom layout, you can find it in other theme templates or make your own.
Several photo layout options are available for pages, from 1 to 16 photos per page.
In order to place a layout on a page you need to:
1. In the right sidebar of the Online Editor, click the Layout menu and select the number of photos.
2. Left-click the layout option and drag it to the cover.
If you need a custom layout, you can find it in the other theme templates or make your own one.
To copy an existing layout:
1. Hold down the Ctrl key and select all cells of the layout with the left mouse button, then click Copy in the opened window.
2. Click the Paste button and drag the copy to the desired location on the page.
In order to place a frame on a photo book page you need to:
1. Place a photo on the page/cover of the photo book;
2. In the right sidebar, click the Frame menu, and then select a theme;
3. Left-click and drag the selected frame onto the photo;
Be sure to center the photo in the frame so that details important for the story (arms, legs, heads, etc.) are not cropped.
Note: you can place the frame only on the photo or layout (empty cells under the photo), if you move the frame to an empty page of the photo book or to cliparts, the frame will not move.
To remove the frame:
1. Click the photo from which you want to remove the frame.
2. In the pop-up window, select Delete Frame.
To change the theme of the spread/cover page:
1. On the right side of the Online Editor, click on the Themes menu and select our book category.
2. In the pop-up window, all thematic templates for the selected category will appear on the right.
3. Click on the preferred template.
4. Choose a thematic spread, left-click on it and drag it to the cover or page of the book.
For process purposes, each printed sheet is trimmed before the book block is assembled.
If the photo is too close to the edge of the layout, trimming may leave irregular thin strips of background on the edges of the photo. To avoid this, follow the Editor's prompts and stretch the photo to the very edge.
If the text is too close to the edge of the layout, it may be trimmed during sheet trimming, so position it away from the edge of the layout as recommended by the editor.
If your photos bear this mark when uploaded to the Online Editor, it means that:
1. the photo is in the wrong format
2. the photo is "broken"
3. the photos failed to upload due to Internet connection failure
All uploaded photos must be in JPG format to create a product.
If the files are in this format, but there is still a triangle, the files are most likely corrupted. Usually, re-saving in the image editor resolves this situation. (Open the file in an image editor, and then save it in jpg format.)
If a yellow frame appears around the photo and an orange triangle with an exclamation mark inside appears at the top left of the file, then the file has an extension that is too small to fit on the page/cover of the book, and the image may look blurry or pixelated when printed.
In such cases, it is recommended to replace the file with the original or to zoom out the file on the page/cover of the photo book until the frame disappears. If most of the files you have are small, we recommend not to place them on the whole page/book cover, rather make layouts of several photos. If the frame does not disappear, you can change the book format to a smaller one.
If you disregarded this prompt when you placed the photo on the page/cover of the book, the system will inform you again about the small file extension in a pop-up window when you click Add to Cart.
Please, note that we do not reject orders containing photos with a small resolution, but these files can look fuzzy, blurry, and pixelated in the final photo book, which shall not be regarded as a printing defect because the quality of the printed image depends primarily on the original photo you uploaded.
This prompt occurs when:
1. You select a themed template and failed to fill in all the photo cells in it
2. You placed the photo on top of the cell in which the photo was to be placed.
If in the preview mode, when you click Add to Cart, you see that all pages are filled and there are no empty spaces, then most likely you have placed a photo on top of the photo cell. You can ignore the system prompt and proceed with the ordering process.
Order not found. Check the entered number and try again.


.gif) To delete a photo along with the frame and cell, click the photo, select Edit, then click Delete.
To delete a photo along with the frame and cell, click the photo, select Edit, then click Delete.
.gif)
.gif)
.gif)

.gif)


 This prompt is displayed if you have selected a photo book with Polygraphic Printing type and Magazine internal unit type and added N number of additional pages to the base number of pages. As this book is printed in pages stapled at the root of the book, it requires a certain multiplicity of pages according to the selected format. You will need to delete two pages, or add two more, to create the order.